diy boutonnieres
DIY boutonnieres get easier once you learn flower and greenery wiring techniques. Use florist tape to attach the wire to the shortened stem of the myrtle.
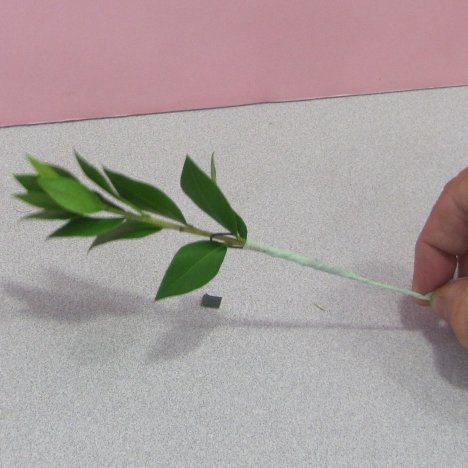
Place the newly wired stem so that it stands a little higher than the top flower of your boutonniere design.
You can make a boutonniere have an exotic flavor when adding fresh ming. This delightful fern is a light green color, has numerous tiny laterals and leaves. One generous bunch has enough stems that can add a delicate accent to many corsages, boutonnieres and other wedding flowers.
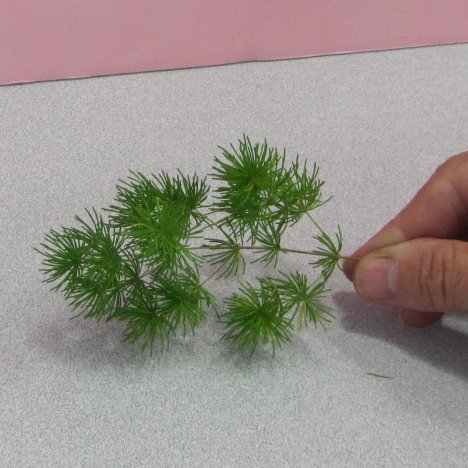
I tucked in under the second flower on the left side of the boutonniere. The ming stem is so slender on it's own that it is not necessary to wire it unless you are using a very short piece.
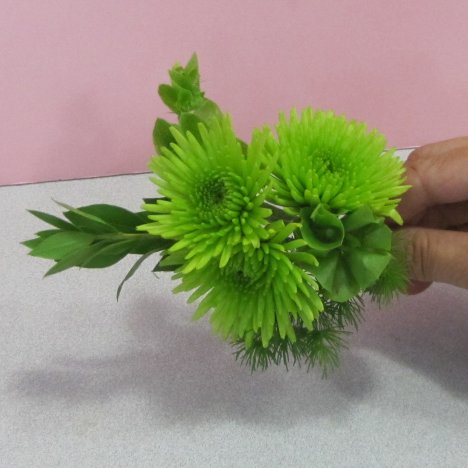
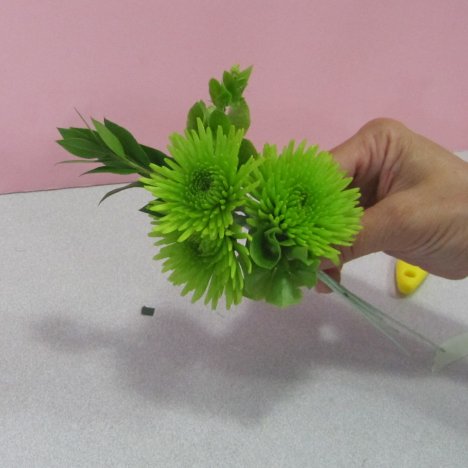
See how the design is becoming an interesting combination of textures, even though the colors are very similar.

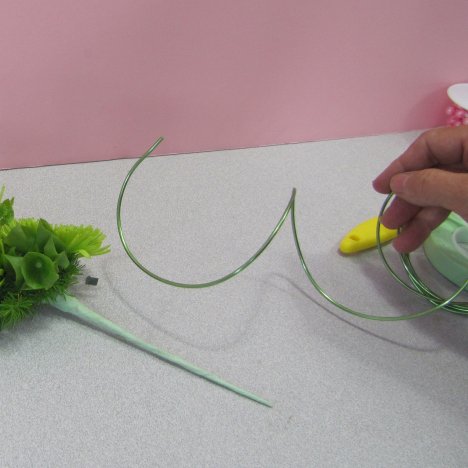
I like to make boutonnieres "extra special" by adding a decorative wire accent. This malleable wire comes in a lot of different colors and gauges. You can use a very thin bullion wire that has a crinkled texture or choose the smoother thinner metallic wire option.
There are lots of choices for creating a lot of different looks, so explore your options before deciding!
I want to conceal the cut end of the wire and make sure it is firmly entrenched into the design. Slide it upward behind the heads of the mums.
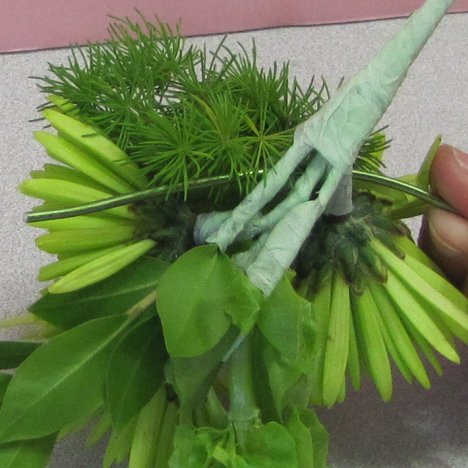
Create a hairpin bend that can hook around the taped stems.
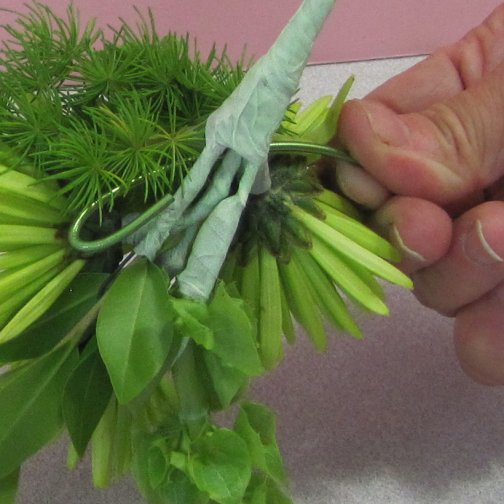
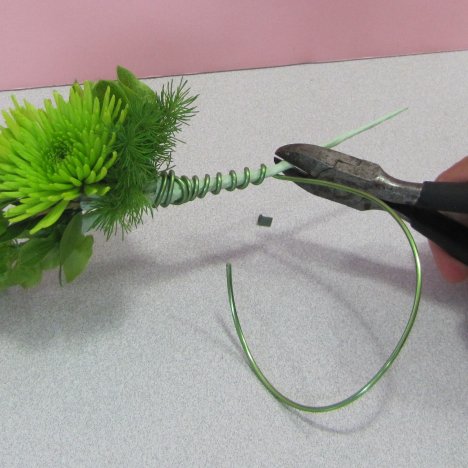
Simply continue winding the wire down the boutonniere stem.
I left room between the wraps in order to show the colored tape and add interest. You can also tightly wind the wire in coils that no stem shows.
Finishing boutonniere stems can be done in many ways. The simplest (and most traditional) is simply letting the florist tape wrap show. Other methods include ribbon wrap, adding pearls, or curling individual wrapped stems upward.
Paying attention to this kind of detailing gives your finished boutonnieres an edge and looks professional.
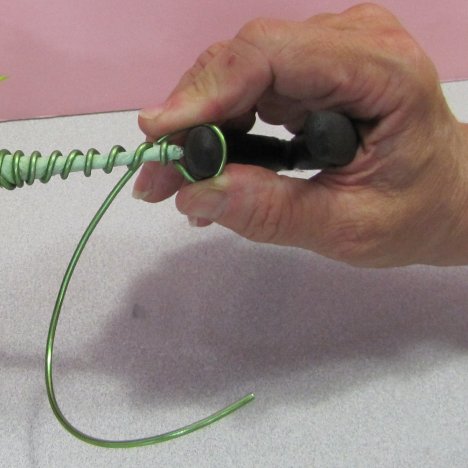
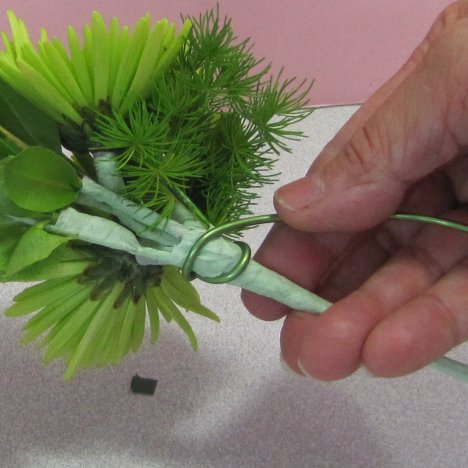
After wrapping the decorative wire completely down the boutonniere stem, I finish by shaping the wire into an open loop at the bottom.
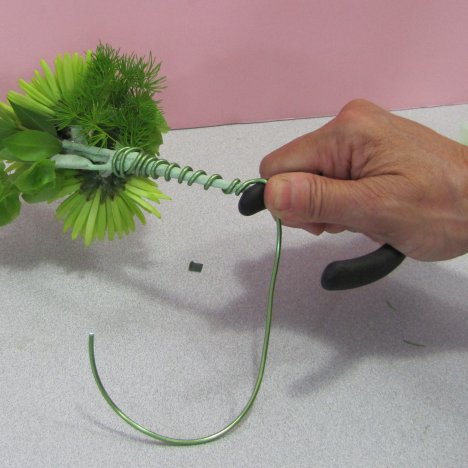
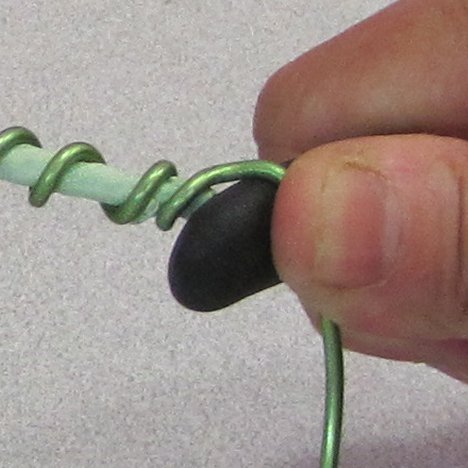
Use something round or oval to wrap the wire around to get a nice, even shape. Here you can see I used the handle of my wire cutters.
Bend the wire up so that the cut end will be in the back of the boutonniere.