daisy bouquets
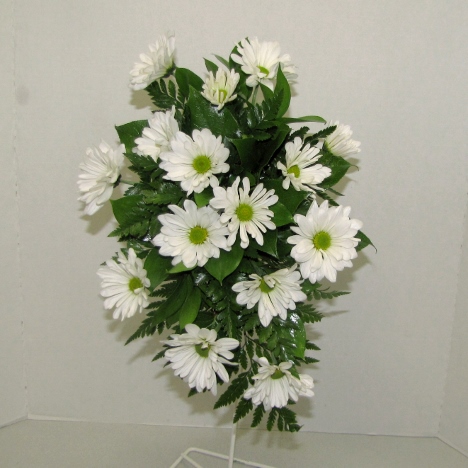
Daisy bouquets have multi-sized heads. Don't be afraid to use your smaller headed flowers here or there. The different sizes will give more interest and depth to the overall design.
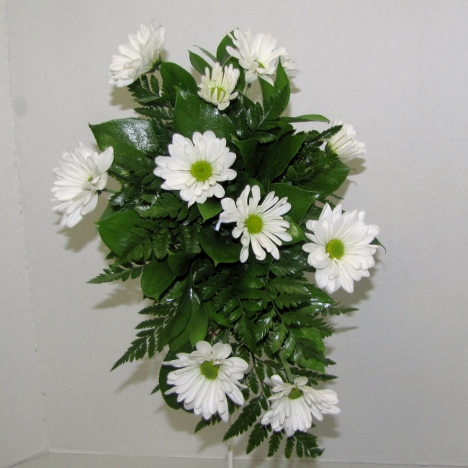
You can actually step back and begin to see where the next flowers should go - the open gaps are beginning to show up plainly.
As you insert your stems, always have a clean cut with the knife and gently push into the foam. Never jab sharply or you may hit the stem of another flower and damage the cell structure of the stem.
The rule is to generally try inserting only once. Taking flowers in and out multiple times will begin to degrade the structure of your foam and cause it to break down.

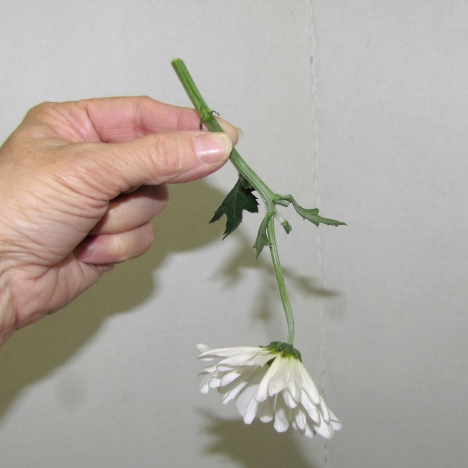
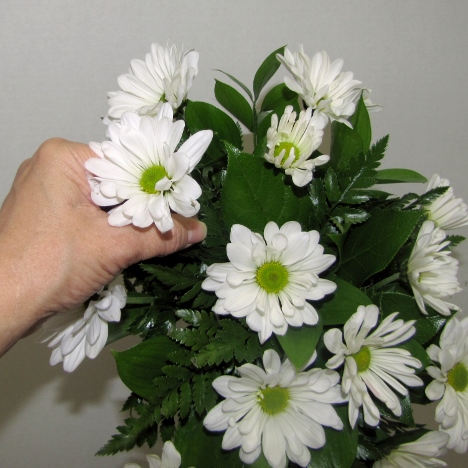
I'm going to take advantage of the nature curve of this bloom to make it come out of the lower part of the design and be part of the cascade.
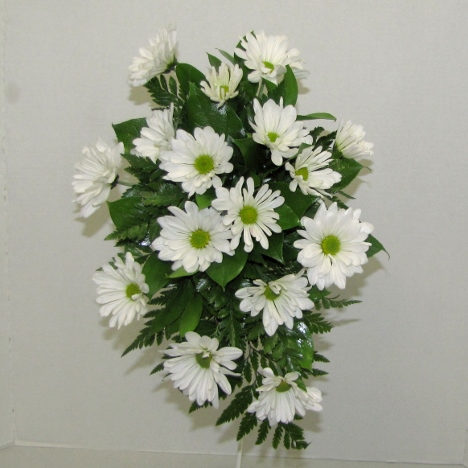
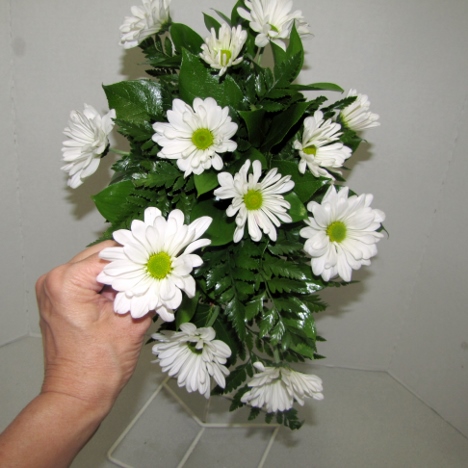
My design is filling out nicely, with flower heads facing outward in all directions.

Continue to add more daisies, choosing as perfect of blooms as possible for the attendant and bridal bouquets.
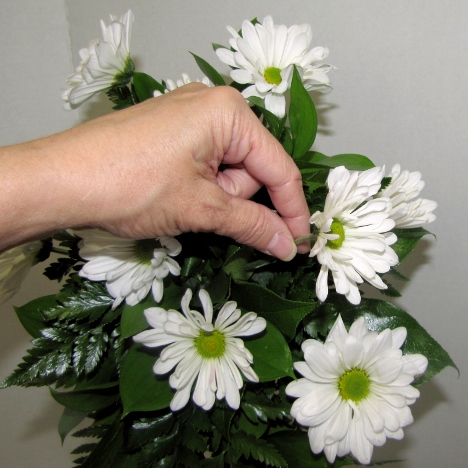
You can cluster a bit, snuggling blooms up next to each other. Not every flower has to have a perfect placement with an exact amount of space between the blooms.
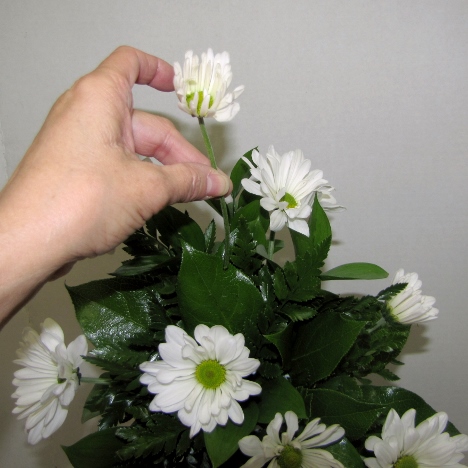
I can see an open spot in the cascade to the right that needs a flower head inserted.

At this point in your bridal design, you just simply continue to fill in the gaps.
Flowers should be close enough to touch or brush the petals together, but keep in mind that the greenery is actually part of the design and meant to be seen.
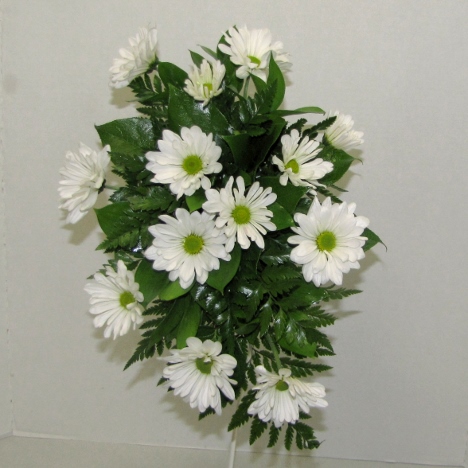
Can you see the hole in the upper right that needs to be filled?
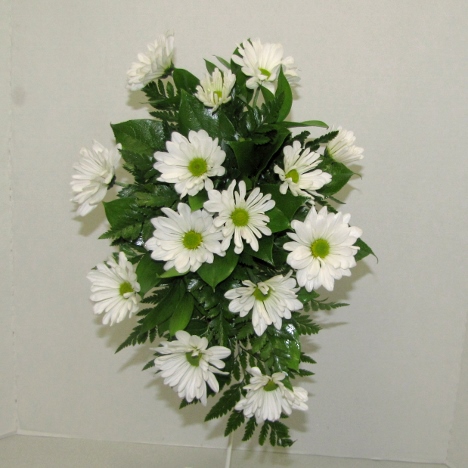
Just cut and insert another bloom into place.

Now I want to give a little more depth perception, so I'm going to cut some flowers much shorter and insert them deeper into the greens in between the other flowers.