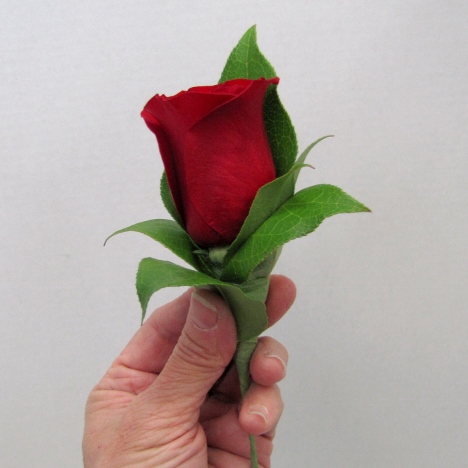
corsages and boutonniere flowers
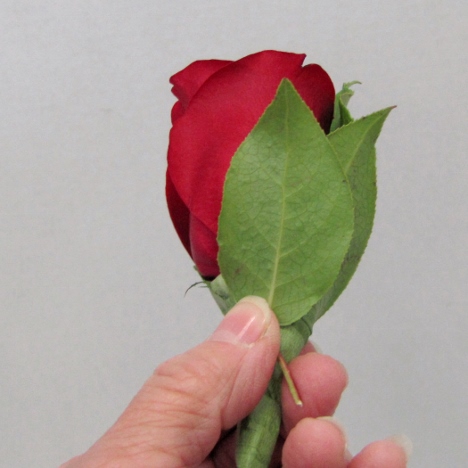
I do the same with another leaf on the opposite (left) side. Notice how I've taped the leaf deliberately so that it cups snugly around the rose head.
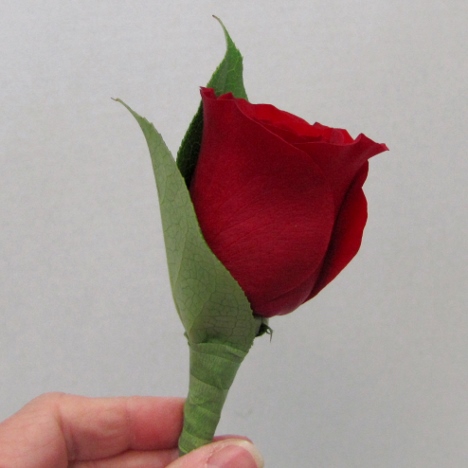
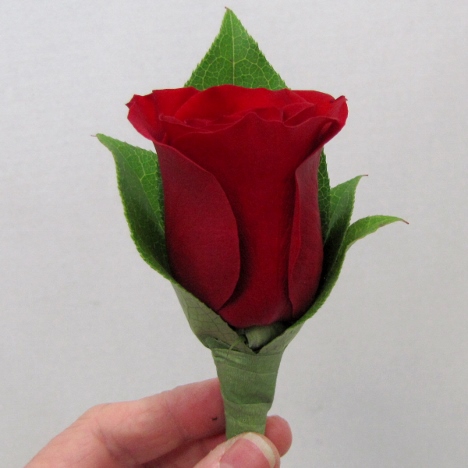
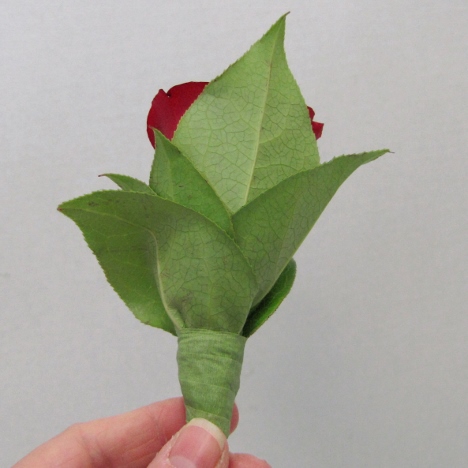
You can see from the back that the leafs are surround the rose like a continuation of the way rose petals cup around the flower head.
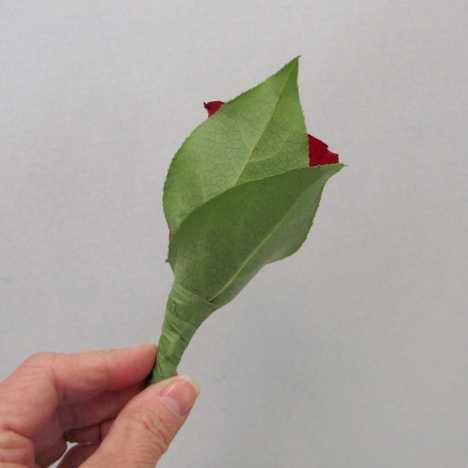
I'm going to continue the effect of cupping the leaves around the focal rose flower. Fold the leaves and tape into place so that the leaves fit snugly around the base of the rose.
As I drop the leaves down the stem, I don't have to wire them anymore to get the height that I needed for the first three salal leaves.
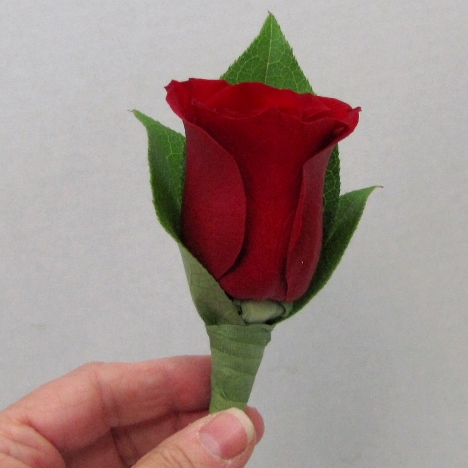
You can see a pattern developing the in the leaf placement. Continue moving down the stem, but do not cover up the front of the rose.
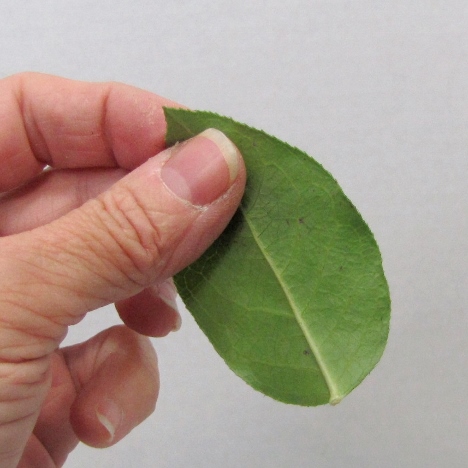
See how I gently squeeze the leaf so that it creates a pucker in the leaf. This is how you want to fit the leaf around the rose head.

I'm almost rolling the salal leaves forward now, taping about halfway down the leaf in order to hold this shape in place after I left go of it.
Note how I'm leaving the space open right in front of the rose. I'm now adding another rose on the left side.
From the back you can see how nicely the leaves are fitting around, adding a beautiful accent to the red rose.
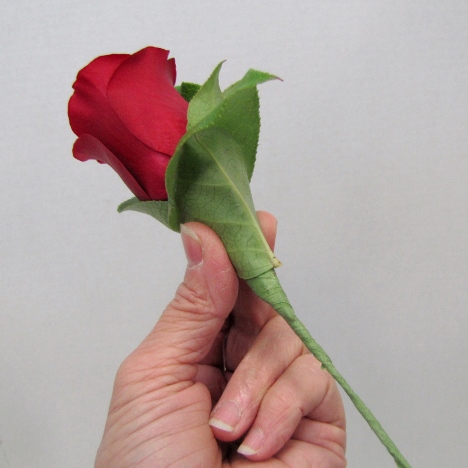
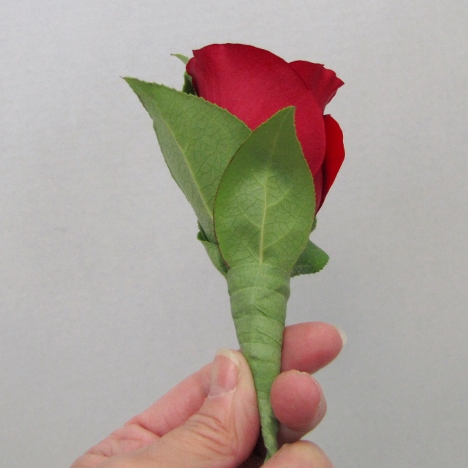
Giving you a side view so you can duplicate the taping method.
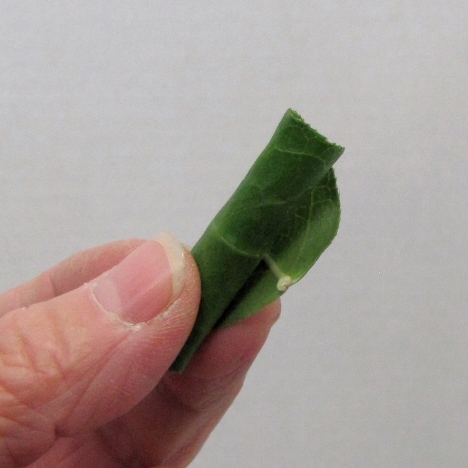
You can manipulate the leaf in order to exaggerate the bend that you need as you tape down the stem.
Sometimes you may even need to roll the leaf to make it a little more flexible.
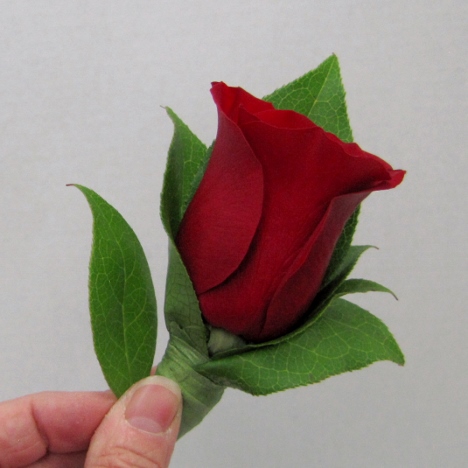
Finally I'm almost finished adding the salal leaves. Now I am finally going to add the last leaf right directly in front of the rose. I've already rolled the leaf to give it an exaggerated curl forward.