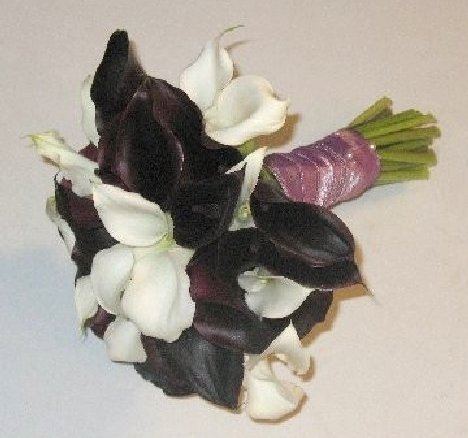
calla lily bridal bouquet
A calla lily bridal bouquet is sleek, sophisticated and timeless. A simply way to create your design is to lay the callas out on the table in a straight line, alternating the colors. Then simply spread your hands out and lightly scoop the flowers up, pushing them all towards the middle. After adjusting the height and repositioning some of the blooms, tape them together in the center of the stems.
If this is a little too casual for you (or you just can't get the look right) this is a more controlled method that takes a little more care on the look of your finished bouquet.
You'll need the following hard goods and fresh flowers:
- 13 White Miniature Calla Lilies
- 20 Midnight Plum Miniature Calla Lilies
- Pearl Headed Pins
- Bolt of #9 Sheer Ribbon
- Green Stem Wrap Tape
- Finishing Touch or Crowning Glory Flower Sealant
Why do calla lily bouquets cost so much? They seem like a fairly simple bouquet, without a lot of fuss and adornment. It is partly because callas are grown on a plant and hand cut into bunches. These are a more costly flower, sometimes running up to $10 each retail when sold by the stem in flower shops.
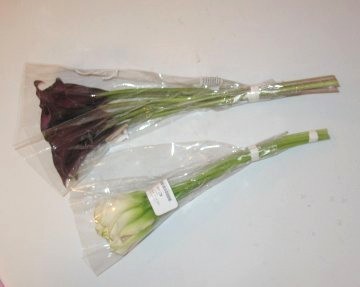
Bulk callas arrive wrapped in plastic, commonly wrapped ten to a bunch. They are catagorized by the size of the flower heads. The larger are referred to as "standards" by most florists. They grow much taller with thicker stems and are only available in white and green. The heads can be up to 5" in diameter when fully open.
All colored callas (and some white) have smaller heads are referred to as "miniatures" by florists. Their stems are thinner and the flowers are more delicate. The heads are usually only 2-5 inches in diameter.
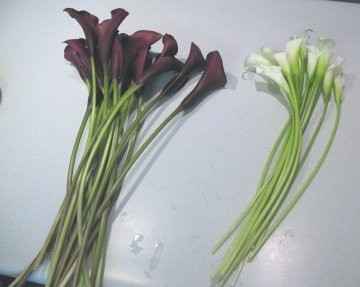
If you plan to mix colors, you would be better off to use only miniatures. They are also better for mixed bouquets, since the standards tend to dwarf other flower heads.
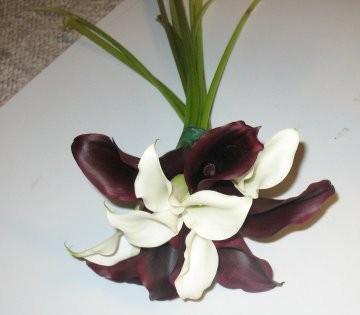
This bride wanted more color in her bouquet, so I mixed a ratio of two plum colored to every white calla that I used.
Before designing, always COUNT out every calla and set aside enough for each bouquet, plus enough for every corsage and boutonniere. If you just design until it "looks good", you may be grieved to find out later you shorted yourself enough flowers to finish the other bouquets!
Although calla lily bouquets look like they are simply gathered in hand and tied together, you must take special care when designing. They have curved stems and a tendency to shoot off in different directions.
It is easier if you tape clusters together, then add those clusters to a growing central bouquet. This assures that you keep your colors evenly divided.
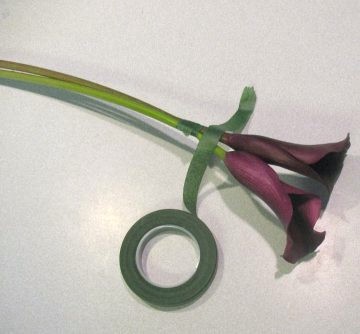
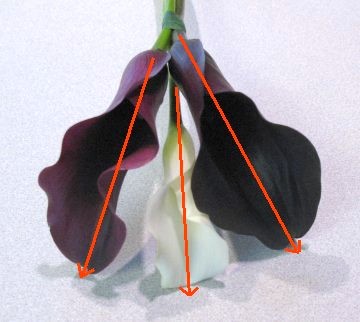
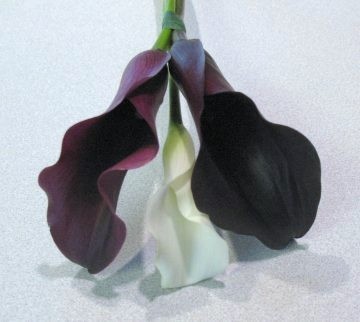
I begin by taping all my colored miniature callas together in bunches of twos with light green florist tape.
The natural curve of the flower heads leave a natural open space for my third (white) calla. If the stem curves too much, gently knead the stem, breaking the thick fibers in the stem until you can gently position the flower where you want this. Don't overdo, or you will have a very limp flower stem.
I taped all my colored calla lilies first before adding the white.
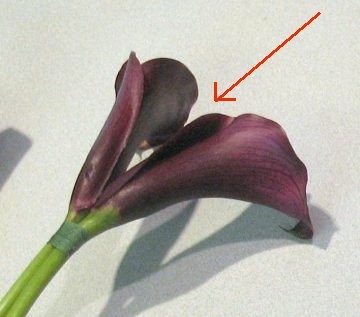
Although I ordered all miniatures, my white callas had smaller heads than the colored. So I scooted the stem up higher before taping to the cluster so the tops of the flower heads were even.
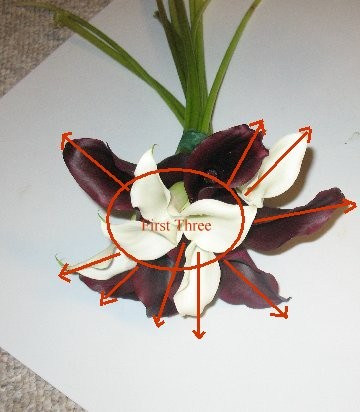
You can see by this top view that the top edges of the flowers are fairly level with each other.

Also note the natural spread, that each of the points of the flower head makes a natural angle out. This creates a nice rounded effect when putting your calla lily bouquets together.
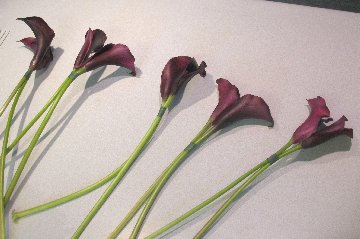
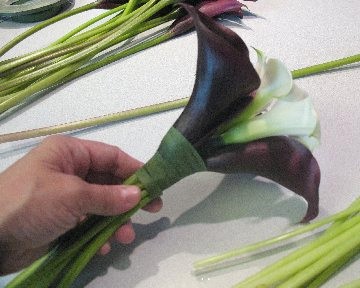
To make this calla lily wedding bouquet, the flowers have already been separated by colors and taped into clusters.
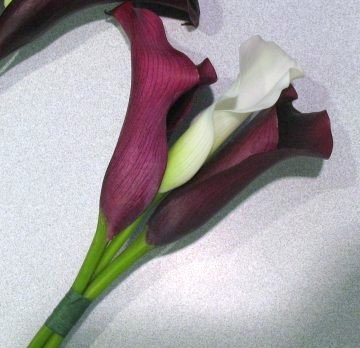
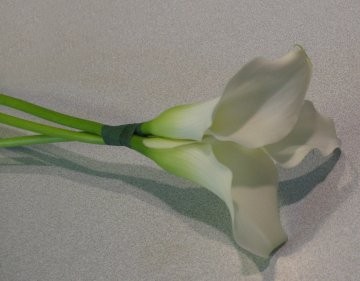
The next step is to begin the center of the bouquet by tightly clustering three white callas and taping with floral tape. Note that, unlike the other clusters, the centers of these flower heads are together, and the points of the lilies form a triangle shape.
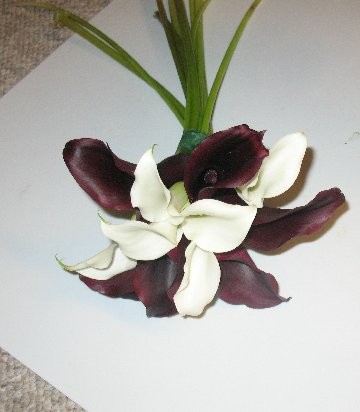
The rest of your flowers for this bouquet are already taped together.
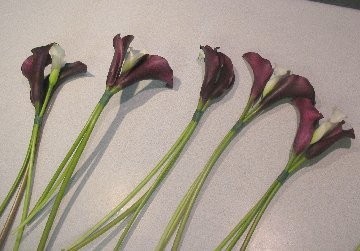
They are more "lined up", with the points in a rather curved line rather than circle.
Gently place one of these clusters against the center white cluster and tape firmly. Continue adding more clusters around the center white blooms, turning the bouquet as you tape more and more clusters to the bouquet.
The points should all face out, creating a larger circle effect.
Your calla lily bouquet will shape up quickly. The flowers should be evenly spaced with color. Continue adding until all your taped clusters of flowers are used. The last few bunches should be used to fill in where there if there are any "holes" in your circle or if the bouquet looks lopsided.
I then began using those clusters to and start taping them together, taking care to maintain a circular shape.