brooch wedding bouquet
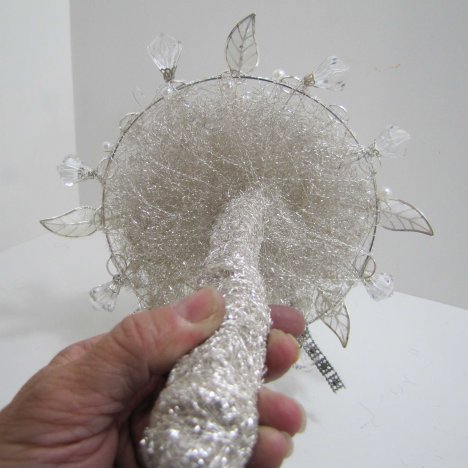
Your crystal bouquet armature comes with a foam covering that slides up over the handle. Slip it on before wrapping the angel hair wire around the handle. When you later insert your brooch pins, they will pierce the foam under the angel hair wire and anchor securely to the handle.
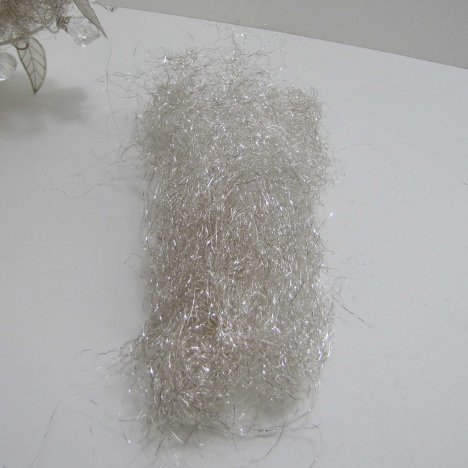
Light wrap the angel hair around the handle, making sure there are no holes or light spots that you can see the foam through.
Using bullion wire, begin wrapping it around the handle, securing the angel hair to the handle.
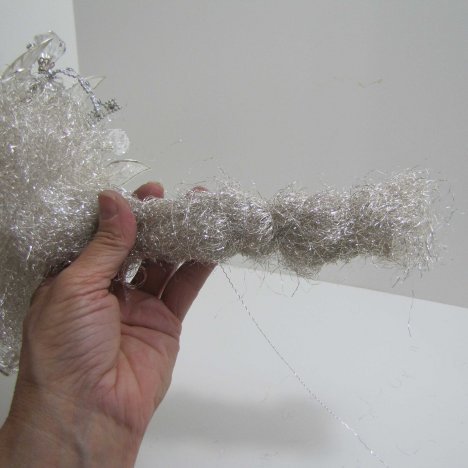
Squeeze gently on the angel hair wire, compacting it around the handle in a tight, matted fashion.
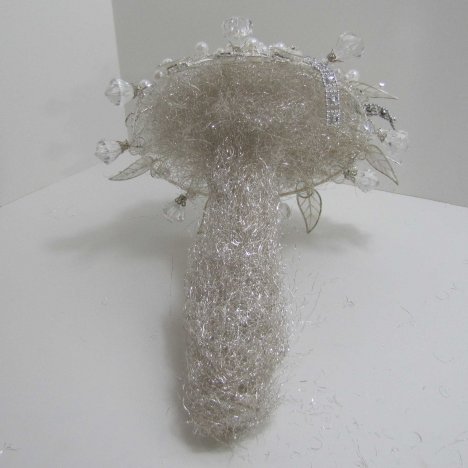
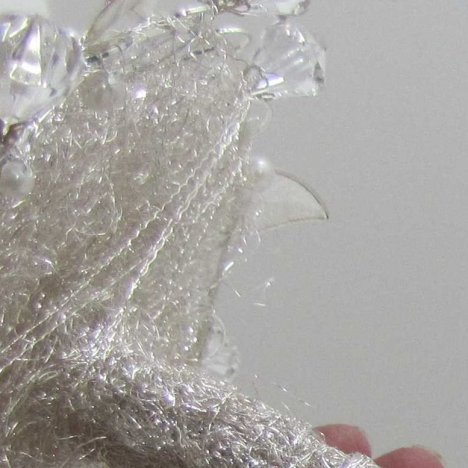
Wrap the bullion wire around one of the faceted jewels on the edge of the bouquet several times. Take the wire across the bottom and down, winding around the handle.
Go back up and wrap around a different crystal, repeating the first step. Continue doing this until the handle is completely wrapped in bullion wire and criss crossed the back of the bouquet holder.

You can see the the wire begins to form an angled cage around the bottom of the holder. This will help conceal the brooch pin stems later.
When finished, wrap the bullion wire up to the top and secure the end by twisting around a faceted crystal. Be sure no sharp wire ends are left exposed that can catch delicate clothing or lace later on.
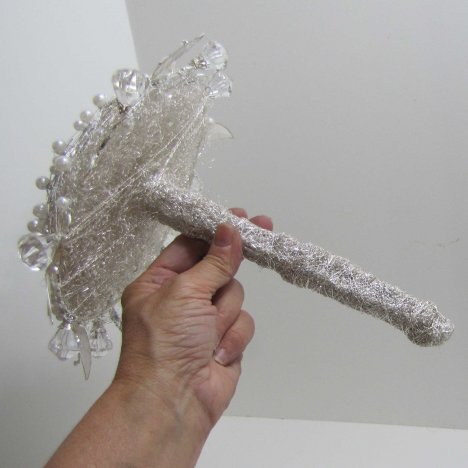
Don't feel like you HAVE to finish the handle as shown above - you can simply ribbon wrap with double faced satin if you wish.
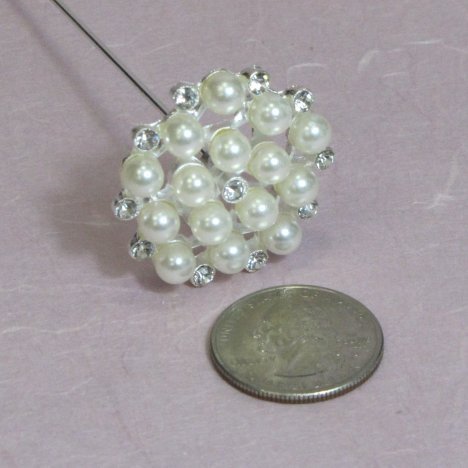
I adore the new pearl and crystal brooches by Oasis. They are mounted on a long pin that is easy to cut to length.
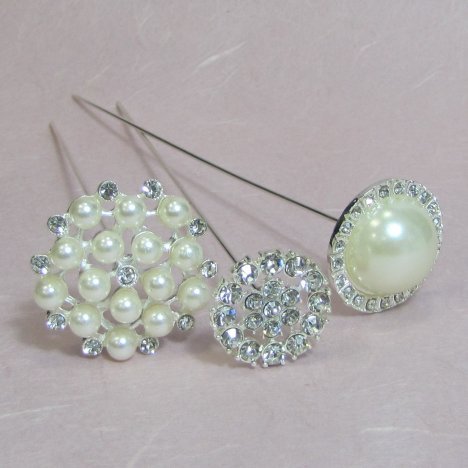
I took photos next to quarters so you can judge the approximate size of each brooch. This one features a cluster of pearls accented with rhinestones.