Bridal bouquet with roses
A bridal bouquet rose has to look as "picture perfect" as it can be. I start by spraying my fingers lightly with Finishing Touch so no oils from my fingers can brown the petals. (Especially important if you are working with white flowers).
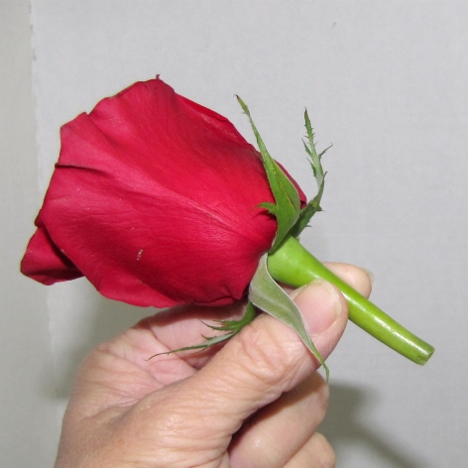
Bulk roses are shipped with guard petals in place. Sometimes customers are startled, thinking the roses are bad. This is done deliberately to protect the inner roses from bruising and thorn damage.
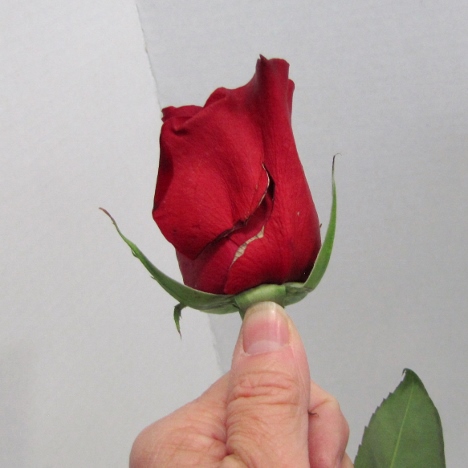
Simply peal off the outer guard petals until you have a perfect rose showing. The petals should be firm and tight, although they will soften over in time to allow the rose to open more.

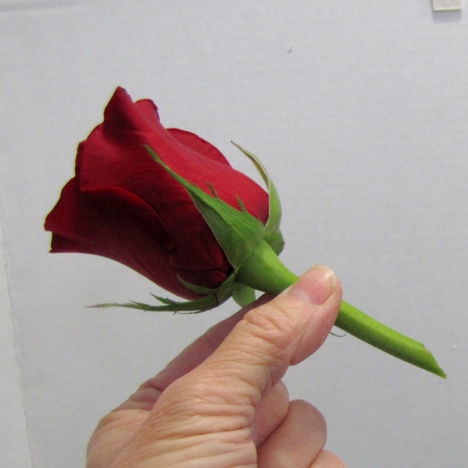
The stems have to be long enough to insert into the foam and hold fast - but not so long that they begin to crowd the foam and start banging into each other.
A finger length or a little shorter is usually good. It all depends how big you want your bouquet. The longer the stem - the bigger and more open the bouquet will be. I cut a sharp diagonal cut so that the stem inserts cleanly into the foam. Be sure the thorns are removed so they don't tear up the foam surface when inserting into the bouquet holder.
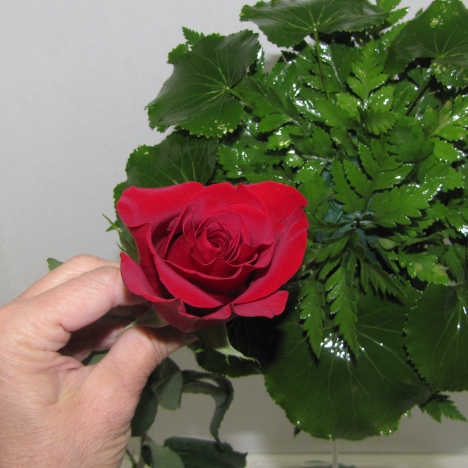
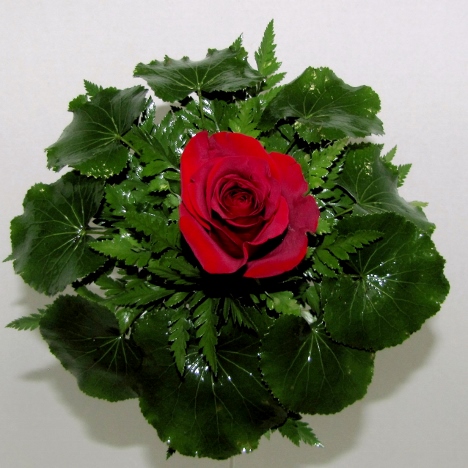
Red roses provide such dramatic impact against the beautiful glossy green of the galax and leather leaf fern.
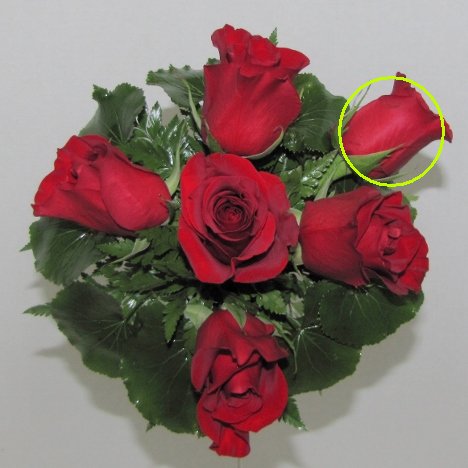
I place the first open rose in the center of the bouquet.
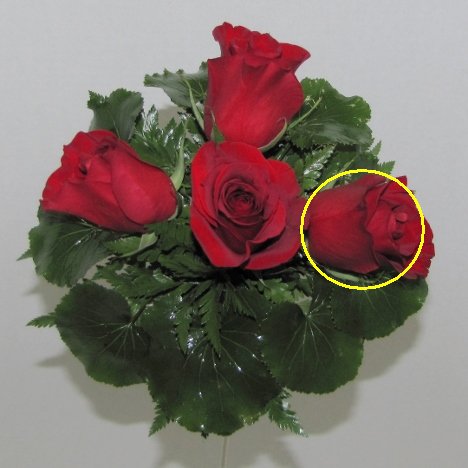
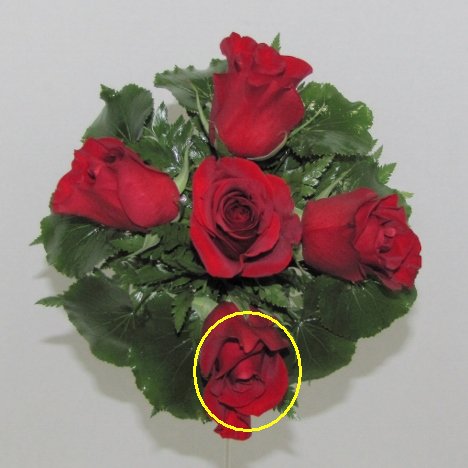
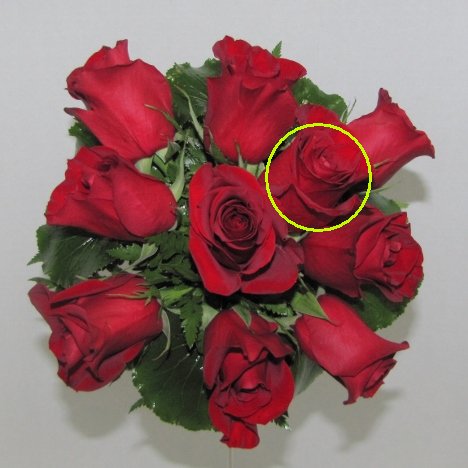
Since this is all red roses, I'm going to circle each rose placement to help you keep track of where I'm putting each flower.
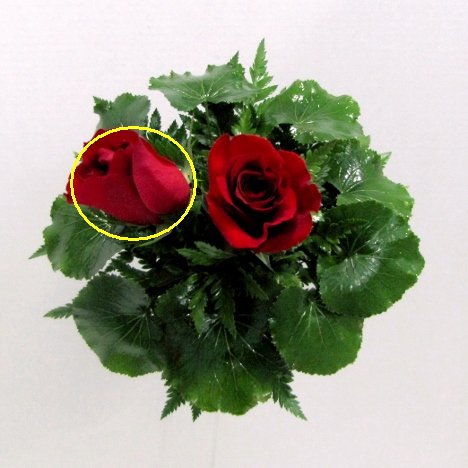
I work around the center rose, inserting the stems in at an angle near the center rose - but pointing outward.

As the flower heads open, you'll notice a gradual "dome" shape if you hold the bouquet from a side view, with the center rose being the highest point and the other roses fanning in an outward pattern.
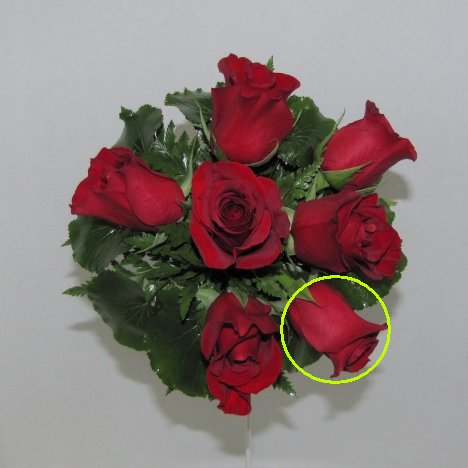
You'll begin seeing definite openings for your next rose placements. I'm clustering these close enough that the galax collar is still visible after the design is finished.
The outer roses are definitely at a 90 degree angle to the center rose, with the flower head facing totally to the sides.
Fill in the open spaces between the four roses around the center rose.
Here is a side view, so you can see how the roses are visible from all angles.

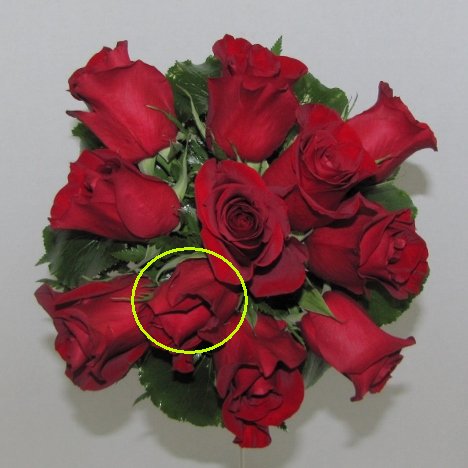
I continued the placement of my roses in a circular pattern.
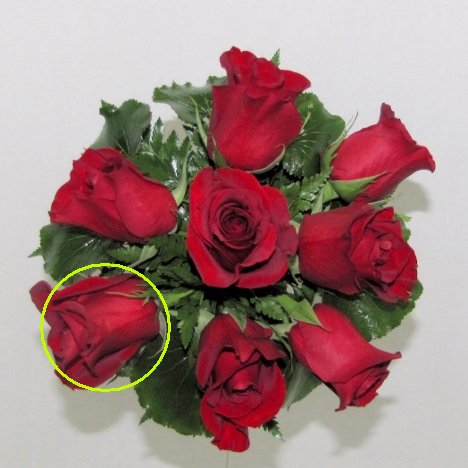
You will now have nine roses in place. I only plan on a dozen total, since I really do want the greenery to be a visible part of the design.
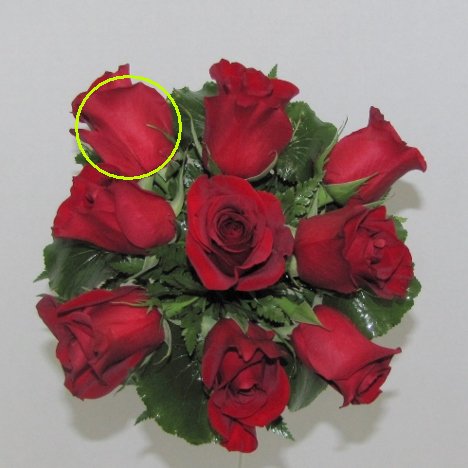
I'm now filling in a triangular pattern around the middle, using the center rose as my placement guide.
You can see a definite triangle developing.
My final rose is in place. It's time to now insert some more decorative greenery.


