boutonniere greens
I like to make boutonnieres interesting by using a mixture of different foliage. One of my favorites for boutonnieres and corsages is plumosa.
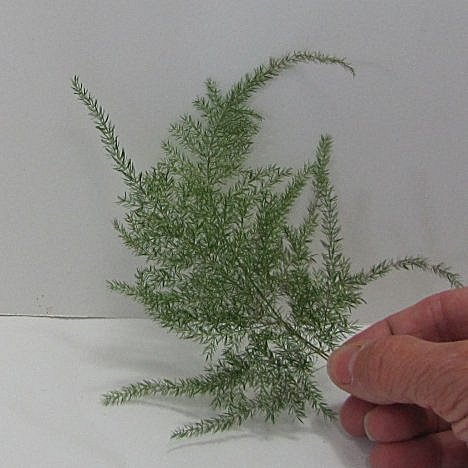
This lacy fern has delicate fronds that look awesome in cut flower work.
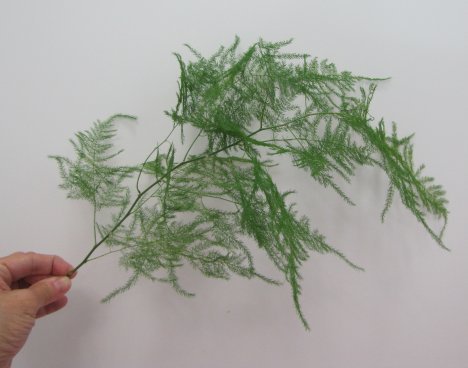
You only need to snip one or two laterals to frame the back of your design. Don't be afraid to trim or snip off wild parts into a more manageable pieces.
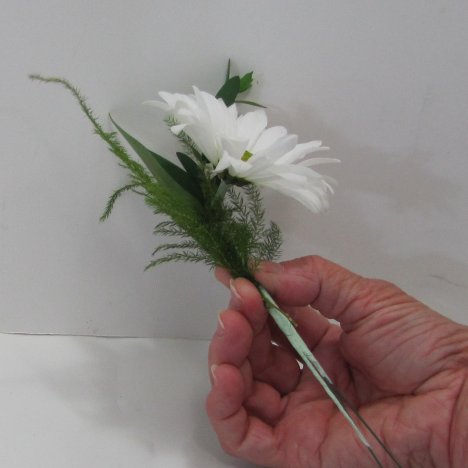
Place the first frond behind the existing boutonniere and secure with florist tape.
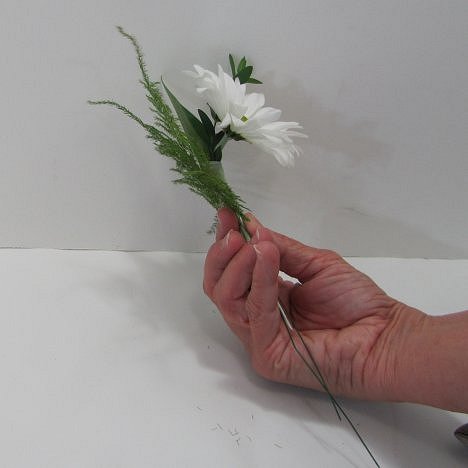
Place a second piece in FRONT of the design. This helps give depth and interest when you surround the flower head rather that just always layering it on the back.
Continue adding plumosa until you are satisfied with the effect. Don't go overboard and do so much that you remove the focus from the flower itself.
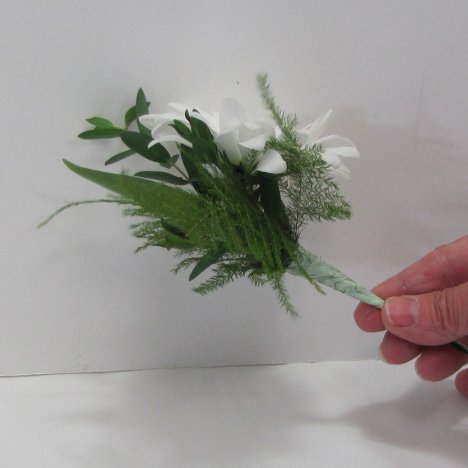
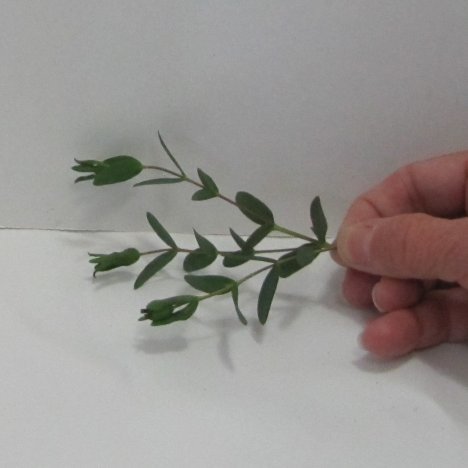
I continue to make this boutonniere fuller by adding more greens. I chose another piece of miniature eucalyptus. I didn't wire this piece, because it already had a natural curve and spread of leaves that I liked.
If you need more control to create a bend or curve, wire the greens.
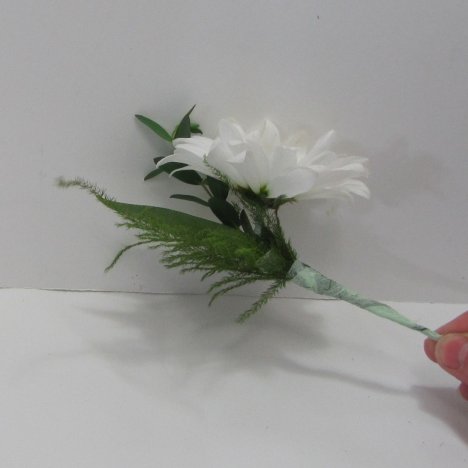
I placed this piece on the left side of the flower head and taped into place.

See how the eucalyptus peeks out from the side of the daisy head.
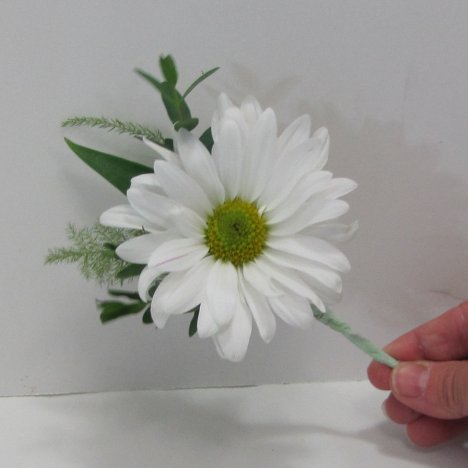
Then add another frond or two of the plumosa, creating a framework of greenery that compliments the boutonniere flower.

See how the extra greenery makes this daisy boutonniere prettier with every piece. Once you are satisfied with the boutonniere, you can finish with a ribbon wrap.