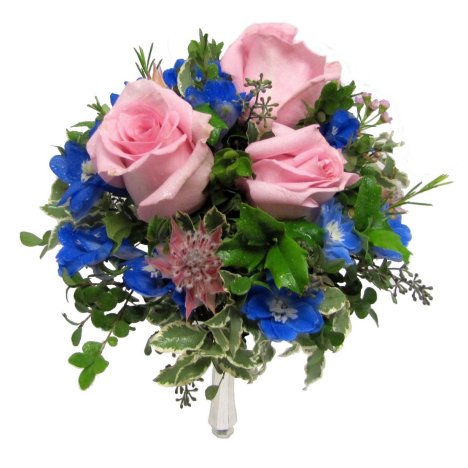
Bouquet flower designs
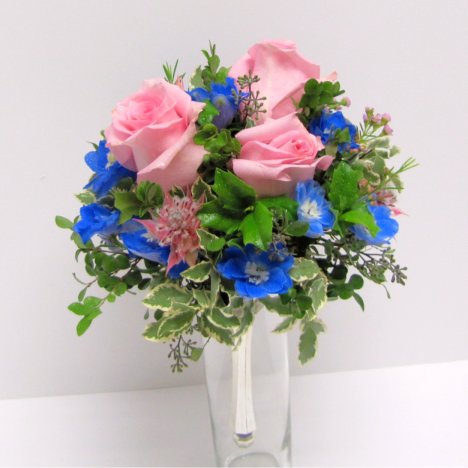
Bouquet flower designs can be changed simply by the colors you choose. You could substitute white or red roses for the colors shown below. Learn to look at the DESIGN . . . rather than the COLORS. You could also lengthen the stems, making the bouquet bigger and more freestyle.
I cut the rose stems to about two inches for this tutorial and tucked it deeply into the florist foam.
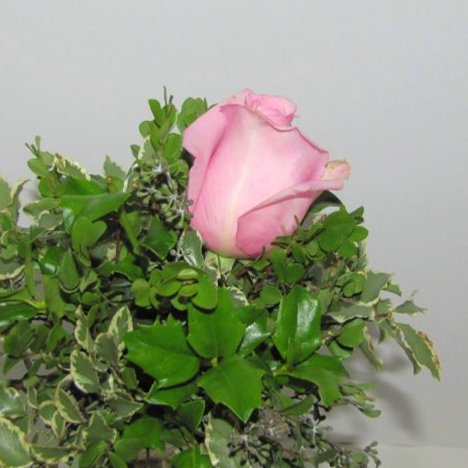
Notice the angle of the rose heads. The right points straight up and the left rose is dropped, and angling downward a bit.

The third rose is inserted into the center and angled down and to the right. These three roses are considered to be the focal point (the flowers your eyes are drawn to) in the bouquet design.
I now add the secondary flower of bright blue delphinium. They are individual florets clustered on a long central stem. I cut the single stalk into several pieces, using them as an accent around the pink roses.
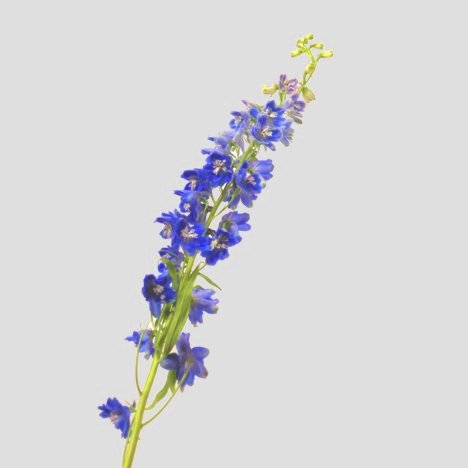
Since the individual florets are very slender and weak stems, each insertion below has a part of the central stalk cut at an angle, making it easier to insert into the bouquet. I then inserted several bridal protea blooms into the center, angled down towards the left.
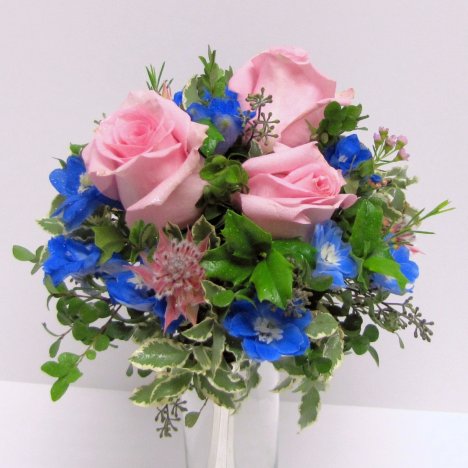
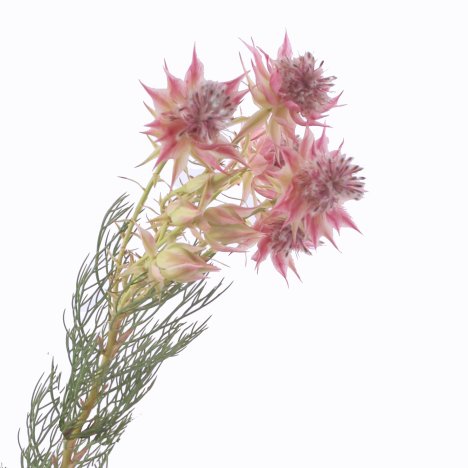
The bridal wreath protea comes in an off white and this soft pink. It is a newer variety that I fell in love with when I saw it in a wholesale cooler a couple of years ago. They have several individual blooms and long laterals for insertion.
Don't throw away the grassy stem, it looks great in corsages, boutonnieres and centerpieces.
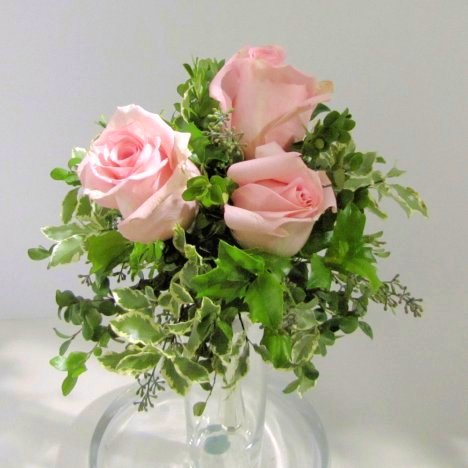
Turn your bouquet and be sure to fill in all round the bouquet.
Wax flower is a grassy variety, with tiny star flowers that come in white, light pink and dark pink (sometimes called purple waxflower).
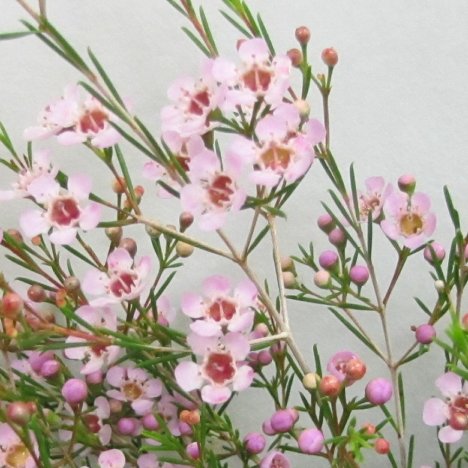
Cut the individual laterals that are pretty sturdy, inserting into the foam with ease.
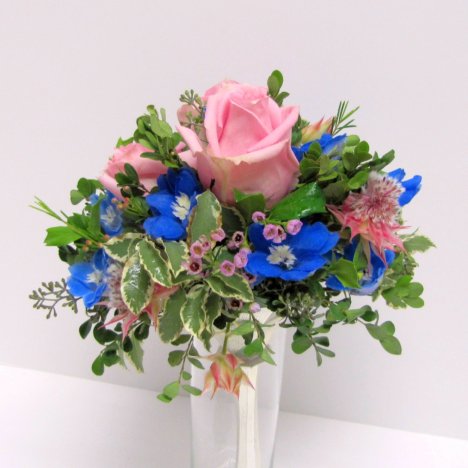
Be sure to turn your bouquet around, making sure you are satisfied before moving on.
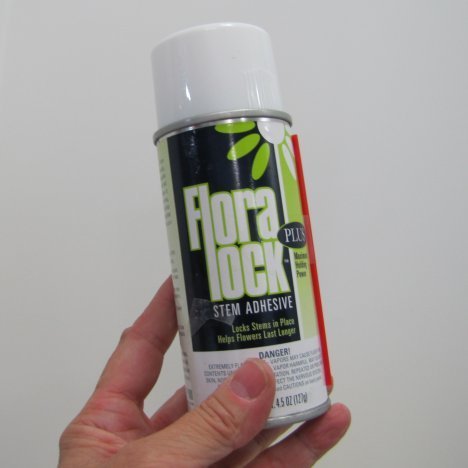
Some of the stems are pretty short, so I use Floralock to ensure that the flower insertions stay in place. Follow the directions, shaking the can thoroughly before inserting the red nozzle into the spray head.
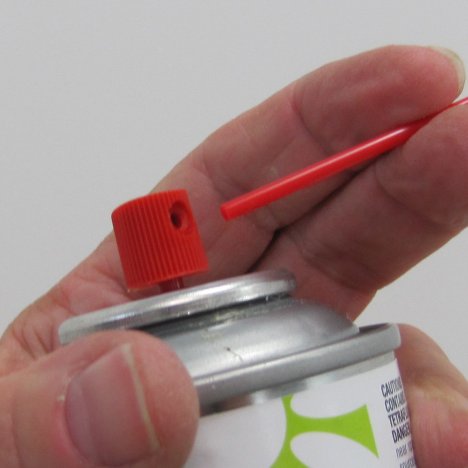
Insert the red straw into the can nozzle head as shown.
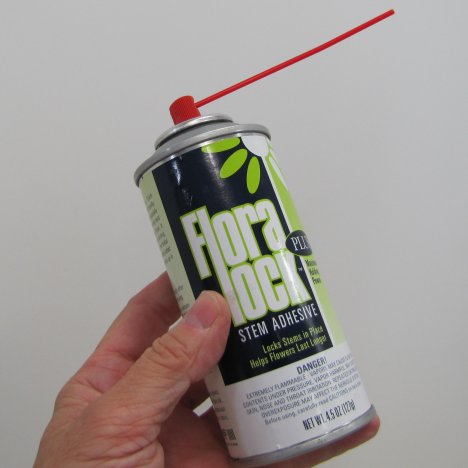
You make sure it is tight to the can so you don't have a "blowout" .... that could spray glue on your bouquet flower heads. I keep a bottle of acetate nail polish remover and dip the straw in to clean after each spray. Fit the nozzle in between the flower heads and give short bursts. The glue will spread over the surface of the wet flower foam, locking the stems into place.
When finished, always spray your flowers with a flower sealant such as Finishing Touch. It seals the flower petals and helps slow moisture loss that can lead to premature wilting. This is important, as home refrigerators and air conditioning acts differently in a house versus a professional florist cooler - which adds moisture to the air rather than removing it. Extend the life of your wedding flowers by a few good products that work well.


leave bouquet flower and go to all flower tutorials
