binding rose bouquets
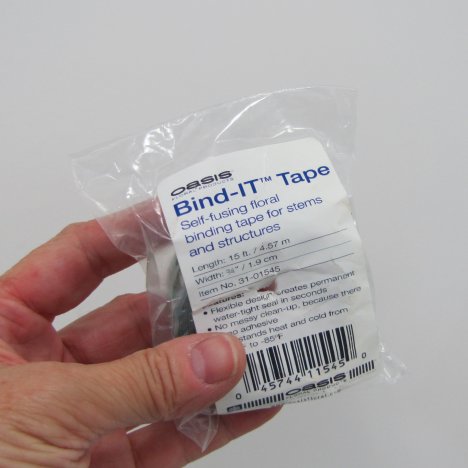
Binding rose bouquets is easy with Bind-IT tape.
This tape doesn't seem to stick to anything - except itself. It stretches and creates a tight, waterproof wrap when wrapped around itself.
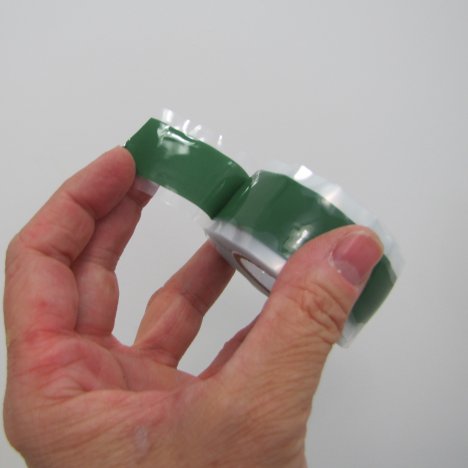
Be very careful when unwrapping not to fold the tape onto itself. It clings very quickly and forms a bond that cannot be separated.
This product is a great advantage over the green waxed string used so many years by florists to bind and wrap hand tied designs.
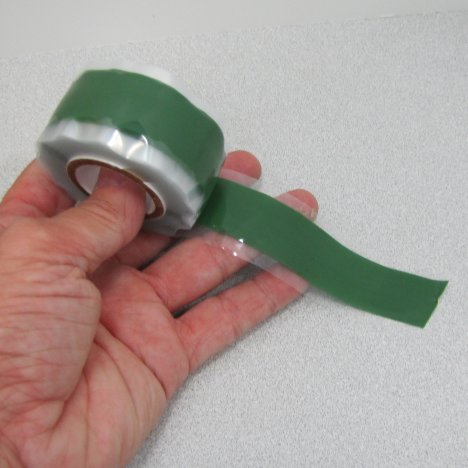
Bind-IT is a great tape for hand-tied wedding bouquets. Be careful as you peal off the clear covering from the roll that you don't allow the tape to touch against itself until you are ready. Best of all - you can manage Bind-IT tape by yourself. Wrapping and securing stems with green waxed string often included the help of a second person!
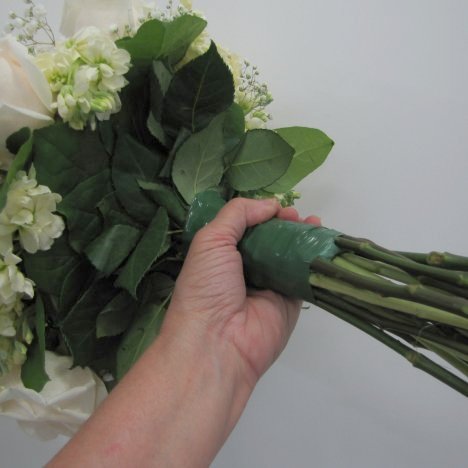
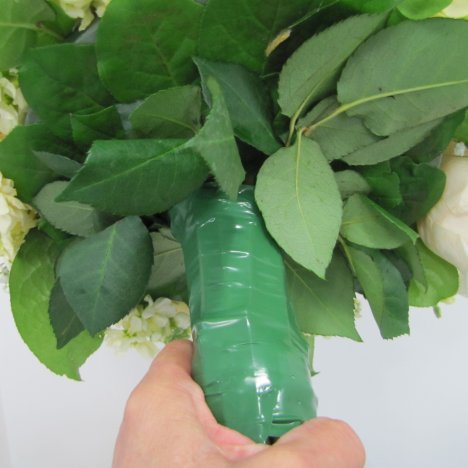
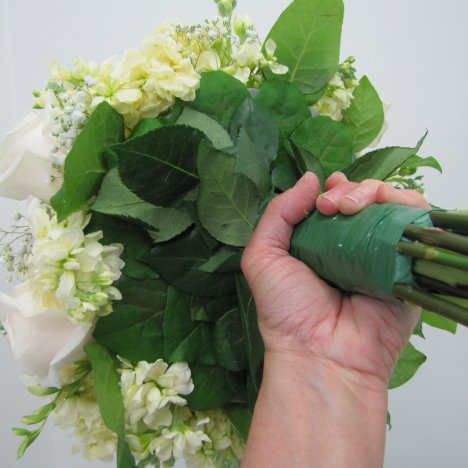
Start at the top part of the stems directly under the base of the bouquet holder. Use the tape to conceal any cut ends at this point.
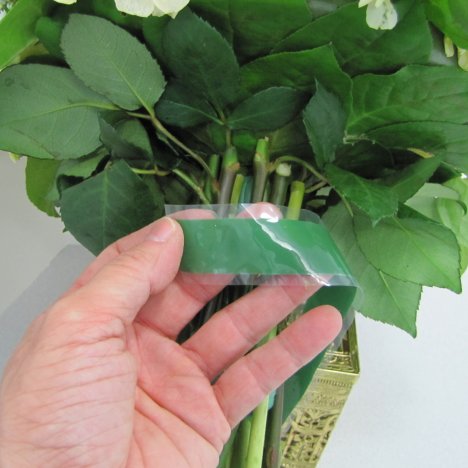
Lay the Bind-IT tape directly against the cut flower stems.
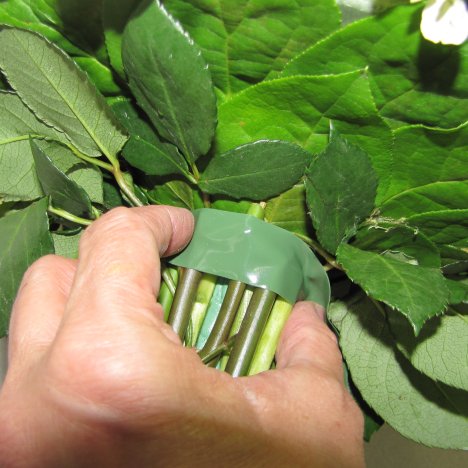
Pull gently on the tape, stretching it and wrapping it around the entire bouquet stem.
Continue wrapping, securing the tape firmly against itself, creating a tight, waterproof seal. Be sure to go down far enough to hide any sign of the florist clay.

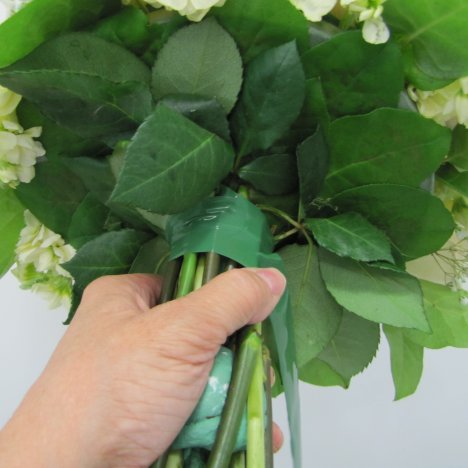
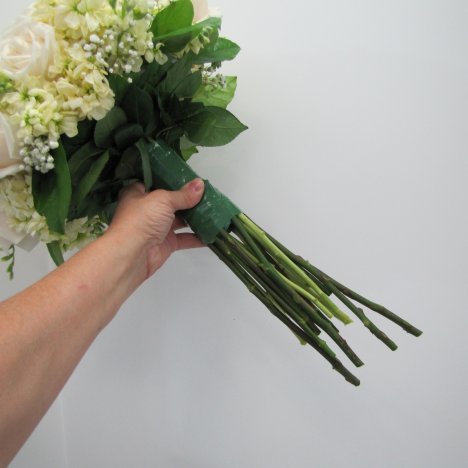
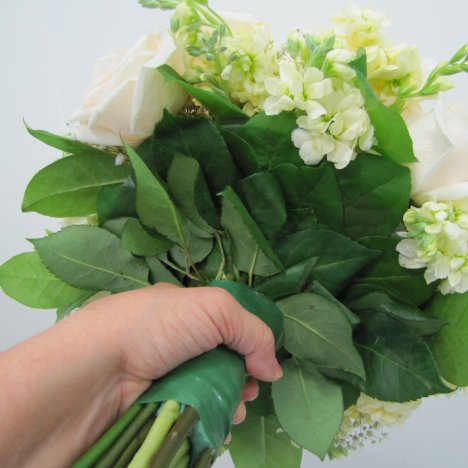
See how the stems maintain a slight, outward flair to mimic a look of a real hand tied bouquet.
You now have a clean, smooth bind around the stems that will not loosen or let any of those cut flower stems fall out. You can conceal the Bind-IT tape with ribbon, colored wire or (as I will in this tutorial) using a paper covered wire with a rustic flair to it.
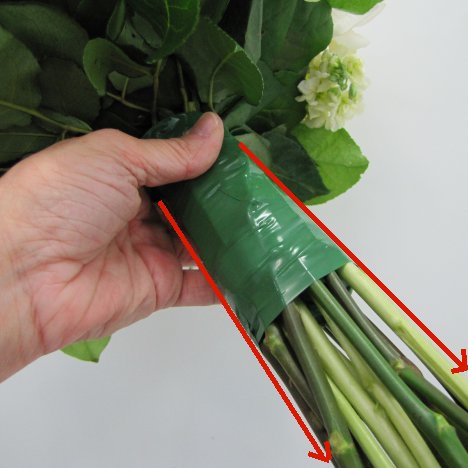
You will need to cut the flower stems to a manageable length for carrying on the wedding day. Don't do this until the Bind-IT tape is securely fastened and the stems are secure against the bouquet handle.
I use professional floral snips (also known as "bunch cutters"). The heavy duty blades easily cut thru the stems and branches. If you don't have snips, use a sharp knife or kitchen shears. You don't have to worry about crushing these stems, since they aren't really pulling up water to the flower head.

Leave a little extra length if you're not sure how long the bride would like to have them stems. You can always cut off more - but you can't add it on!
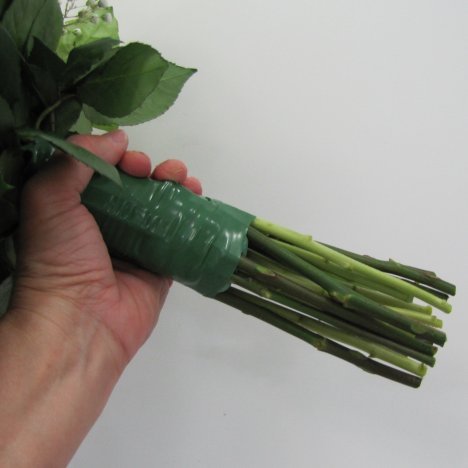
Note the slight outward flare that I worked to keep. However, the stems are clean, bound and look just like the real thing.
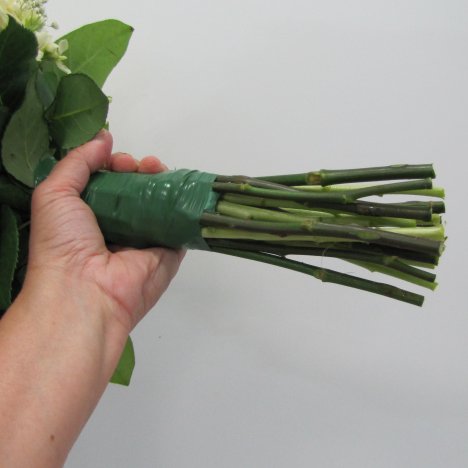
The underside view of this mock hand tied bouquet shows how realistic this bouquet is. No one would know (unless you tell!) that this bouquet has been created on a bouquet holder.
The real leaves conceal all the mechanics and give a very good illusion . . . yet is so much easier to create.
The final stemmed handle is much slimmer and easy to hold, plus the weight of this many flowers is lighter and more balanced.
Don't be deceived, though, this big of a bouquet is still quite a bit to carry. Scale the size of the bouquet to the size of the bride.