wrist corsage
You can learn how to make a wrist corsage that rivals a professional florist simply by having the correct florist supply products.
For this tutorial, you will need:
- 6 Spray Roses
- Sprigs of Plumosa
- 2-3 Sprigs of Wax Flower
- 1 Fitz Corsage Bracelet (your choice)
- Flower Jewels
- 1 tube Oasis Floral Adhesive
- Floral knife
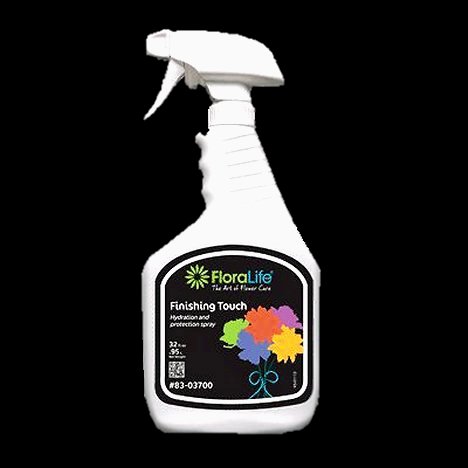
- Finishing Touch flower sealant
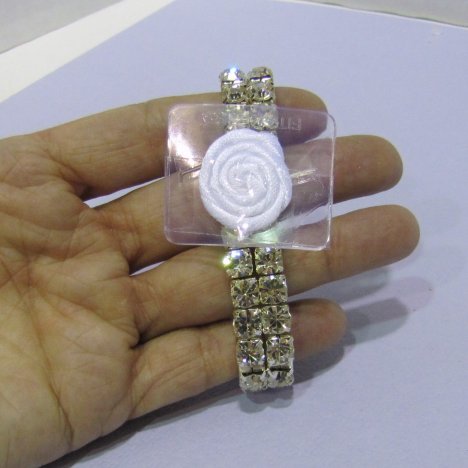
The newer decorative corsage bracelets by Fitz Design all come with an attached flexible silicone backer attached by a ribbon. The ribbon is intended to allow the old taped and wired method corsage to be tied to the corsage backer.
However, it is much faster and easier to simply use floral adhesive to glue the flowers directly to the mounting backer.
First you need to gently unwind the ribbon and hold the ends, allowing the bracelet to twirl and unwind the ribbon. You will then need to tie those ribbons in a secure square knot and then cut off the excess ribbon. Be sure the knots are tight as they are what hold the backer to the bracelet.
Use quality floral adhesive by Oasis. Do not attempt to use hot glue (which can burn the flowers) or cool melt glue (which tends to pop apart in a cooled environment.
Floral adhesive is designed to be kind to flowers and has holding power despite water or refrigeration.
Squirt the glue out onto a disposable surface so you can dip and swirl the flowers directly into the glue. This keeps the surface of your tube cleaner and less likely to plug.
Be sure to use plenty of glue to asure a tight adhesion.

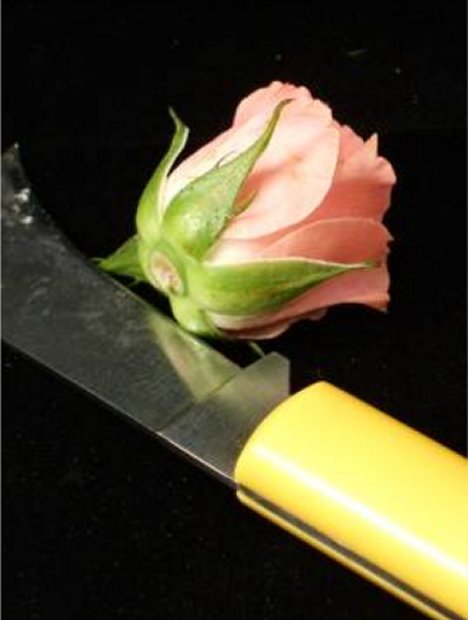
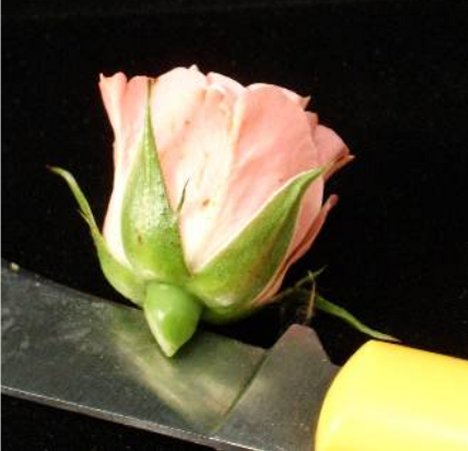
Cut the center flowers of the design straight across the base of the flower, flush to the flower head with a sharp knife. Do not use scissors. The glue can do nasty things to scissors!
After swirling the base of the flower in the glue, allow to dry and become tacky for about 30 seconds before placing on the silicone backer.
Glue the second flower tightly against the first flower.
The next couple of rose heads are cut at an angle as shown below. You want the flower heads to begin tilting outward from the center of the corsage.
Glue those two flower heads on the silicone backer, again snuggling the flower heads up against the ones already glued.

Allow even a longer portion of stems for the remaining flower heads. These flowers should be more in a bud stage than a full blown rose. These are going to be glued in from the sides and need more of a stem in order to reach the silicone backer.

Tuck these two flowers (buds fit in nicely) between the existing flowers as shown below.

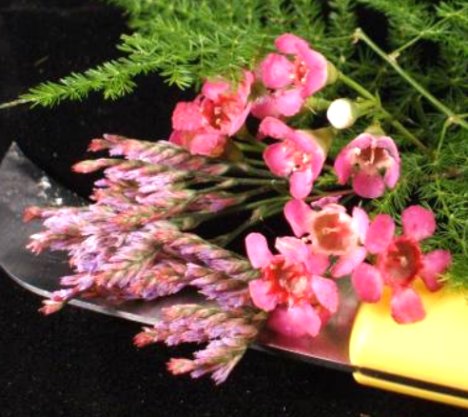
Now is the time to fill in the empty holes of the design with bits of plumosa greens and filler flower. Shown is pink wax flower and purple limonium. You can use other filler such as baby's breath, statice or solidago if you wish.
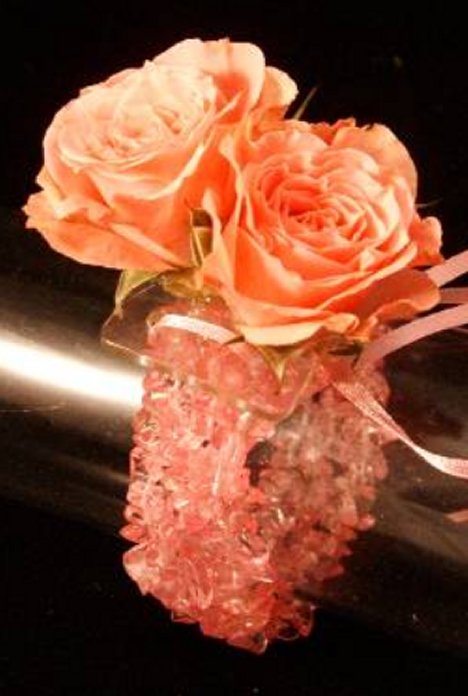
Once the flowers are all firmly in place and given time to dry, you can begin having fun by adding in your choice of jewelry accents.
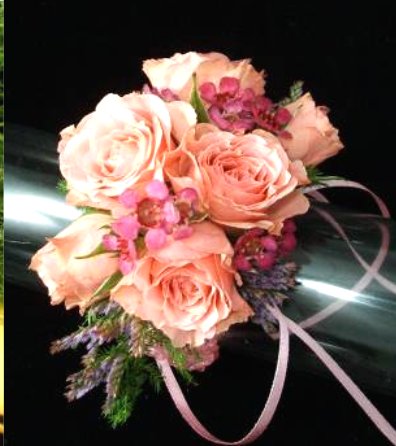
Adding sparkle and shine to the wristlet gives it the professional touch that will make your corsages look like they came straight from a flower shop. Simply glue in place as you did with the flowers.

I always finish off my wedding or prom designs with a good misting of Finishing Touch. This flower sealant protects the petals by locking in the moisture and helps them last longer.
Store the finished corsage in a cool area - refrigerator if possible. Do not store in the back, since household refrigerators tend to be colder towards the back and can freeze flowers if you are not careful.