wiring ribbon loops
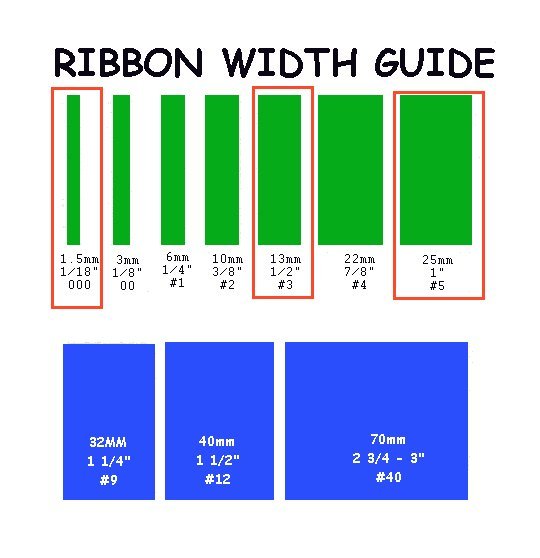
Florists refer to ribbon by numbers (#3, #5, etc.) which refers to the width. (Do not mistake that #3 means 3 inches, however!)
Sorry - the photo below is not to perfect scale - but it does show you widths in comparison to each other.
#3 and #5 is what I recommend for corsage work. The extremely narrow #000 - 00 is what you would use to french braid on a boutonniere or corsage stem as the overlaying contrast ribbon.
The wider ribbon below in blue is appropriate for pew bows and other decorative use. #9 and #40 is the most popular with brides.
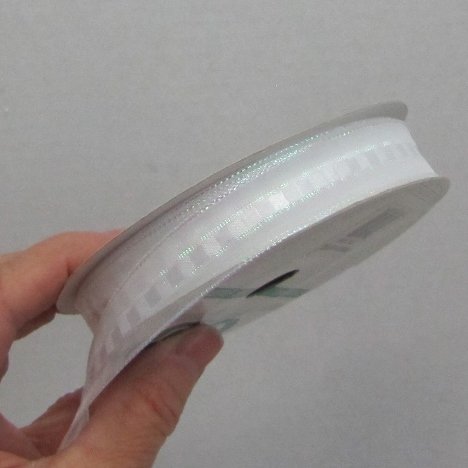
This is an example of #5 ribbon. I like using ribbon that has very thin wire or fiber optic (like fishing wire) on the edge. It makes a nice crisp bow that is easy to make and stays looking good even through packing and transporting to the church
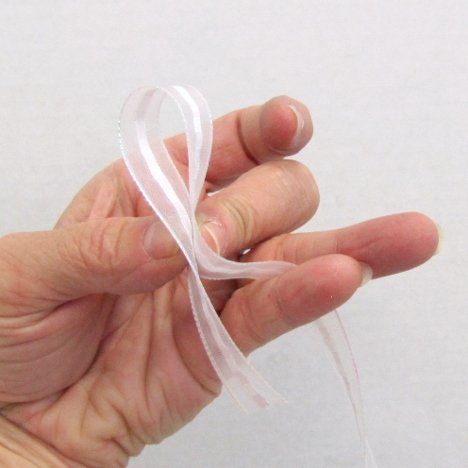
Keep your loops smaller for corsage work. 1 1/2" works well - but don't worry about measuring - just gauge by eye and make a loop that you can insert one finger into, but two fingers would be too tight.
Have cut wire handy, ready to wire the loops of ribbon with. These loops are going to be taped to the other stems eventually.
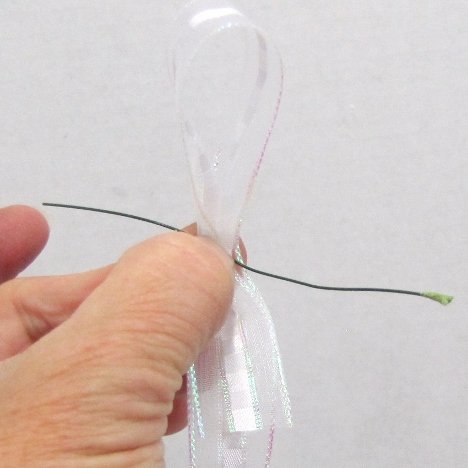
The trick to a tight twist is to hold the wire and TWIST THE RIBBON - not the wire. The twist will quickly tighten and go right up against the ribbon this way.
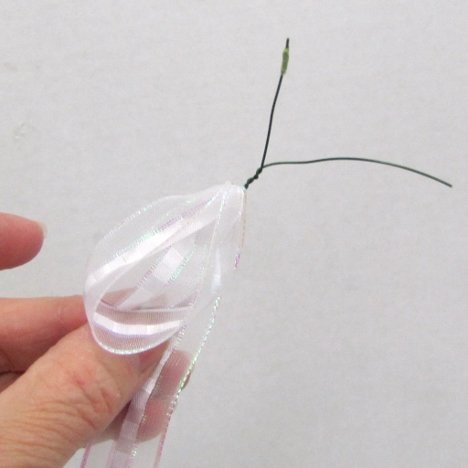
I like leaving a cut tail under the loop. Leave a little longer. You will trim away the excess when you are finishing up corsage details.
Always keep a sharp pair of shears for ribbon only. This way you will get a sharp cut that won't fray delicate sheer ribbons.
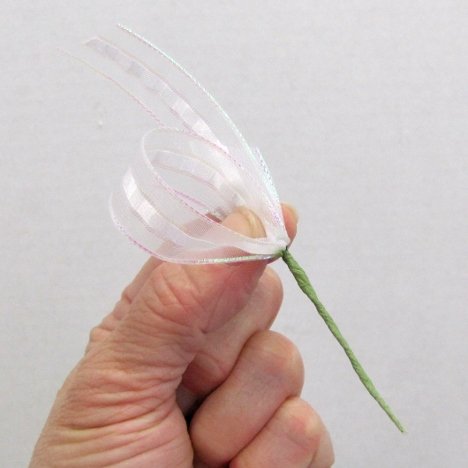
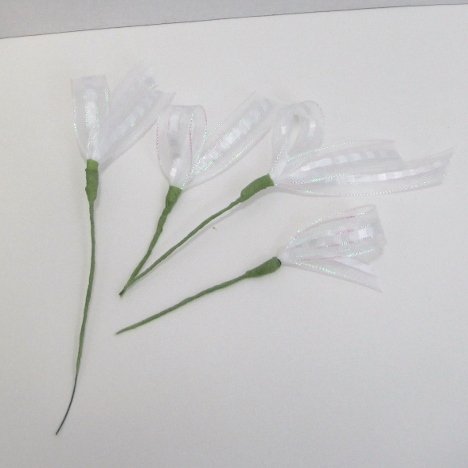
Make up numerous loops and have ready when you begin assembling your corsage.