Winter Wedding Bouquets
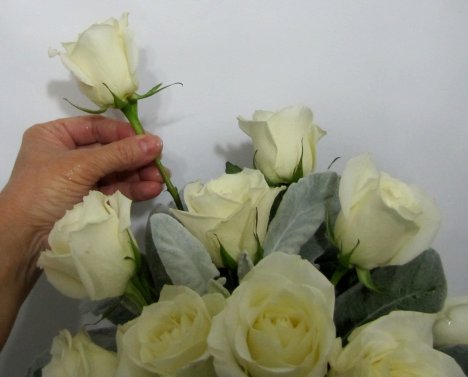
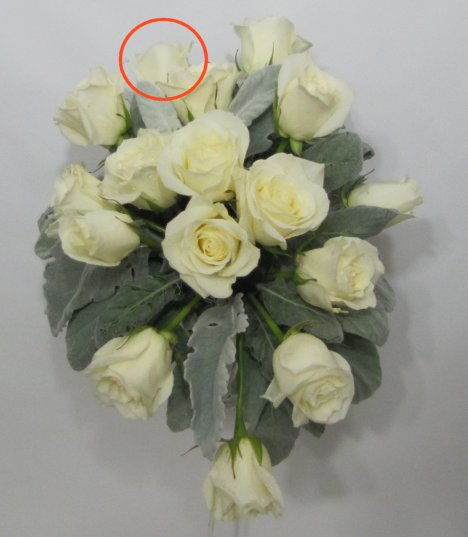
Now I'm going to begin closing in the gaps with the final roses. I place another rose in the left upper portion of the bouquet.

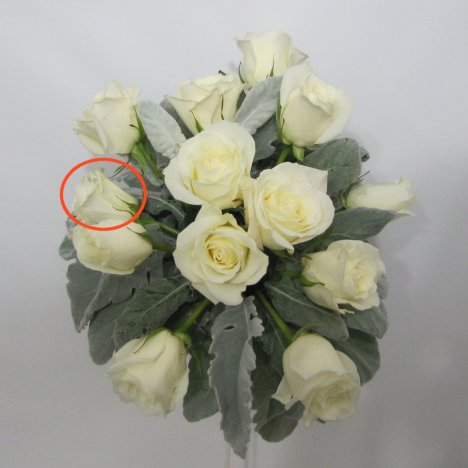
Note the placement. Notice that some roses in the design are becoming clustered and actually touch each other.
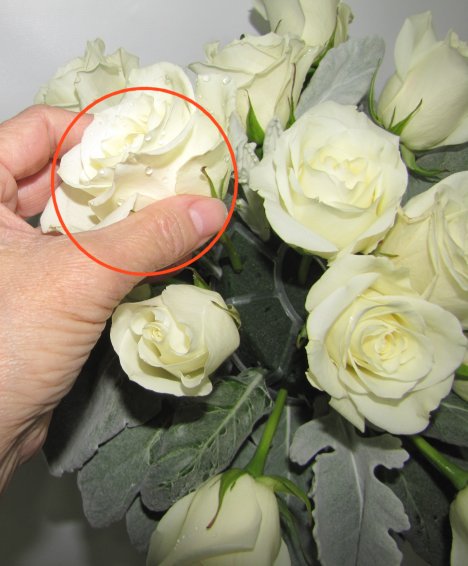
Handle the rose heads with care. It's best to mist your fingers with a flower sealant such as Finishing Touch so the oils of your skin don't cause bruising the the petals.
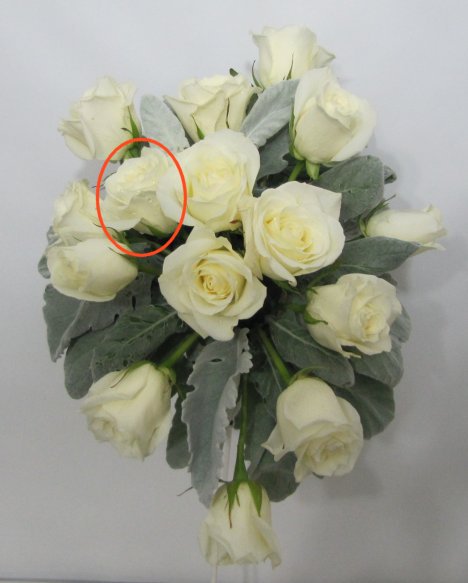
Now the roses are beginning to fill in the gaps between the first placed roses.
You can see how I choose my placements, filling in the design while maintaining my soft oval shape.
Look at your design from both the sides and top. Remember most guests first see the bouquets as the bride is coming down the aisle and from the side. You don't want them to see a flattened bouquet, but one with texture, depth and with rose heads facing outward at them.
You can see by this side view how the open flower heads face to the sides as well as to the front.
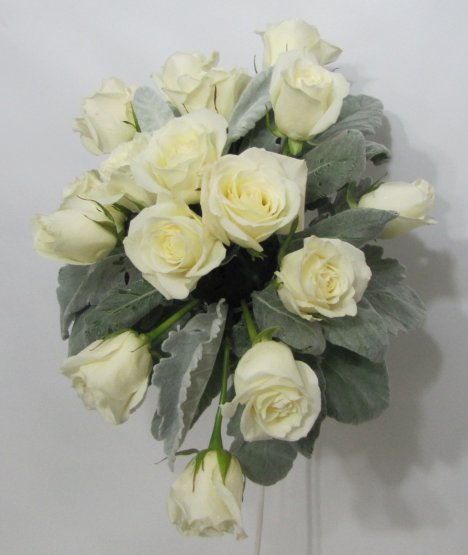
Professional florists have to work harder to create depth in a design when all the flowers are the same color or hues. Placing some roses a little deeper or a little more extended gives more depth to the final design.


