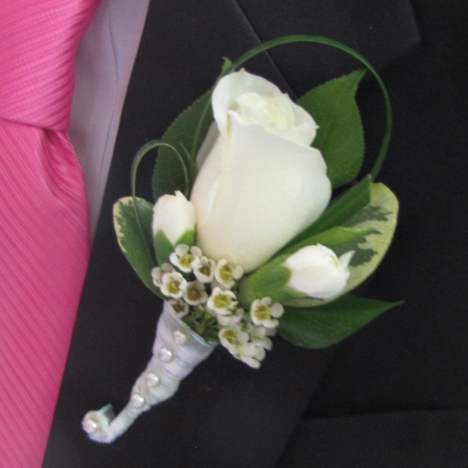
white boutonniere
Let's add more class to this white boutonniere.
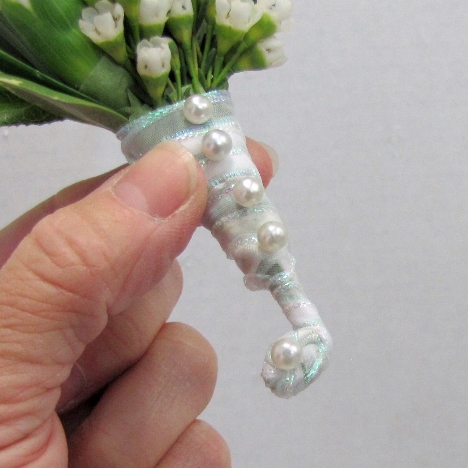
I place my first shortened corsage pin right under the wax flower and push upward hard to bury the sharp point.
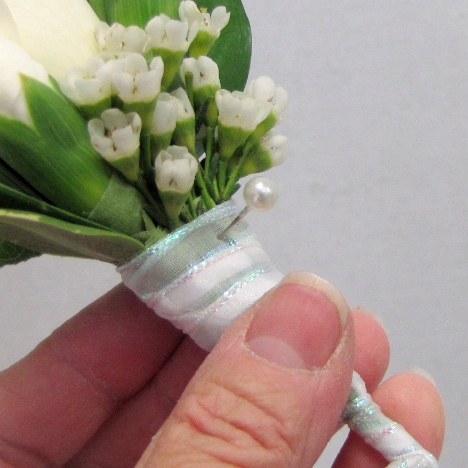
You can dip the shank of the pin in white glue before inserting if you want to assure that it doesn't come out.
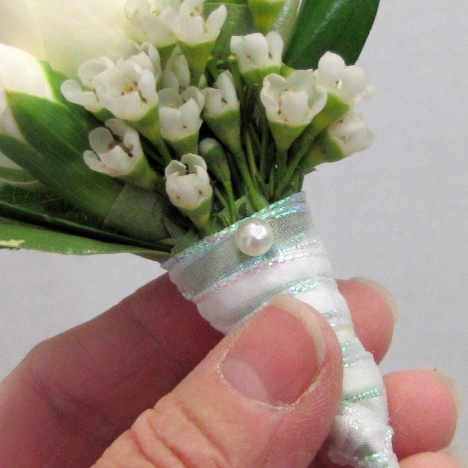
Continue adding pins until you are happy with the design.

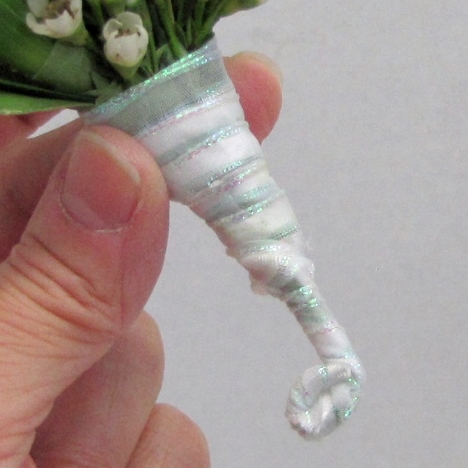
Four pins down the stem assures that the ribbon stays firmly in place. The extra pin is inserted deep into the curled end of the tail.
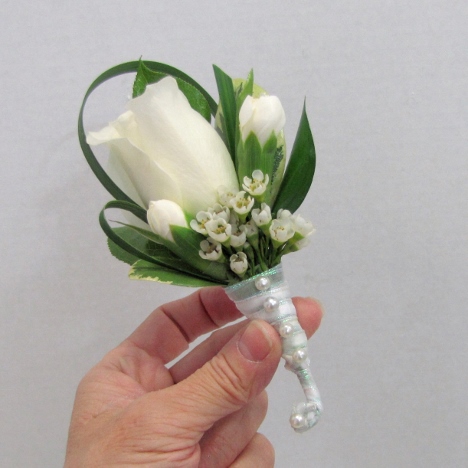
It's amazing how a simple white rose boutonniere turns into a work of art with the addition of some mixed greenery, a couple of carnation buds, wax flower and a lovely finished ribbon stem with pearls.
You've taken an inexpensive rose and created your own $20+ boutonniere!
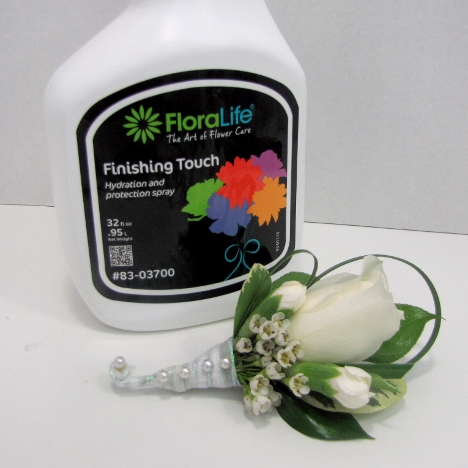
Be sure to seal your designs with a flower sealant such as Finishing Touch. Allow to dry before placing your cut work (corsages and boutonnieres) in the refrigerator. Turn the fridge up a little warmer than usual - most refrigerators are colder in the back and can actually freeze flowers if you aren't careful!
Do not store with any fruit. It gives off a gas that is deadly to flowers!
Pin your boutonnieres on the wearer's left lapel. Insert a corsage pin from behind the lapel and push the pin upwards deep into the flower stem. Put another pin behind the lapel pushing downward, deep into the rose head.
This will secure the boutonniere and not allow it to "flop" forward as happens at times when not pinned correctly.