wedding backdrops
Draping Fabrics
Wedding backdrops often include creative draping with fabrics. Keep in mind that the fabric has to be in place BEFORE adding the foam cages that hold the flowers.
DIY brides automatically think tulle, but I like fabrics that drape easier and don't wrinkle so much. I choose slippery nylons or 100% polyester fabrics. Shop for bargains at Goodwill and similar thrift stores or the clearance racks at fabric stores. Hold it up . . . slide it through your fingers and pull it into a swag and see if the fabric drapes rather than folds. I've bought entire bolts of suitable fabrics for under $10.
If you're using a wood arch, buy elastic cord to tie the drapes. It holds tight - but is forgiving if you want to pull out a little more of the fabric.
My draping kit that contains good fabric shears, several packages of thumbnail tacks, a lightweight hammer, wire cutters, long electrical zip ties, several packages of elastic cord, 6" white tulle, Uglu and paddle wire.
I like securing my fabrics with something strong, but that will release the fabrics with a snip of the wire cutters. You may not need all these products, but choose the products that you want to secure your fabric with. It will depend on what type of arch you are dealing with. Wood can be secured with thumbtacks, while an iron arch may need the zip ties. Puffy drapes can be secured with the elastic cord or lengths of the 6" tulle. Uglu strips can easily create swag folds that will stay in place, yet come off the fabric without causing any tears or rips in the curtain.
The goal is to disguise your mechanics, covering the elastic and tacks with flowers or fabric.
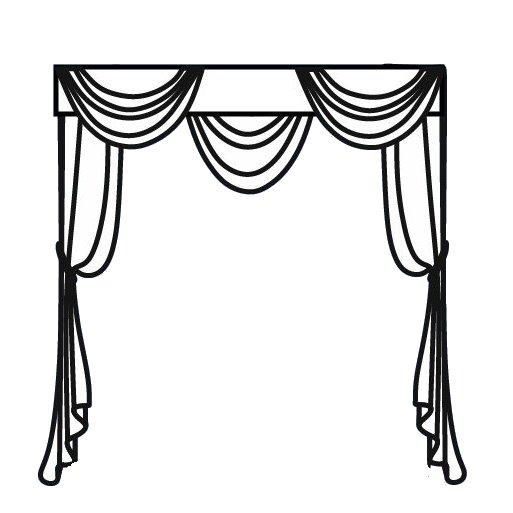
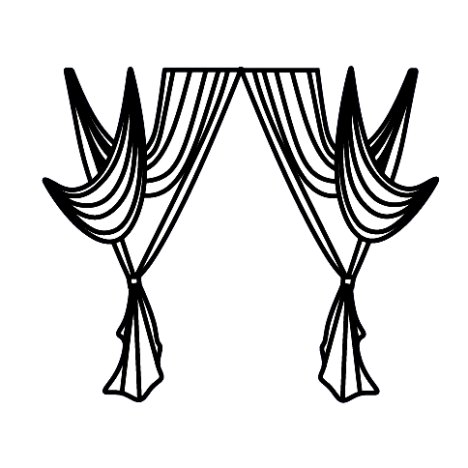
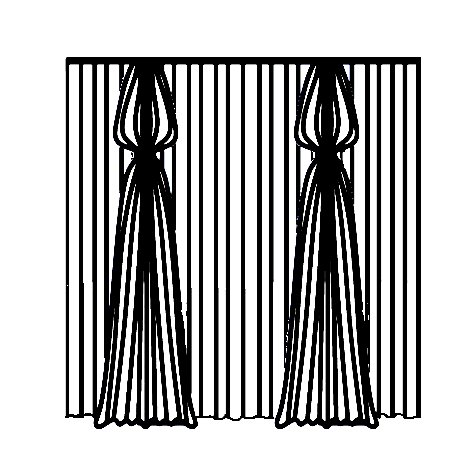
The most basic design is side panel drapes, pulled back and secured to each side of your wedding backdrops. A solid row of flowers will need 2 27" raquettes, flower sprays on each side required two small floracage holders.
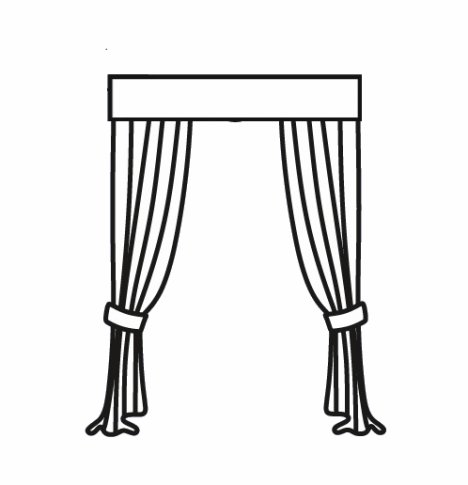
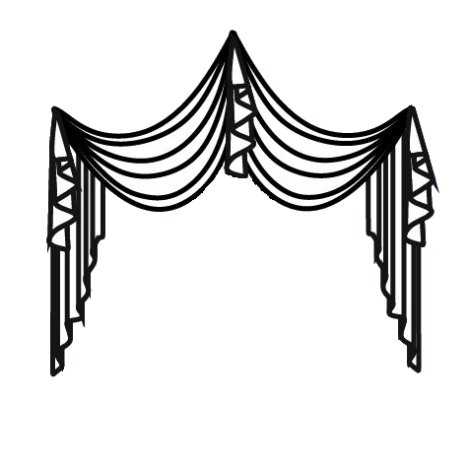
If you want a wider backdrop, repeat the pattern of your draping side by side (as shown below) .
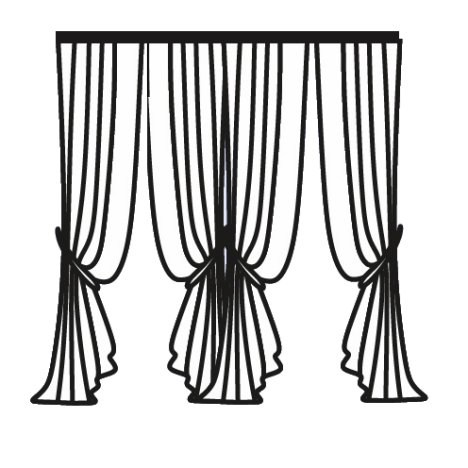
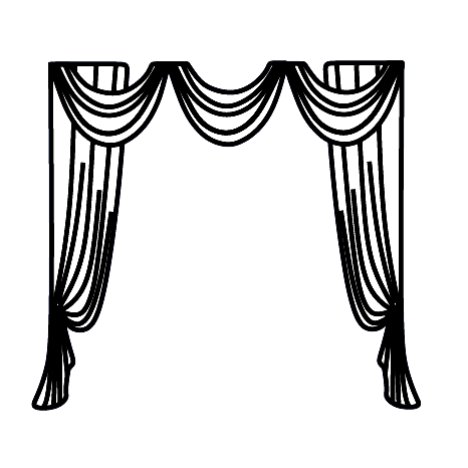
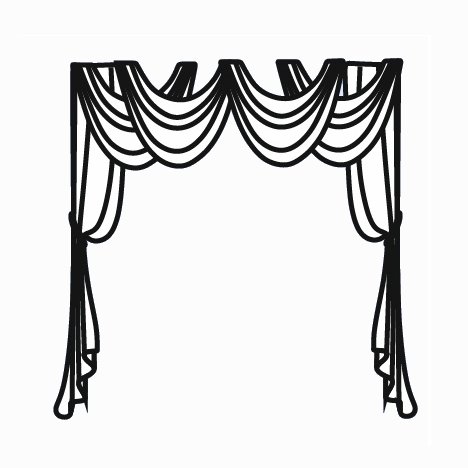
The basic swag is usually three times the width. This works well with fabric bought by the bolt. Uglu or tacks can secure the folds of the fabric exactly the way you want them to stay.
The draping for this look is gotten by tacking the ends of the swag fabric on the extreme right and left on the back side. Find the center of the swag and pull it up and over the top center bar. Tack the top side of this center swag to hold it securely.
Pull each side drape and tie with elastic cord or a long zip tie.
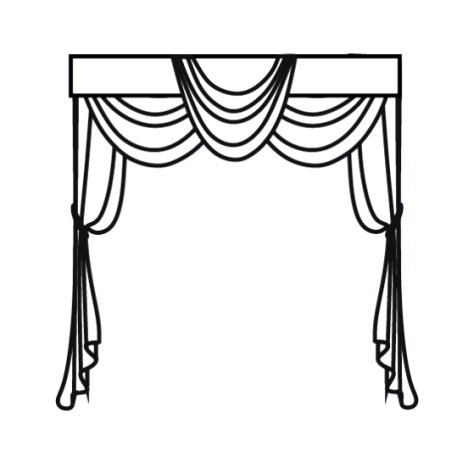
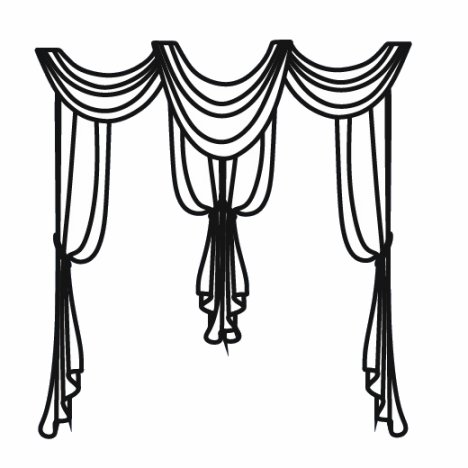
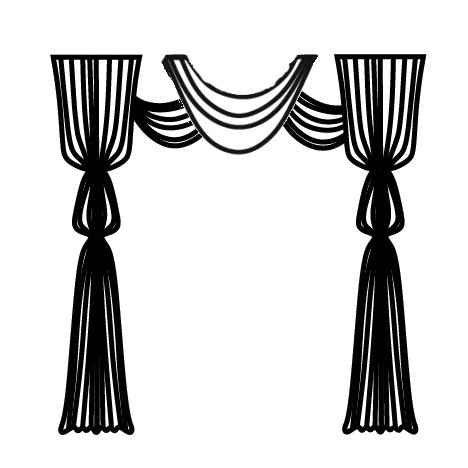
Here is the same style, except the two end panels are draped to the front, while the center panels is hanging on the back side of the wedding arch.
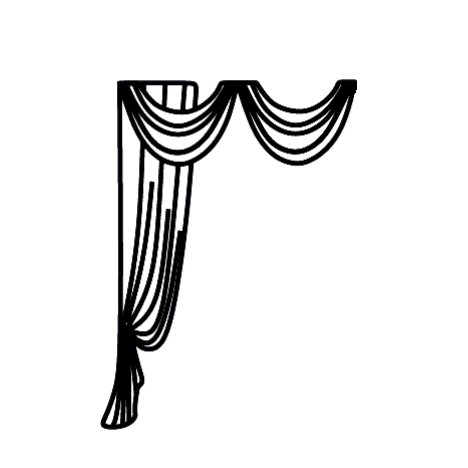
Same draped top, leaving off the left side panel to create a cascade of flowers on that side.
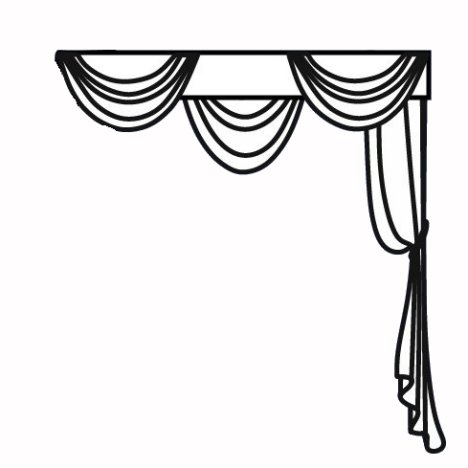
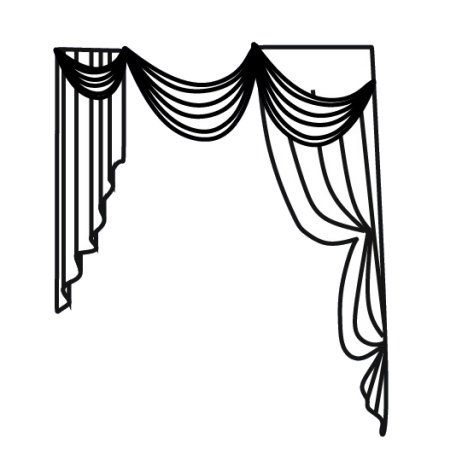
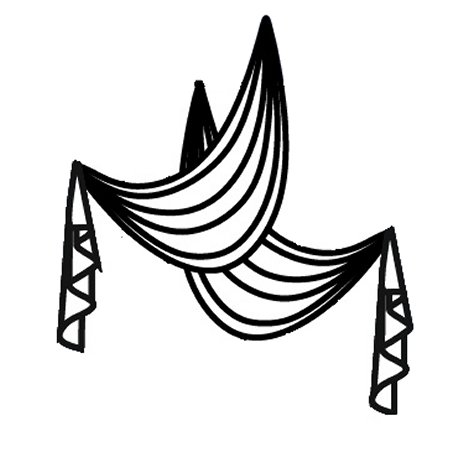
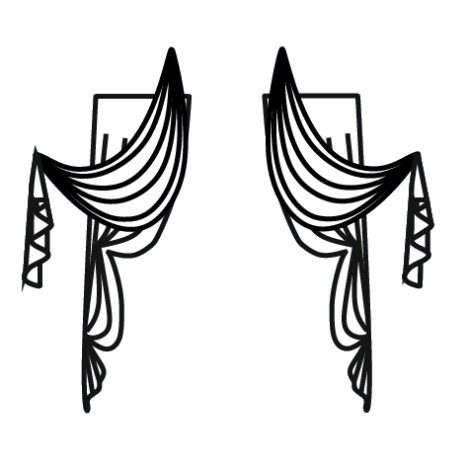
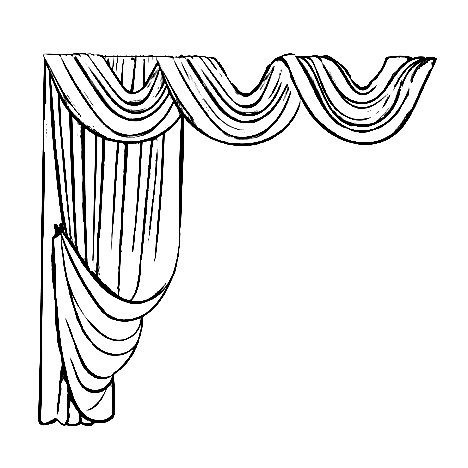
You can achieve a different look with only one long panel and a double swag at the top. This is often used to have a large corner of flowers that trail down the right side.
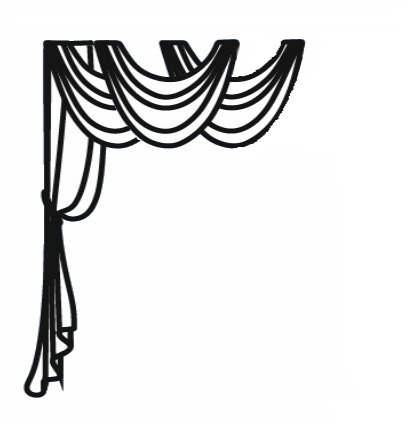
This look is similar to above, but creates a triple swag, pulling the entire fabric swag closer to the left. This leaves the top right corner for a large corner spray of flowers and flowers going all down the right side of the wedding backdrop.
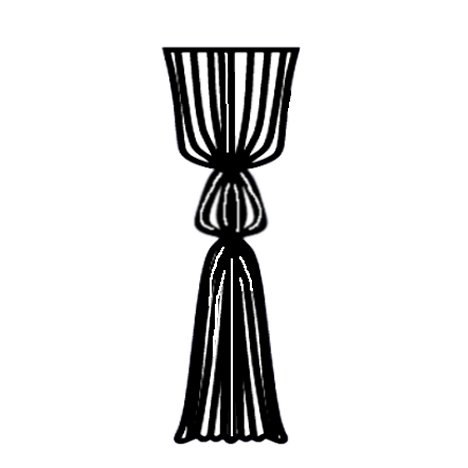
A column fabric can be done on slender support poles or sides. I use bolt fabric tacked to the top, go down about 1/3 length of pole, gather the material and push up, securing with elastic tie. Go down to center of pole, gather in your hands, push up and secure with an elastic tie. The tied places are great for a small flower accent or contrasting ribbon tie.
Wider framed wedding backdrops can easily be adjusted by pushing the two outer panels of fabric farther out. Just keep in mind that the total width times three is needed for a lovely swag at the top.
Now you can get a little more creative, adjusting the asymmetrical depths of the top swag (meaning they don't have to match in width). For the left side, cut out a triangle from the bottom of the fabric up to the center, then hang before covering top with smallest swag. This works on a rounded top arch as well.
This style works well for either rounded topped arches or straight.
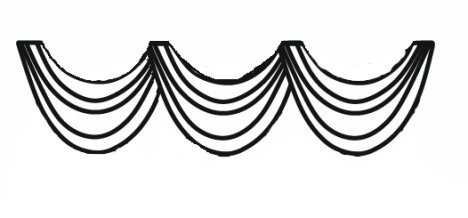
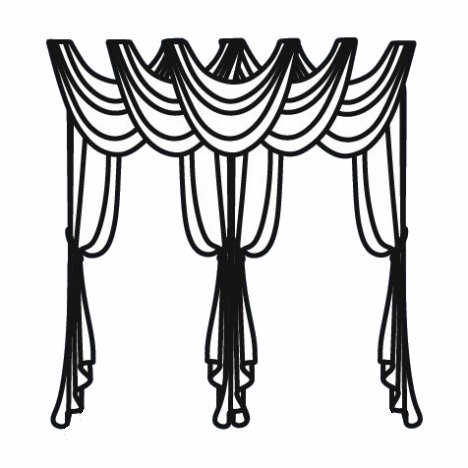
Several panels of the style below looks quite lovely behind a wedding table at a reception hall. Each point of the swag is a marker for using an Oasis Iglu to nestle a cluster of flowers.

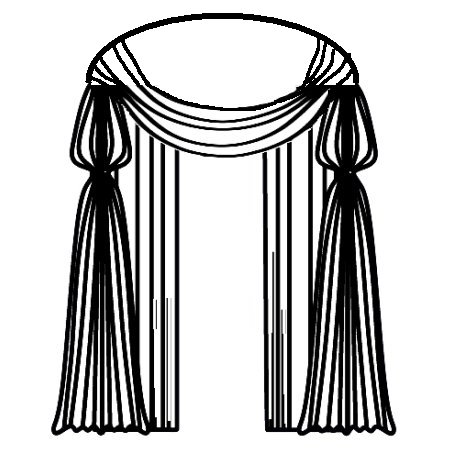
Two asymmetrical swags drape well over a rounded top arch. Each point of the swag is a place to attach a Floracage to add a spray of flowers.
One long continuous drape also works as a three point attachment to a curved top archway.
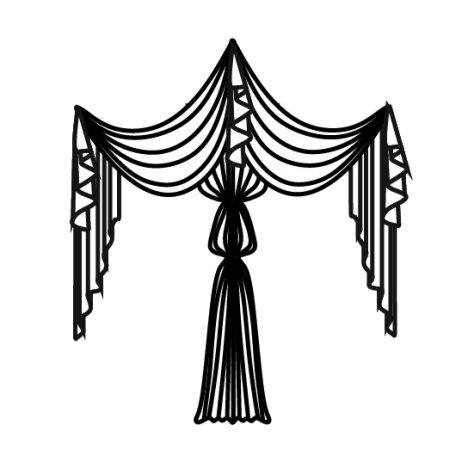
A twist to the top design is to let the ends of the top swags drop down in a fold at the secured points. Create a single column drape in the center. Attach Iglu cages and create flower sprays at each gathered or attach point.
You can see once you learn the basic drape styles, you can achieve a different look simply by shortening the fabric.
If your wedding backdrops are a lattice style, you can easily play around the the attachment points to create an unusual look.
Contrasting different colors of the top swag can look amazing, especially if you have sheer fabrics that meld the two or three colors together.
This type of look is for a deeper, four sided lattice garden arch, which gives you a lots of attachment points. The long drapes are inside, while the two front drapes are on the front of the boxed archway.
This works well on a chuppah (canopy) styled backdrop.
One one curtain sheer can be draped over the top, with one (or two) side panels simply folded up and pinned in a triangle.
If you have a back wall that is unattractive, hang single panels side by side, with a gathered column in a contrasting color is pinned over the back panels.
Play around until you achieve a look you like. I have found that it's easier (especially if you are a DIY bride) to create the top drapes in single pieces, securing the drape with a stapler. This may sound weird, but it saves a lot of "messing around" time playing with how you like the drape look. The drapes can actually be attached with Uglu, which holds lightweight fabrics very well. You won't be struggling with a long stretch of fabric that will frustrate you on the day before your wedding.
What ever works. The best advise is to play around, shop around and be well prepared as what wedding backdrops you want to do BEFORE the wedding week. Some venues only allow you in the night before, which can really run you short of time. Enlist the help of other people and give them diagrams and drawings showing what you want. Don't stress yourself out by trying to do too much. This takes away from the joy of your wedding day.

