Rose Bouquet Cling
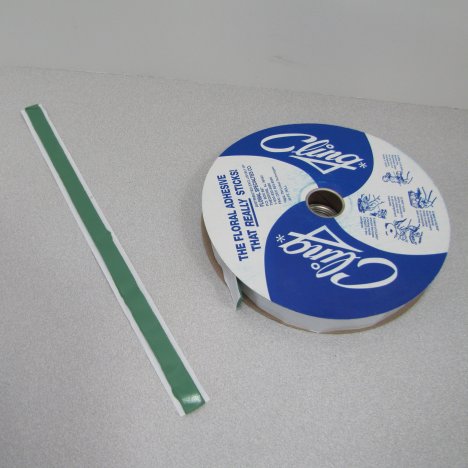
The rose bouquet handle is going to be concealed with florist clay. Clay is used for many different uses in a professional flower shop. Rolls of clay as shown is my preference, as it comes on a roll separated by a paper tape rather than in a brick than can dry out over time.
You can pull off the length you need while the rest of the roll stays protected by the covering until needed.
Many florists use double faced tape or the newer Uglu adhesive to attach the flower stems to the bouquet handle. I like to use the floral clay because it secures firmly even wet flower stems, holding them exactly in place until I secure them with wire or BindIt tape.
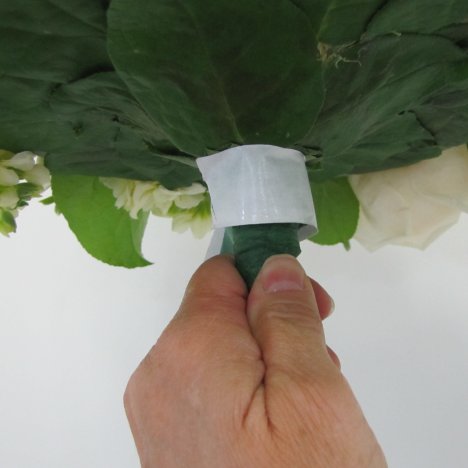
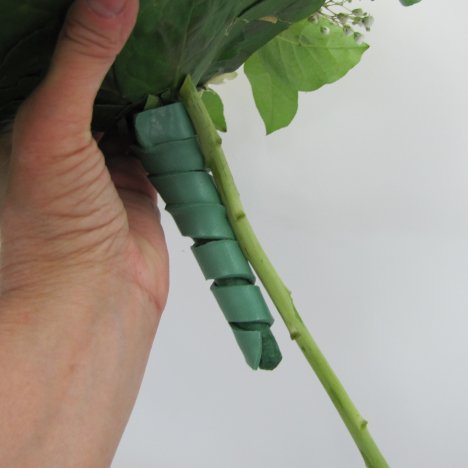
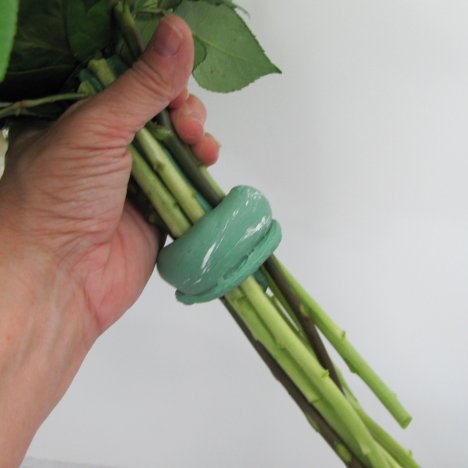
Press the strip of florist clay at the very top of the bouquet holder handle.
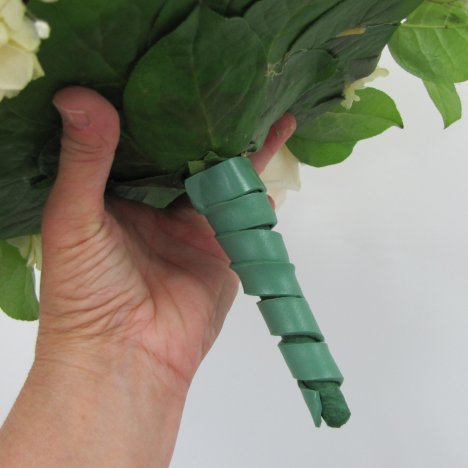
Wind the clay tape gently down the stem. This will be sticky - yet not make a mess if you lightly touch it with your hands.
See how using the the florist tape on the handle conceals it under the clay.
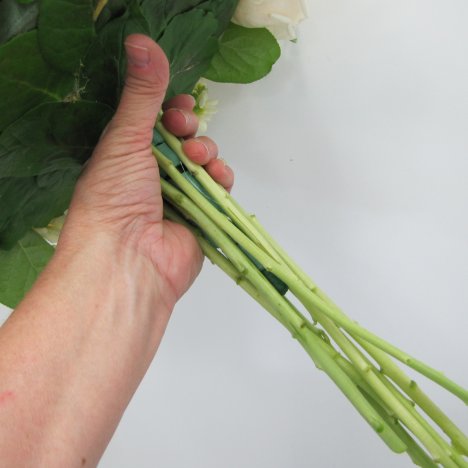
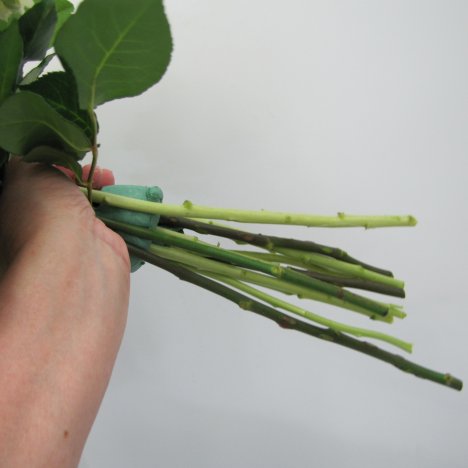
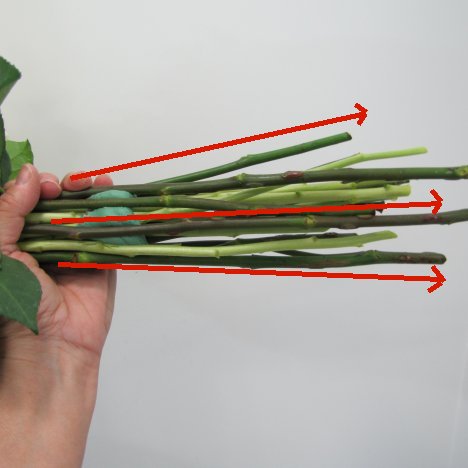
Lay your clean and de-thorned flower stems against the florist clay, pressing firmly so that the stem is attached to the handle by the sticky clay.
Continue to add more stems, alternating colors and flower types to create a realistic combination of flowers.

Gently squeeze each new stem as it is being added, working to eventually conceal the clay from view.
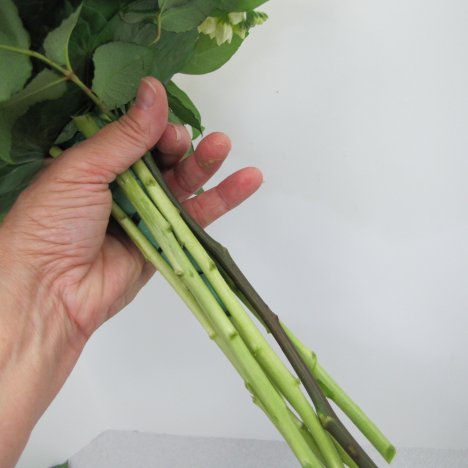
I particularly pay attention to securing the stems at the top, since I don't want the cut edges of the stems to be seen.
See how the leaves that were left on the rose stems press up on the underside of the bouquet, blending in with the salal covered bottom of the bouquet holder.
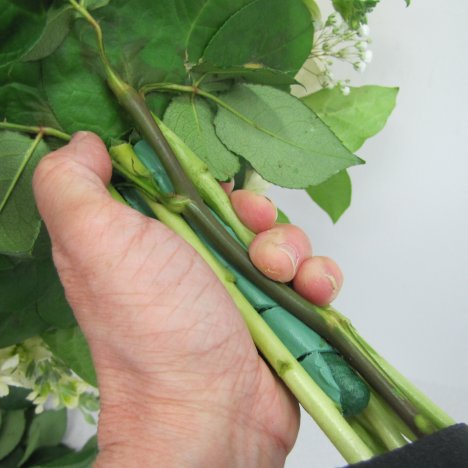
I wanted this bouquet to truly give the look and appearance of a real hand tied design. I added a bulky wrap of florist clay about half way down the flower stems.
I then kneaded the clay into a flared bottom mass as shown below.
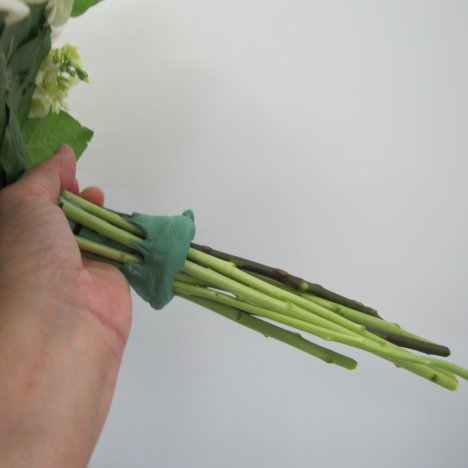

The intent is to add more stems on top of the first applied, gently squeezing again at the top (right under the base of the bouquet holder.
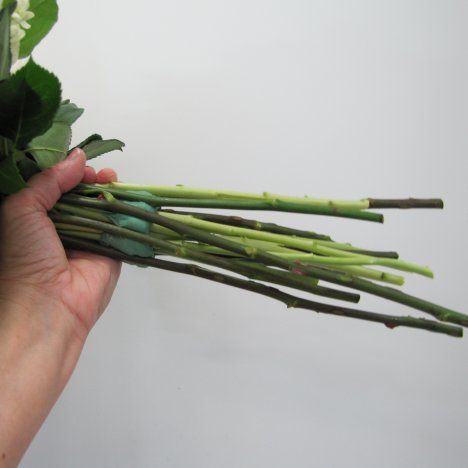
As I add more stems, they begin to have a flared out look at the bottom. Continue to add more and more stems, again, building the top in as a tight cluster while allowing the bottom of the stems to flare outward.
This helps to mimic the look of a real hand-tied . . . yet keeps down the look of a "club" that sometimes results from so many stems bound together in a real hand tied wedding bouquet.


leave rose bouquet cling and go to all flower tutorials
