Purple Wedding Bouquets
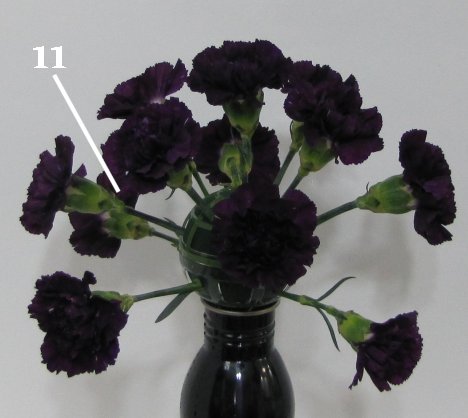
The numbering shows each carnation as I inserted it into the bouquet holder. I like either inserting all the same flower varieties (each one at a time) or same colors all at the same time in order to keep the bouquet in balance.
This would not be the case if the design is achieved by clustering flowers or colors together. Here is the first five dark carnations that I inserted first.
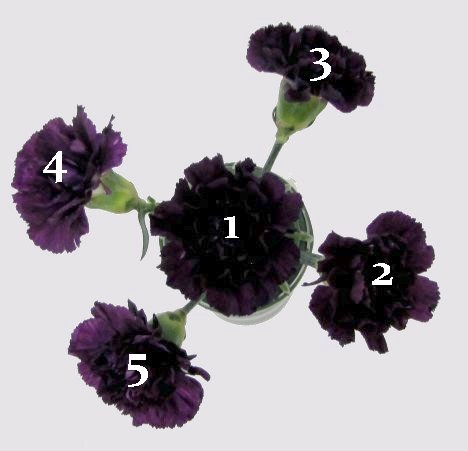
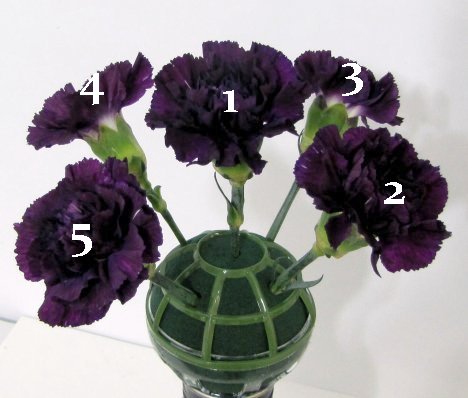
Here is a side view of the same five dark purple carnations.
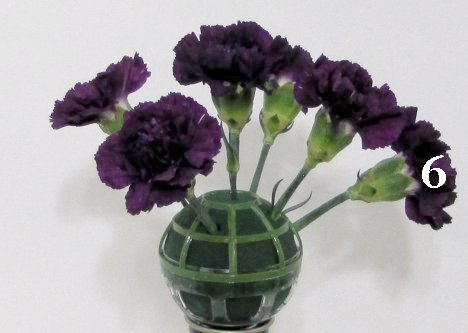
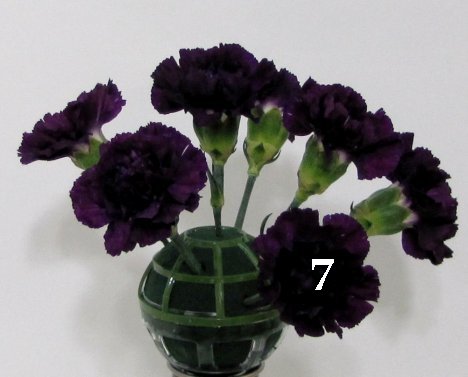
After the insertion of the first five stems, which face upwards, I begin facing the next layer of carnations faced almost 90 degrees outward - the heads facing out to the sides.
You can see I rotate around the lower portion of the bouquet, facing the subsequent heads facing outward.
The mounded bouquet can turn from round to more of an ellipse shape. This is achieved by extending the stems a little longer on the sides. If you want a totally round ball - then keep all the stems the same length.
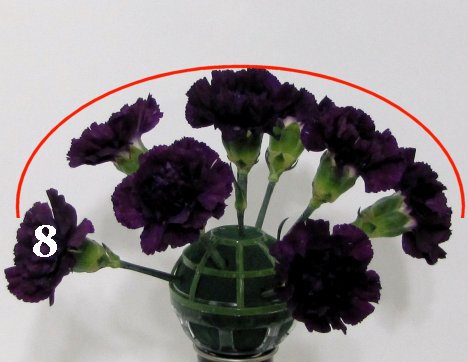
Most bouquets look better as the shape below, with the lower stems being longer, extending out farther. Bottom carnations should begin to tilt their face downwards.
See how the framework of the bouquet is definitely established and the final size is determined by the lengths of these stems.
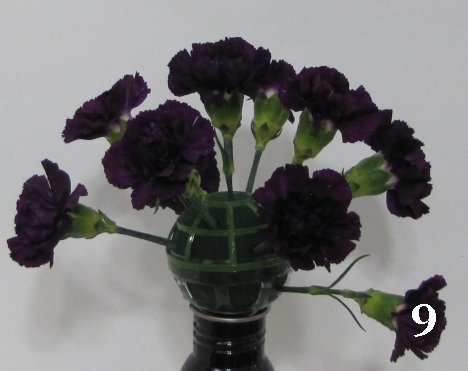
It's harder to show in this picture, but I continue around the entire circumference of this bouquet matching the carnations facing the front.
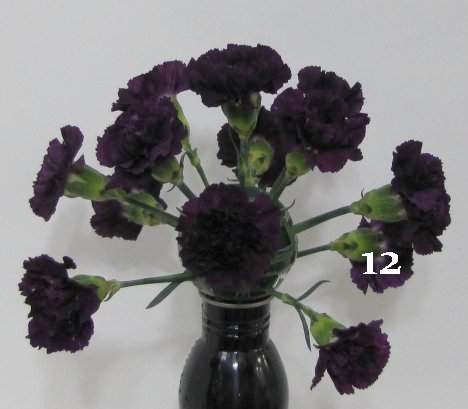
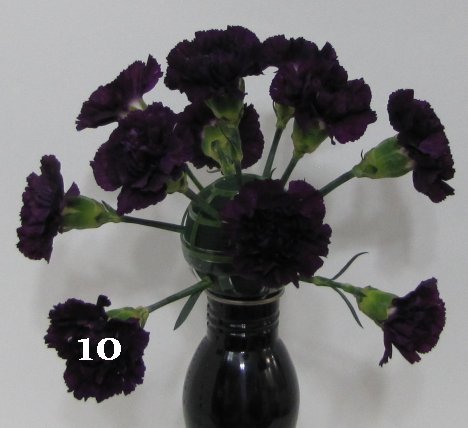
A dozen stems are now finished and the entire framework for the bouquet is done. Now it's just a matter of inserting more flowers in between the flowers already in place.
Note: If you plan on greenery in your bouquet - green in with all the greenery first, rather than starting with flowers. This bouquet is a design dense with flower heads only and there no greenery.