Peony Wedding Bouquet
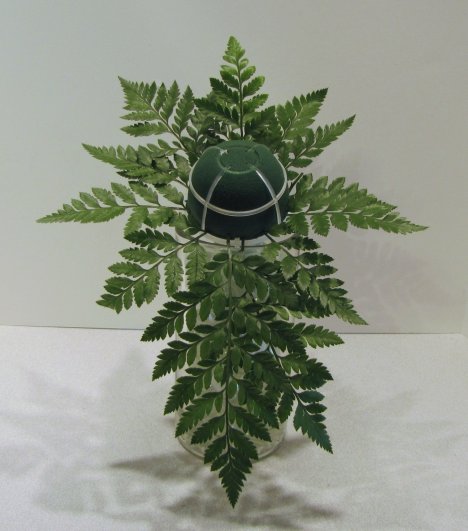
Once the leaves are in place on the outer rim of the bouquet holder, you can see the final cascade shape is established.
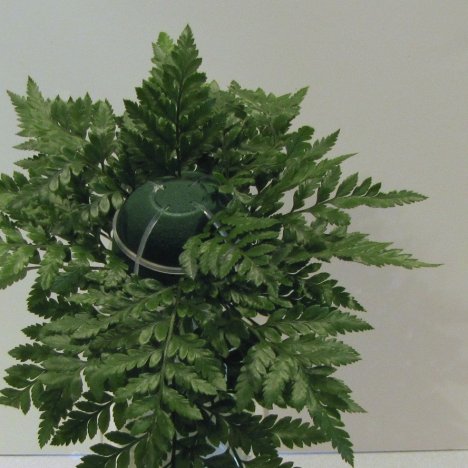
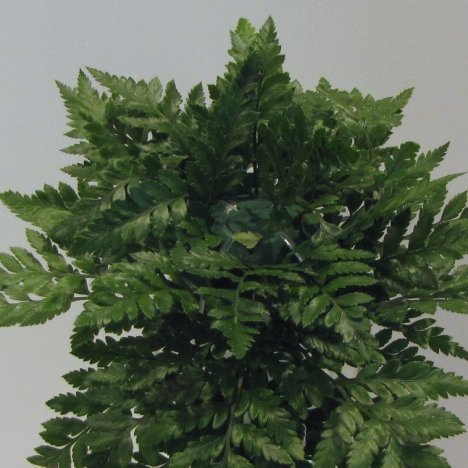
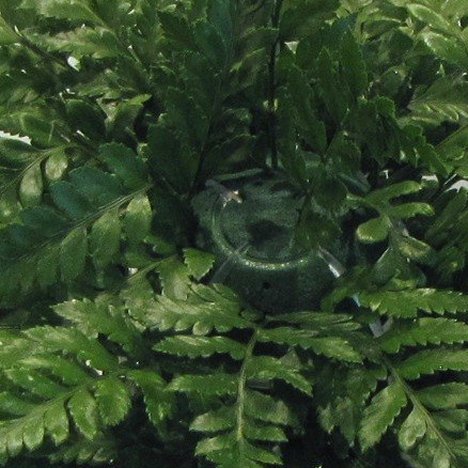
Now it's just a matter of lightly filling in the rest of the foam.
Leaves on the outer part should curve slightly towards the back of the bouquet. As your greens move in towards the center, straighten the greenery until the middle is sticking straight out at a 90 degree angle to the side greens.
This gives the bouquet more depth and dimension and prevents it from looking flat from a side view. Don't forget the back. Professional designers always make bouquets beautiful from all sides.
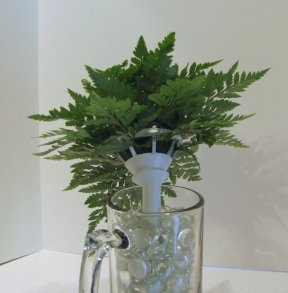
Don't pack in the greenery too tightly. There are a lot more flowers that still have to go into this foam.
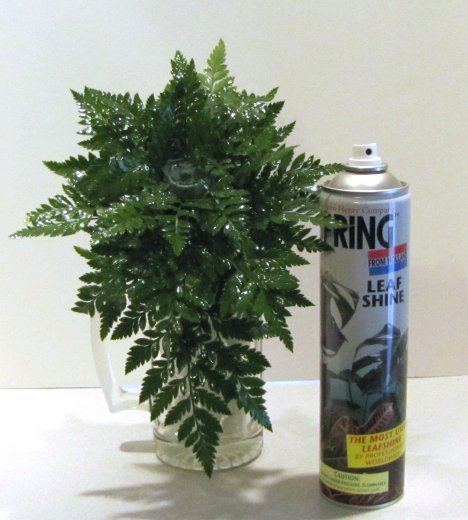
Before adding fresh flowers, I usually seal the greenery with a leaf polish. Dry packed greenery is packed at the field site and is often dirty. Rinsing off with water can sometimes leave a white splotchy residue caused by hard water. A leaf polish gives the greenery a clean, glossy look and seals the greenery.
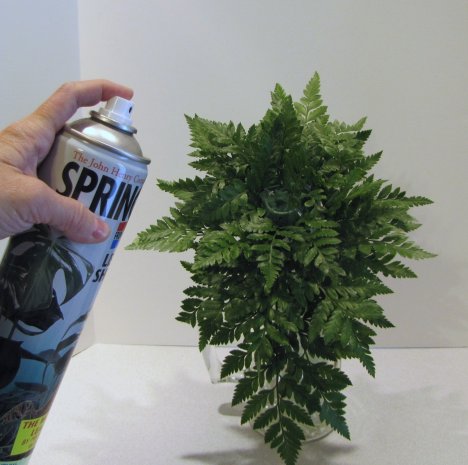
Allow to dry. Do not use on fresh flowers, as the propellant can freeze delicate blooms if too close.