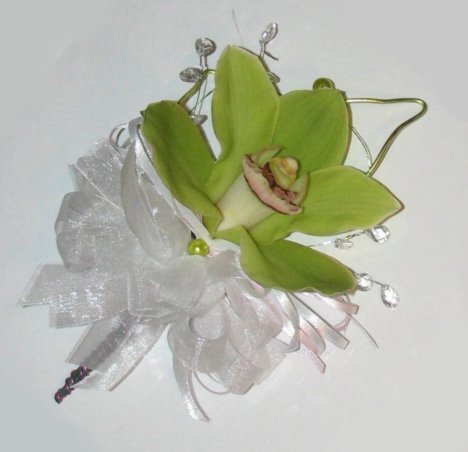
orchid corsage bow
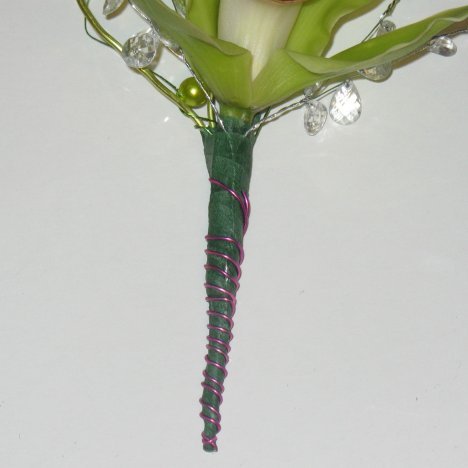
You can wrap the wire around in a loose coil or a tight coil - the design is really up to your own taste.
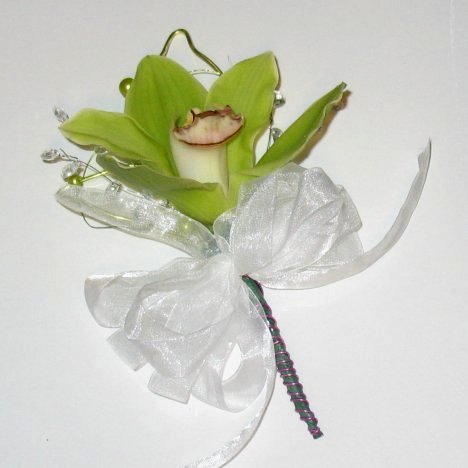
Just adding a little wire wrap makes it unnecessary to ribbon wrap the stems - a common solution to finishing off a wedding corsage.
A basic of corsage making is the bow. Narrow ribbon is available in a wide range of sheer fabrics and colors. It's best to have ribbon that is edged in filament wire so it holds it shape better.
I begin by tying a length of ribbon to the neck of the corsage. This is actually the piece that is going to tie the bow to the corsage.
Keep your corsage loops tight and full for a better looking bow.
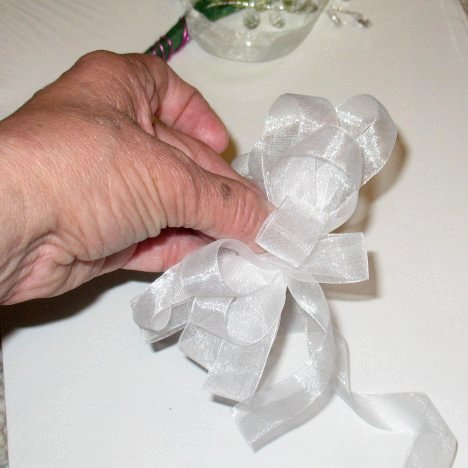
After looping the bow, you can lay it directly on the stem and knot the ribbon ends in the center of the bow. If this seems difficult, secure the bow first with thin wire and then tie to the corsage.
Pull tightly to get a tight fit against the stem.
Fluff out the loops by inserting your fingers into them and giving a quick twist.
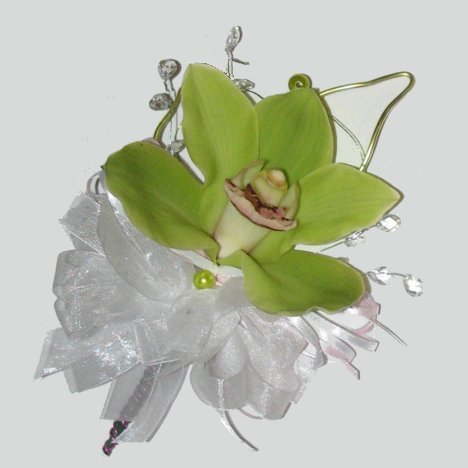
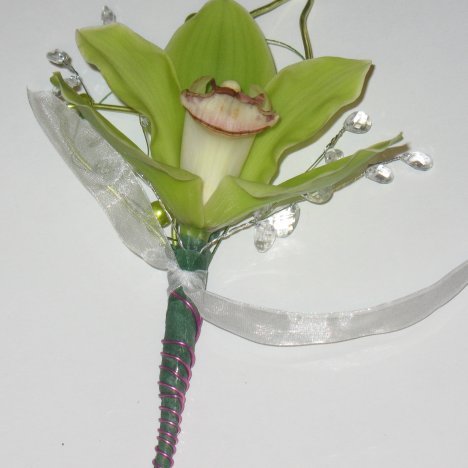
I made this particular design more interesting by adding a second, narrower bow above the sheer bow. This gave additional glamor and texture to the corsage look.
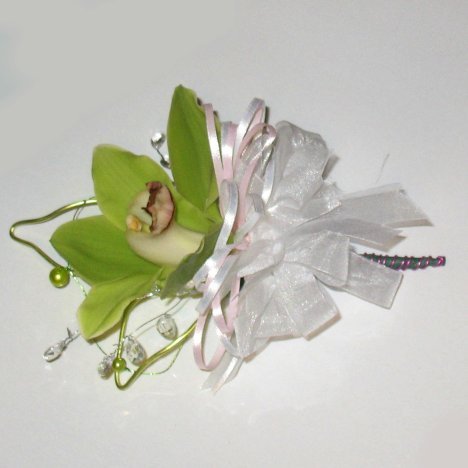
At times I change small details, however, depending on who is going to wear the corsage.
This first one is designed to be a pin on, worn on the lapel. These are popular with the older generation, especially grandmothers and older relations of the family.
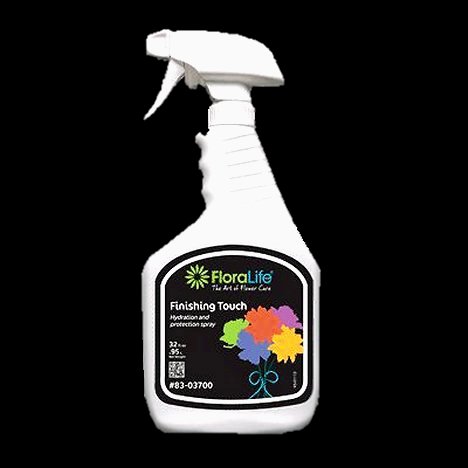
Always mist your flower designs with a flower sealant like Finishing Touch. This is important because DIY designs don't always have the luxury of a professional flower coolers. Those are adapted to put moisture INTO the air. Home refrigerators and air conditioners take moisture OUT of the air. This sealant will help lock the moisture into the petals, slowing petal transparency.