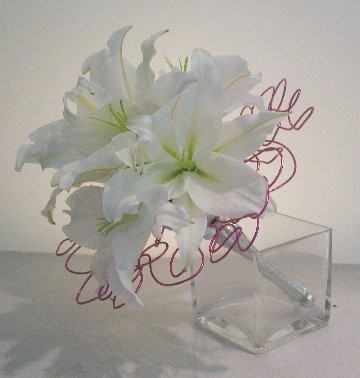
lily wedding bouquet
A lily wedding bouquet can be created in minutes. You can learn how to make a variety of different wedding bouquet designs that look very professional, will amaze your guests, and save you lots of money!
These easy step-by-step tutorials break down every stage of making bridal bouquets. Please don't feel limited to using the exact same colors and materials. It's helpful to browse through ALL the tutorials if you are planning on making your own wedding flowers. You will then begin to get a feel for processing the flowers, using the products correctly and see how florists keep the bouquets fresh.
To duplicate a similar Oriental Lily bouquet, you will need the following:
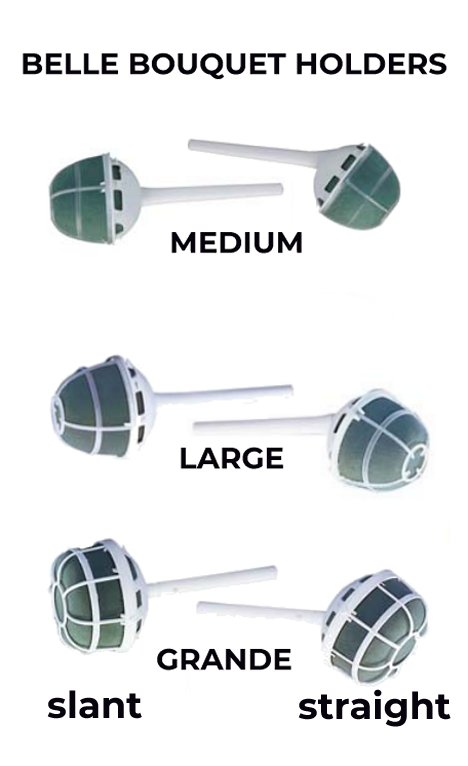
1 Belle Bouquet Holder
Oasis Decorative Aluminum Wire
Crystal Clear Flower Food
Floralock Stem Adhesive
4 -5 Stems Oriental Lilies
Finishing Touch
Floral Knife
Needle Nose Pliers
It is a misconception that wedding flowers must be arranged on the day of your wedding. That's hardly true, since most florists begin wedding work several days in advance and store them in coolers. If you begin with farm fresh flowers (and I do mean fresh!) - you will find that the flowers will last for a week or more after opening. Think about it - florists send out flowers every day and they last in baskets and vases for up to a week in normal, everyday temperatures.
I will show you how to make a delightfully simple bouquet that will be stylish, easy to make and has a lovely fragrance.
(Note: This tutorial was created on an Elegant Bouquet Holder, which, unfortunately, is scheduled to soon be discontinued. I advise that you substitute a Belle Grande.)
The Belle holders come in three different sizes and are available in either slant or straight handles. The slants are recommended for cascades. The straight handles can be concealed by the discarded flower stems if you wish the look of a traditional hand tie. I have several tutorials that show step by step how to create this illusion.
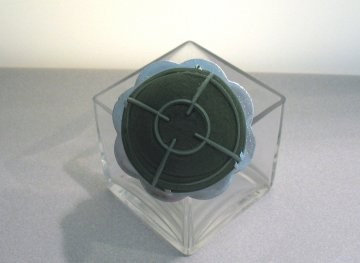
Be sure to soak in water treated with a professional flower flood like Crystal Clear.
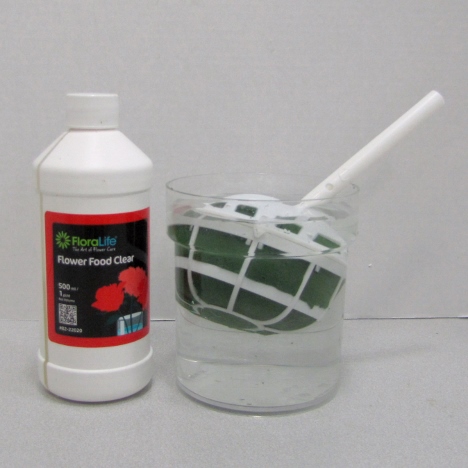
Don't force the holder down into the water - let it absorb the water up naturally. It only takes minutes and won't cause dry spots that forcing it may produce.
Remember after you make your bridal bouquet to place it in a vase treated with the same flower food. This product is fairly inexpensive and is well worth taking the effort to see that your flowers last as long as possible!
If you don't have a professional stand to hold the bouquet, use a weighted vase and wedge in a brick of foam to insert the holder into. Remember - the flowers will get top heavy quickly. You don't want it to fall over and damage your flowers, so weigh it down BEFORE beginning.
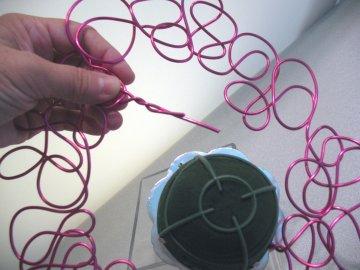
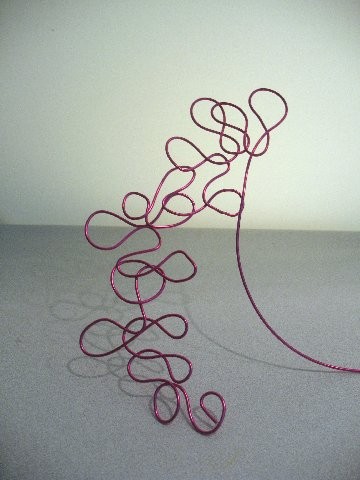
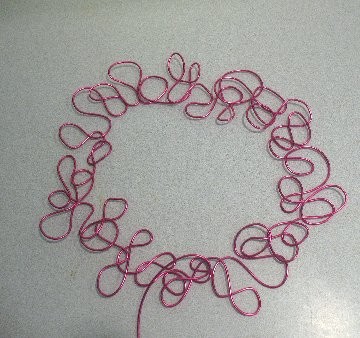
For a unique wedding bouquet, make a gorgeous collar with decorative wire that is available in many different colors. This wire is so flexible you can twist and pull it easily with your fingers.
While the holder is soaking in water treated with fresh flower food, begin molding your wire into interesting shapes to create a collar.

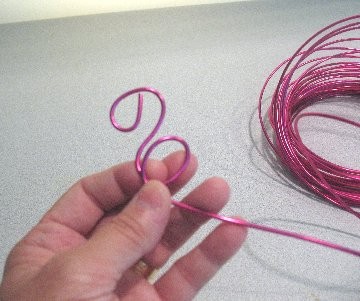
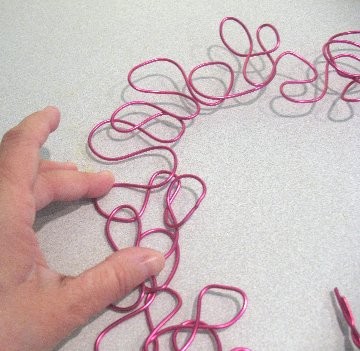
How tightly you coil the wire is up to you, but try to begin with a size of design that you stay consistent with all through the whole collar.
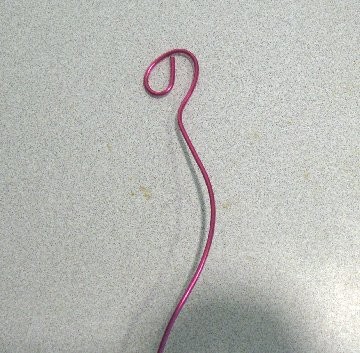
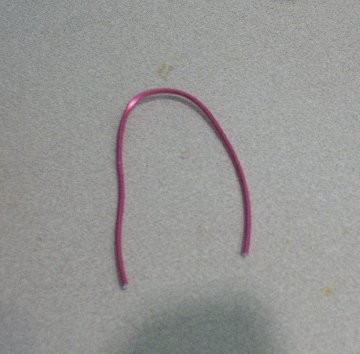
Curve the wire back onto itself, create figure "s" shapes, large loops and more.
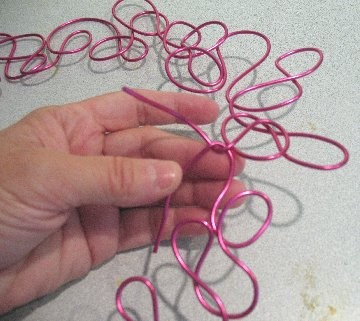
If you dislike your pattern, you can straighten it out and begin again.
Don't worry about being too exact. The pattern will begin to take on a life of it's own.
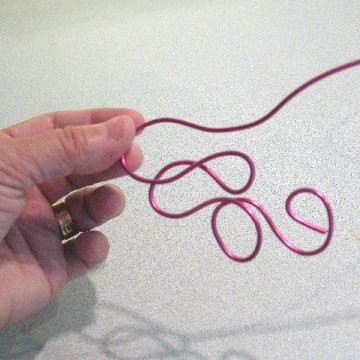
You will need a round shape for round bouquets - oval for cascades.
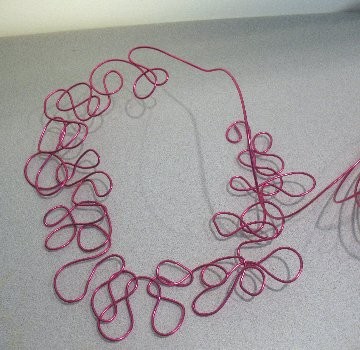
When the collar is large enough for your needs, fasten the cut end onto a loop near the beginning and pinch tightly shut. Be sure no cut ends stick out that can snag delicate fabrics of dresses.
Gently flatten the loops against the counter or table to create a frame for the holder.
The next step is to attach your wire collar to the bouquet holder. To attach pink bouquet collar to the holder, use floral glue. This special adhesive holds firm, even in wet Oasis. The goal is to have a large enough frame to show behind the flowers, making it a part of the design.
Cut long lengths of wire from the coil. Bend these into a "U" shape. Insert two of these into the top and bottom loops of the collar.
Twist the ends of the "U" tightly together to create a long length of wire to insert into the foam of the bouquet holder.