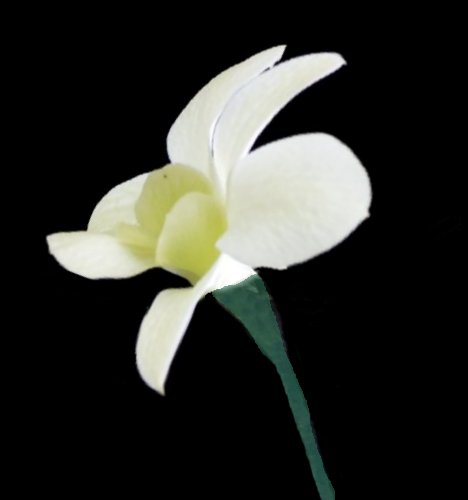
how to wire dendrobium orchids
Learning how to wire dendrobium orchids is a basic skill that all beginning florists need to learn. Handling delicate blooms without tearing or causing bruising takes a little practice.
Always start by washing your hands. Skin oils can sometimes turn some flower petals brown, or become easily stained if you have been working with other flowers. I like to mist my fingers with a flower sealant such as Finishing Touch or Crowning Glory.
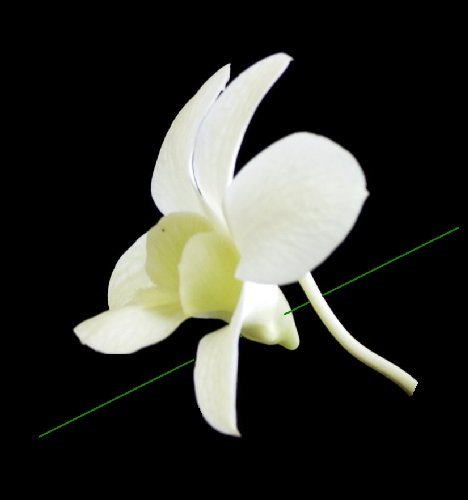
You may need to create stems for blooms such as dendrobium orchids and snapdragon florets, that have a very slender stem attaching to the main flower stalk.
Although I like 22 to 24 gauge wire for most corsage work, you may want to go a little more flexible with 26 wire. (The higher the number, the thinner the wire).
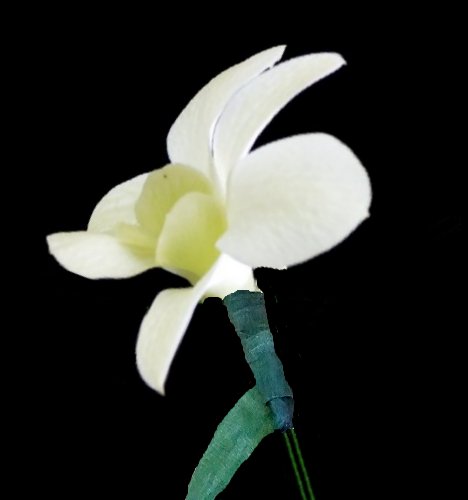
Pierce through the slender stem and the "bulb" of the dendrobium orchid as shown below.
Very gently bend the slender wire and the real stem together, taking care of not too much pressure to crush the bulb.
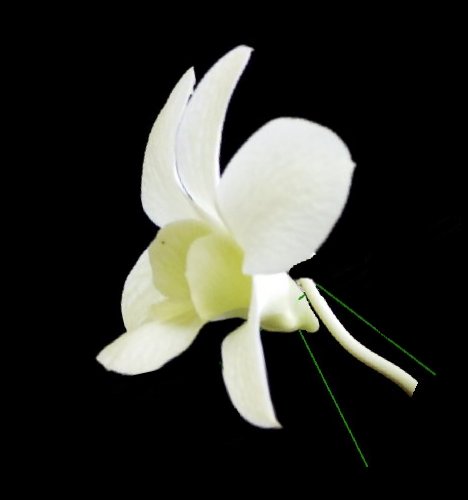
Notice almost a box shape in the wire going through the orchid bulb.
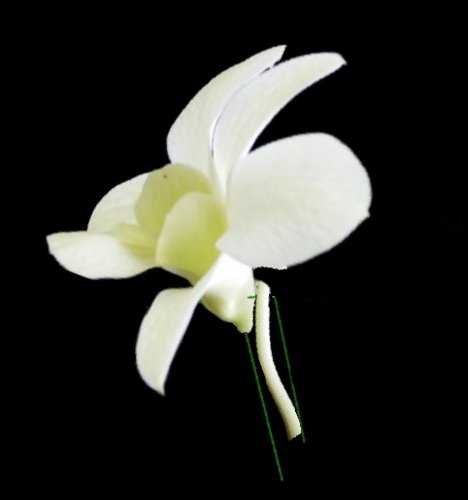
With easy pressure, mold the wire to be parallel stems.

Start your green stem wrap a little loose at first, stretching the tape so it becomes sticky and adheres to itself. After circling once, then pull the tape tighter making a firm a tacky wrap around the dendrobium bulb.
Pulling down on the tape, create a tightly wound stem and insert into stiff styrofoam until all your flower heads are wired and ready to be made into corsages. Mist all flower heads with Finishing Touch. If you aren't designing at that point, you may want to refrigerate and keep cool as you are wiring other flower heads before assembling.