Hand Tied Bridal Bouquets
Vase Method
After processing your bulk flowers correctly, allow them to drink several hours before designing. If possible, let them drink overnight in a cool, dark room. Ideal in a air conditioned room would be to run a cool mist vaporizer. This helps replenish the air with moisture that the air conditioner removes.
After your flowers have opened, clean (and, if necessary, dethorn) your flower stems. Strip off the bottom stems, leaving only the greenery that is high up near the flower heads. If you wish, set aside the leaves in a cool tepid bath to use in corsage and boutonniere work.

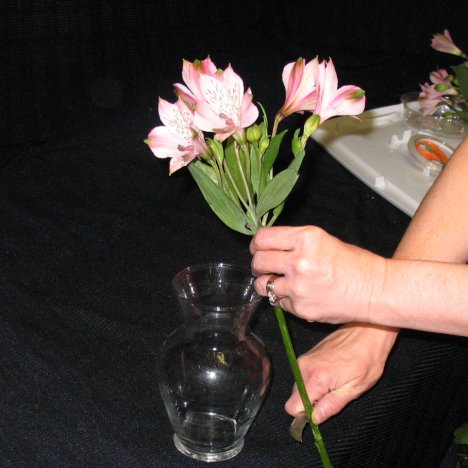
Because a large hand tied bouquet can become rather bulky and tiresome to hold, you can arrange the stems in a vase and then tie the stems together with wax string before removing them from the vase.
A shorter vase with a flared opening is best suited for this, as you can naturally arrange the flowers into a rounded bouquet much easier than in a straight, column vase. An 6" vase is best suited for this purpose, since you will want to cut your stems between 8" - 9" long. You want to leave enough room for the bride to have a good handle length to hold, but short enough for a good tie off below the flower heads. (this is usually at the lip of the vase).
After the stems have been cleaned, size your flowers up against the vase and make a clean cut with a floral knife. Do NOT use regular household scissors. Both floral knifes and floral scissors have specially designed blades that slice through delicate flower stems cleanly, maintaining a good cell structure in the stem.
Regular scissors can crush and mangle stems, pinching them together so that the stems can no longer draw water up the stem. It is essential for flowers to have a constant water source to keep them as fresh as possible for the wedding day.
Some flower stems are slippery (such as roses) and scissors can slide off and cut skin or fingers. This is not a hollow threat - many injuries in flower shops have happened because of not using the proper tools for the job. You squeeze a great deal of pressure to cut through a tough flower stem. If you misjudge, you can chop thru a finger or web of the thumb very quickly.
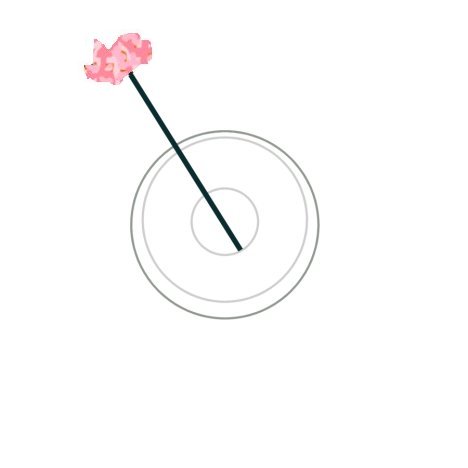
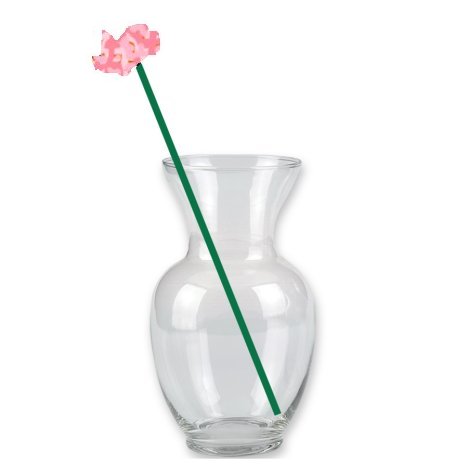
Use the unique shape of the vase to advantage. You will be angling the flower placement carefully in order to get a good, rounded bouquet that is softly mounded at the top.
Here is the type of flare you want for a good hand tie. The flower stems do NOT point straight up and down.
Some flowers with softer, more hollow stems have a natural curve that leans out gracefully (but you have to take care not to crush those stems too tightly.)
Harder stems (chrysanthemums, roses, carnations) can look more awkward at a straight up and down design, with all flower heads packed tightly together.
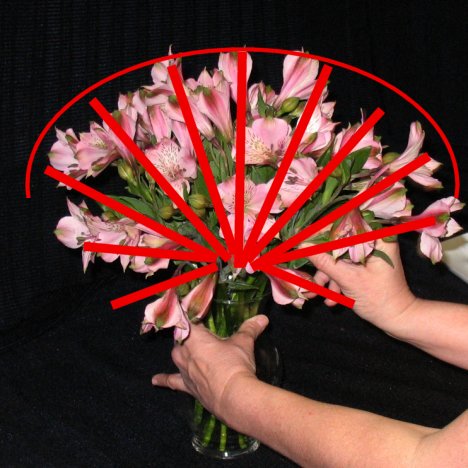
Let's use that flared vase to advantage and methodically place our stems one at a time in order to get that "criss cross" effect that will help your bouquet maintain a natural rounded, flared out shape.
If you are using different flower varieties and want a well mix of flowers, I suggest you place in one flower variety at a time, starting with the "secondary" flowers (the biggest flowers are the focal flower and will be place in the center and off to the side of center) first.
You'll need the grid of the criss crossed stems in order to hold the center (largest and focal) flower in place.
Cut the stems to a suitable length that the place where you want to hold the eventual bouquet in your hand falls right about lip level. This is where you will tie it off later, so you want the wax string tied off at the correct place.
A top view shows how the first flower looks inserted into the vase.