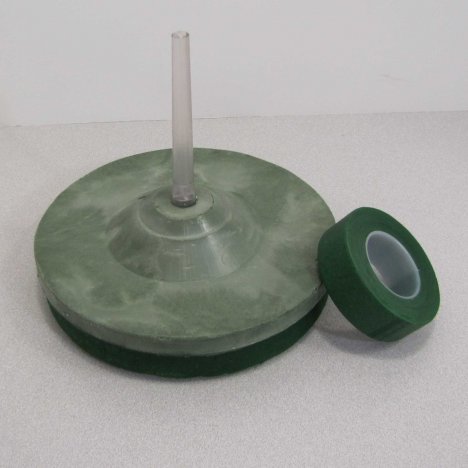
hand tied bouquet handle
Cover the hand tied bouquet handle to simulate a real hand tie, complete with flower stems. Covering the wedding bouquet handle with florist tape (as shown) is optional. The bouquet handle is clear and can be used as is. In this tutorial, however, I show how to create a mock hand tied look, covering the bouquet handle with flower stems.
I always like to ensure that my mechanics are completely covered and don't want any part of the handle showing beneath the flower stems. Skip this step if you prefer.
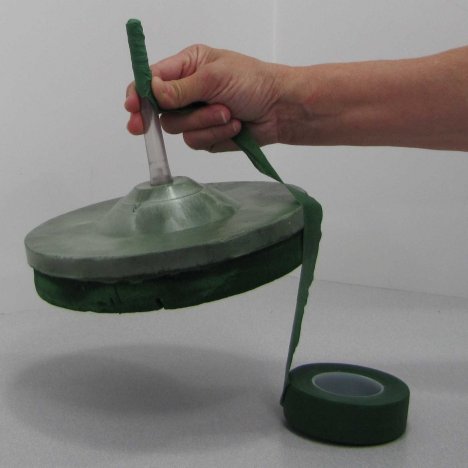
Florist tape has a stretch to it and adheres to the handle and to itself. Start at the end of the handle, and pull the tape taut, winding it around the handle.

It is wise to use professional tape sold by a quality floral wholesaler. Sometimes older florist stock house is sold off to discount and dollar stores. The result is that those tape spools may be dried out and not adhere properly or (worse) become a sticky gooey mess. (I found out this the hard way when doing an out-of-town wedding!)
Florist tape isn't that expensive and it's worth investing in a few quality rolls if you plan to do much wedding work.
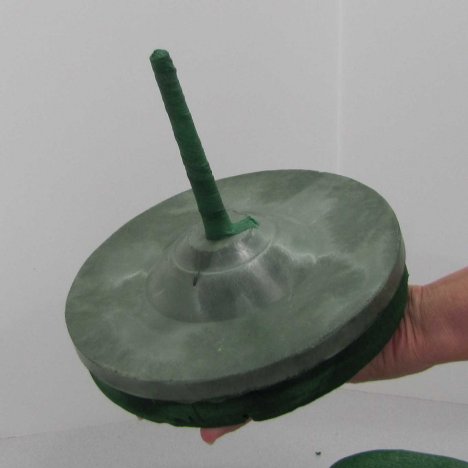
Once the handle is completely covered, tear off the tape and stretch it up tightly around the base of the bouquet holder.
Covering the back of your wedding bouquet holder is another optional step. I like for my bouquets to completely finished and beautiful from all sides. This also covers the mechanics of the bouquet, concealing the fact that the flowers are on a holder rather than a true hand tied.
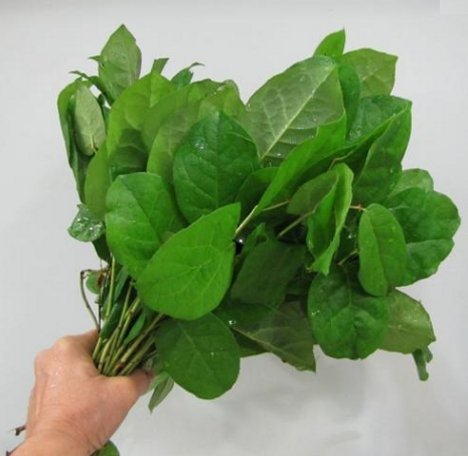
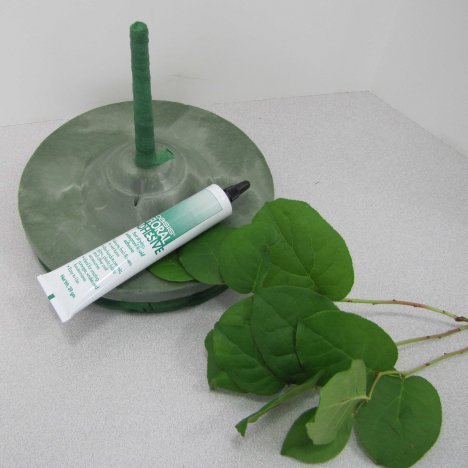
I'm going to use a greenery called salal (often commonly referred to as Lemon Leaf) to conceal the underside of my European Bouquet holder.
I do sell greenery in single bunches, rather than requiring a minimum purchase like some wholesale sites. One or two bunches of salal is plenty for design use in a typical wedding with several bouquets, corsages and boutonnieres. Ten bunches or more is only needed if you plan on doing a roomful of centerpieces and large florals for the church.
Use professional floral adhesive to adhere the leaves. Both hot and cool melt glue show up as dark lines because they damage the fresh leaves. Hot glue doesn't do well in a refrigerator, either - it tends to pop and crack off when exposed to refrigeration or moisture.
You can use a variety of different greens (including the leaves you strip off your rose stems). I like the look of salal, also known commonly as "lemon leaf".
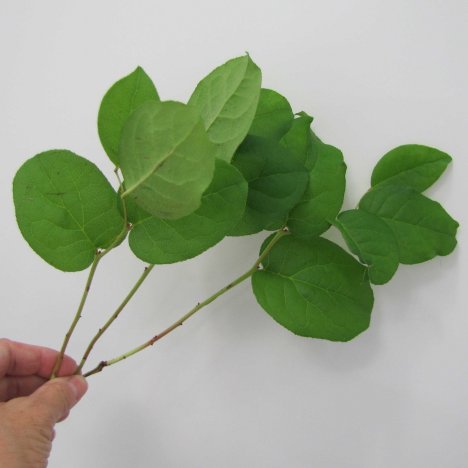
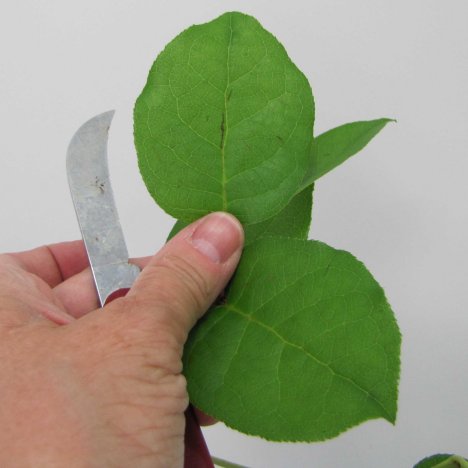
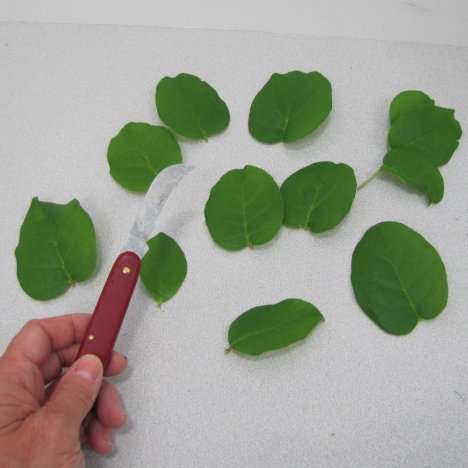
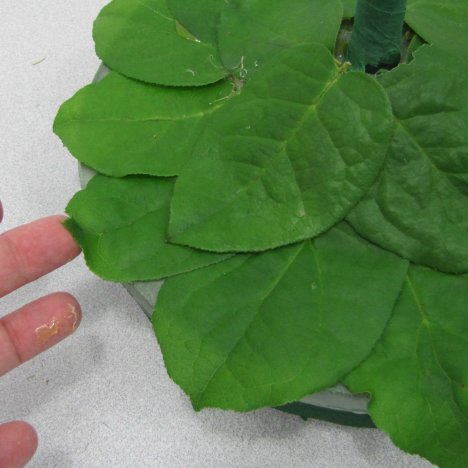
The leaves on the stem often twist and turn separate directions. I cut them apart so that I can glue each individual flower separately, showing the face of the leaf rather than the underside.
Be sure to reserve some of the salal leaves back for use in corsage or boutonniere work as well.
Floral glue is available in both a tube and large liquid can. One tube can do several corsages or bouquet holders. If you have a lot of attendents, or plan on doing a lot of corsage work, I suggest you invest in two tubes.
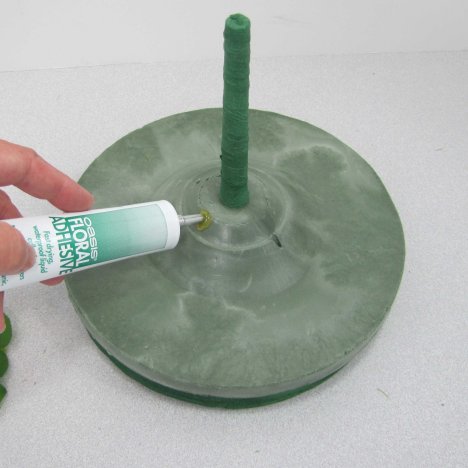
Floral adhesive needs a short amount of time to set up. You can glue each leaf individually, or spread the glue over the entire back of the bouquet holder if you can work quickly before it dries.
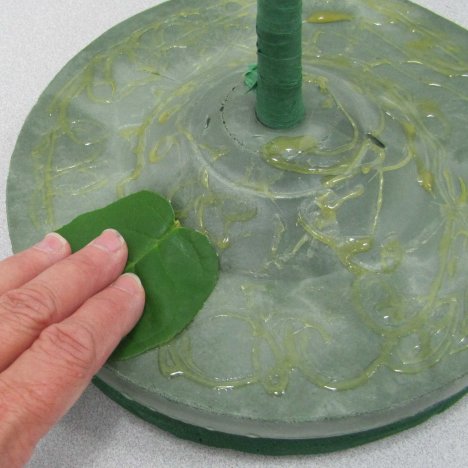
Place the leaf against the bottom of the holder and press and hold a few seconds. This glue does not work instantly like hot or cool melt glue - it needs time to adhere properly. Add more glue if needed before applying more leaves.
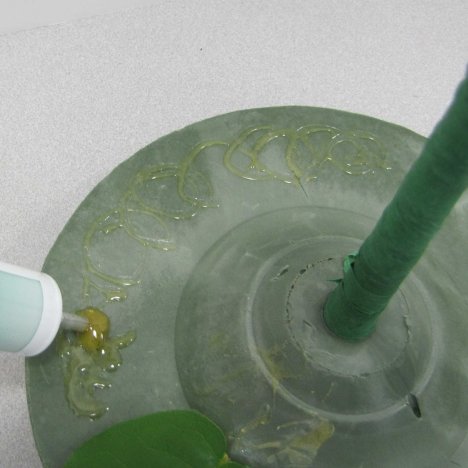
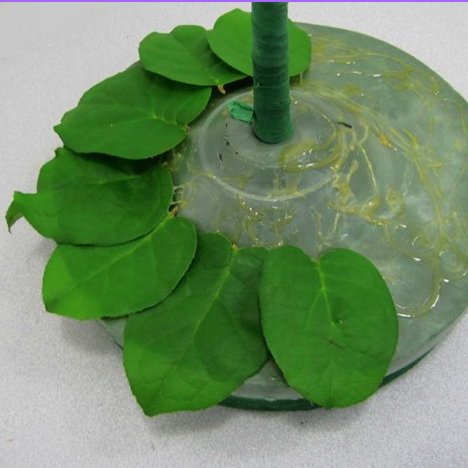
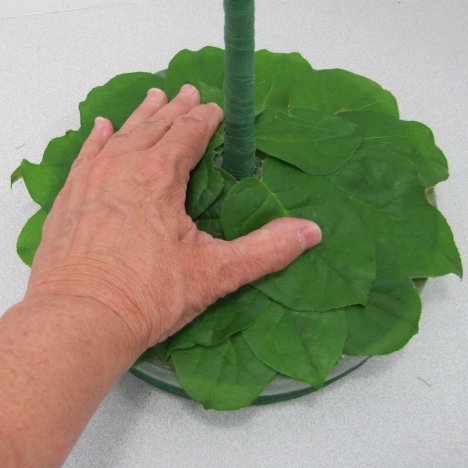
Create the look of a leaf backed bouquet holder by laying the leaves down in a circular pattern on top of the florist glue.
Press down lightly on each leaf to secure it to the adhesive. Be careful not to get any of the adhesive on your hands, as you can transfer it to the topside of the leaves that way.
Set the holder aside and give the leaves time to bond tightly to the back of the holder before continuing with flowering.

leave hand tied bouquet handle and go to all flower tutorials
