Hand Tied Bouquet
For this hand tied bouquet, it's now a matter of continuing to add more flower stems, using an even mixture of flower varieties. You want to be sure your smaller, secondary flowers are evenly mixed throughout the bouquet and show from all sides.
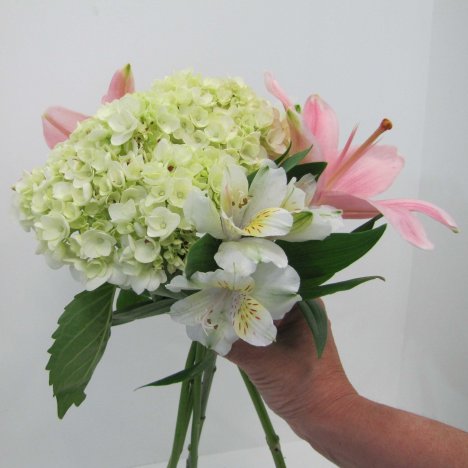
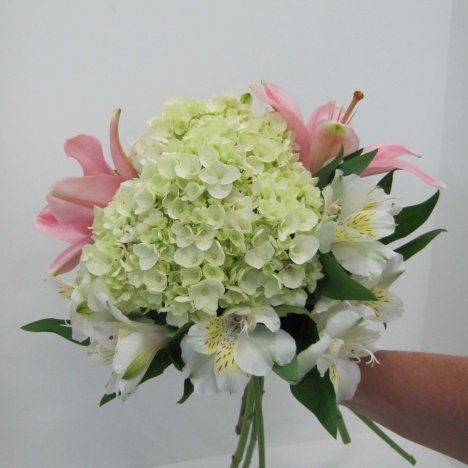
You can see how a clustered mass of alstroemeria balances off the larger mass of single oriental lily bloom on the opposite side.
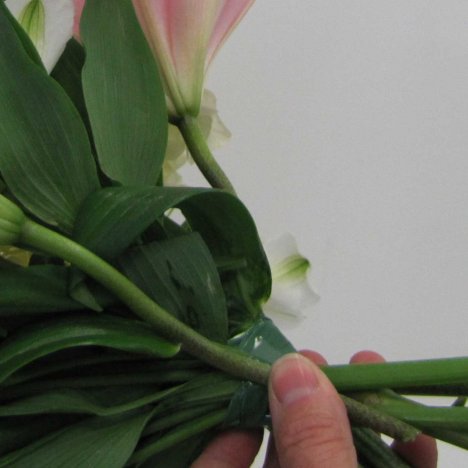
If you can hold the bouquet firmly, maintaining your grasp on all the flowers (which is what many experienced florists do), by all means continue to turn and add more flowers. If you have a smaller hand or find it difficult to keep the flowers from slipping, stop occasionally and wind a couple loops of florist tape around the area the the stems cross. If you need to cut thru and start again, this isn't a big problem because the tape can unwind easily if needed.
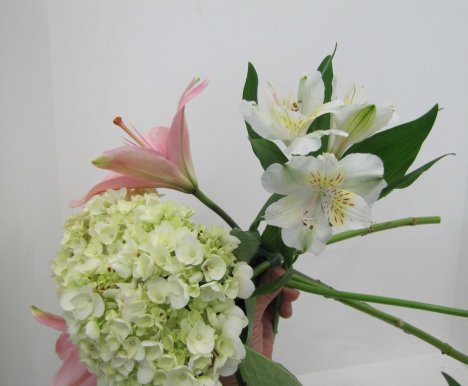
Here I start clustering a couple of stems of alstroemeria, tucking the heads under the large hydrangea head and maintain a rounded shape to my bouquet.
Try to keep the heads of your flowers fairly level,and they will spread out to a rounded shape naturally when you add more stems, crossing each flower as added.
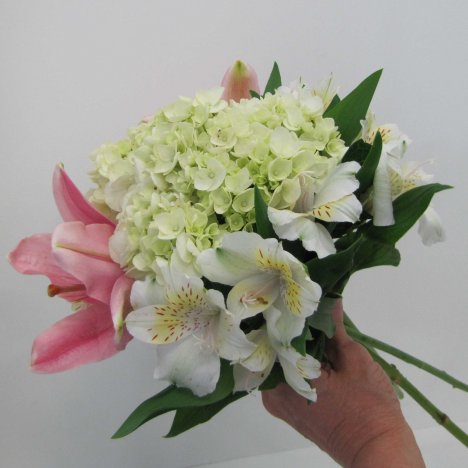
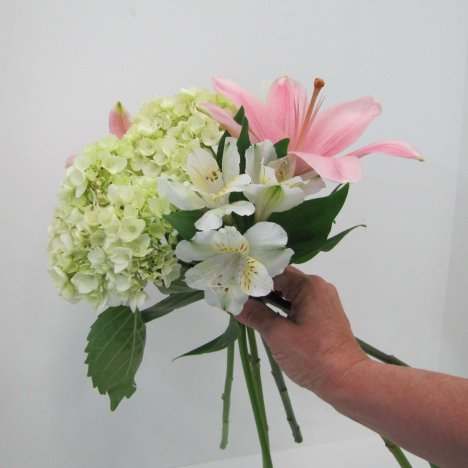
I place another lily opposite the first set in the bouquet, This lily will open more fully in the days right before the bouquet is needed.

You can see I place the stem crossed over the previous, which are already taped in place.
A side view shows the bouquet is rounding out nicely. This would not happen if the flowers were pressed together in an straight up and down fashion and taped. The flared circle grows as more and more stems of flowers are added to the design and crossed at the stems where you grasp the bouquet handle.

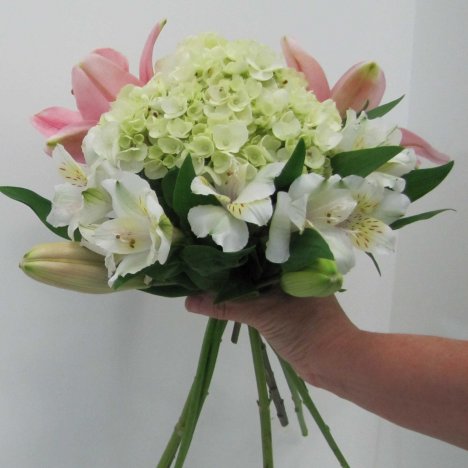
Here's a top view the bouquet so far.