groom boutonniere
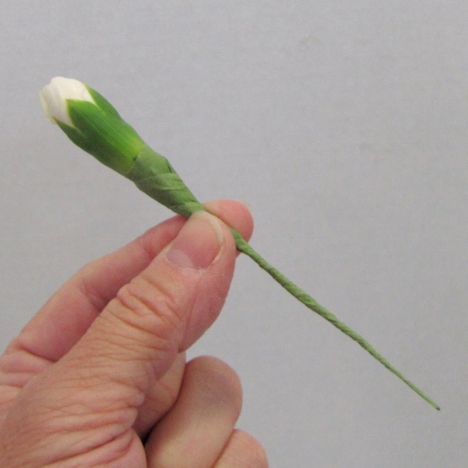
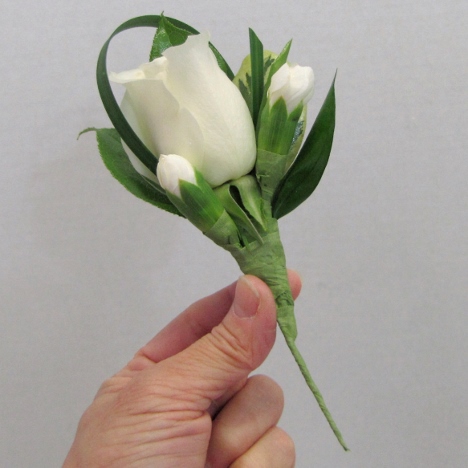
This groom boutonniere is now rapidly taking shape. I wired a second carnation bud and taped it with corsage tape.
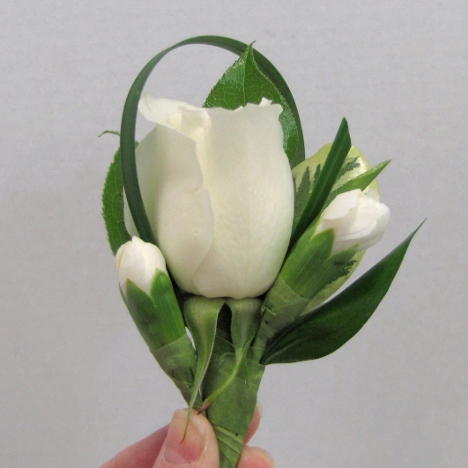
This flower bud is place on the left side of the rose, slightly lower than the one on the right. Bend the flower outward so it snugs tightly against the rose head.
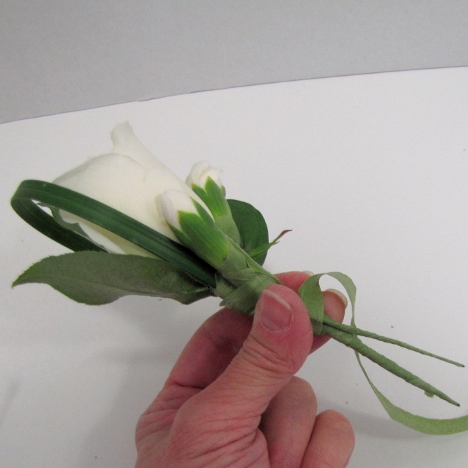
Here's a side view, taping the second carnation into place with corsage tape.
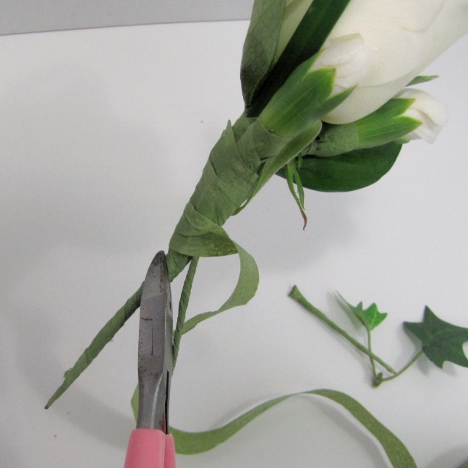
By now, the extra wired stems may begin to be rather thick. I clipped the largest stem off the boutonniere and continued taping down the stem.
Take a critical eye at your design - note how all the elements are pulling together to create a lovely mixture of color and texture - even if the boutonniere is monochromatic (all one flower color).
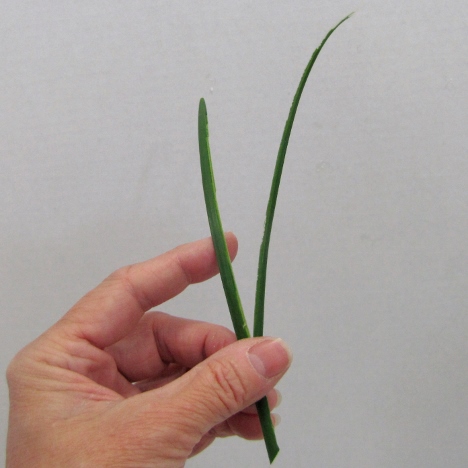
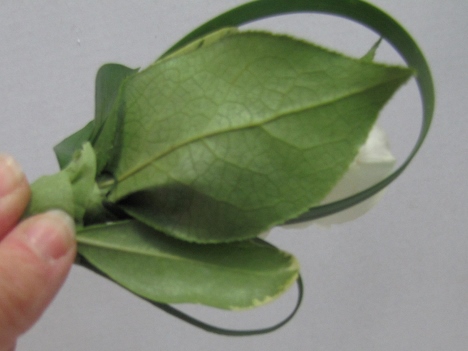
I'm going to add another lily grass blade looped around on the left side, lower than the first blade of lily grass in the back. Tape into place before cutting.
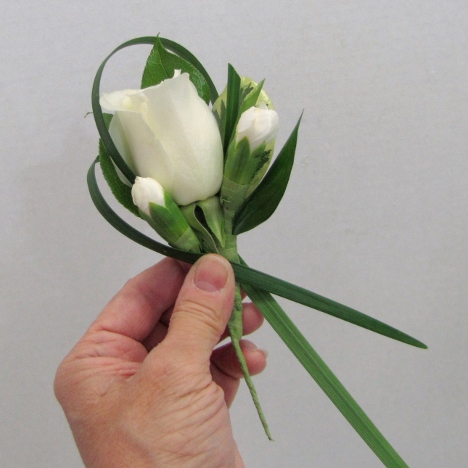
I love the look of the grass, but I'm going to create a little more visual interest by cutting down on the width of the grass loops.
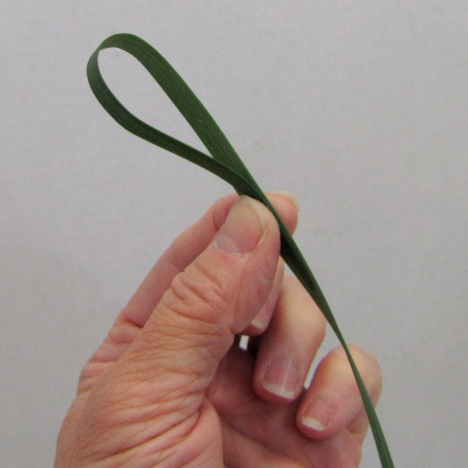
Lily grass is sturdy enough to split into two pieces.
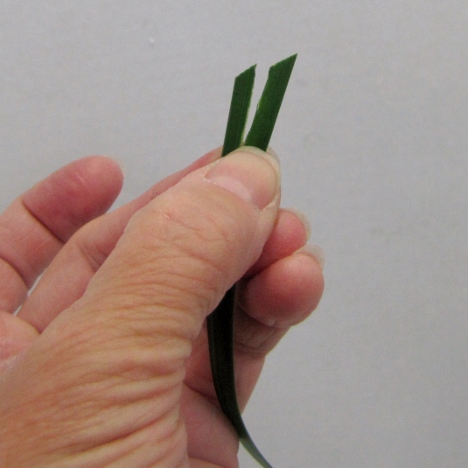
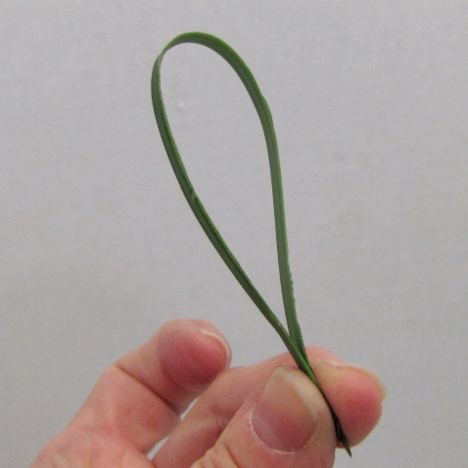
Split the blade of grass carefully and pull the two pieces apart.
Now you have a loop about the size of a blade of bear grass!
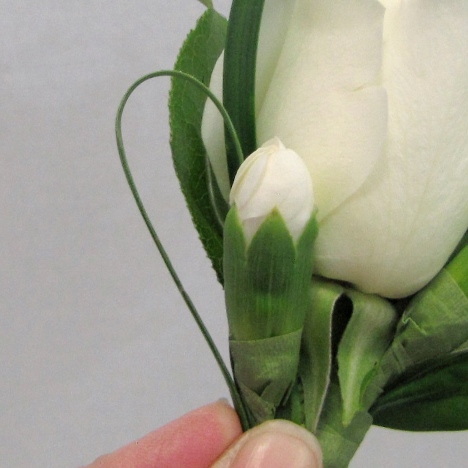
Tape into place, tucking it behind the second carnation bud on the right of the rose.
As my boutonniere tutorial begins to near completion, I'm going to wire up one more pittosporum leave and add on the left side of the rose.
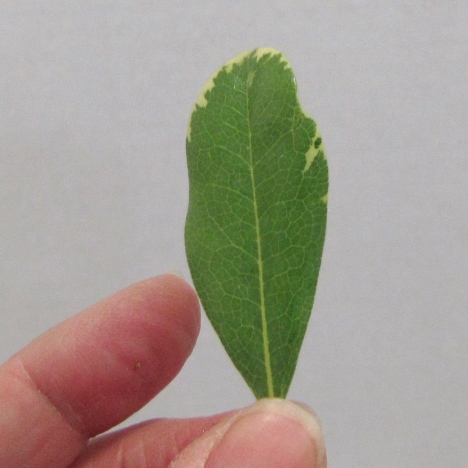
After wiring, bend to the left and place behind the smaller loop you just added to the boutonniere.
This pittosporum leaf is more on the side than the back as you tape it into place.


