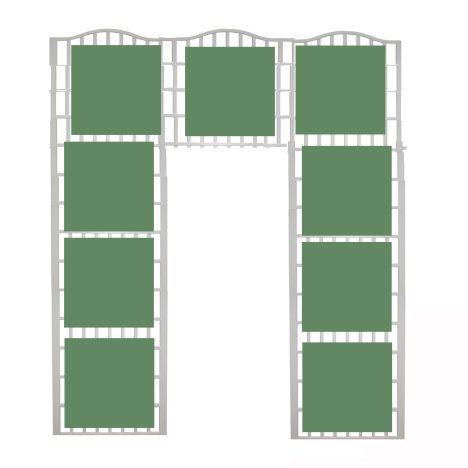
flat front wedding arch
A flat front wedding arch has a wide, broad front to decorate with flowers. Creating a flower design this large can be a daunting task. Normal sized cages can be attached, but an Oasis Sculpting Sheet has a large surface that works well with this sort of design. Actually greening and flowering this design in separate pieces, then attaching when you get to the ceremony site is what I would consider the best option. You MUST measure your own arch to determine the number of cages or sheets you'll need.
To create a similar look, you'll need the following fresh flowers and florist supplies as follows:
- Up to 9 Oasis Sculpting Sheets (depending on measurements of your own arch) OR
- 24 Oasis Grande Cages
- 50 stems of Leather Leaf Fern
- 85 - 90 stems of Silver Dollar Eucalyptus
- 75 Light Pink Peonies
- 50 White Standard Roses
- 50 Pink Standard Roses
- 85 White Lisianthus
- 30 White Carnations
- Paddle Wire
- Wooden Cowee Stakes

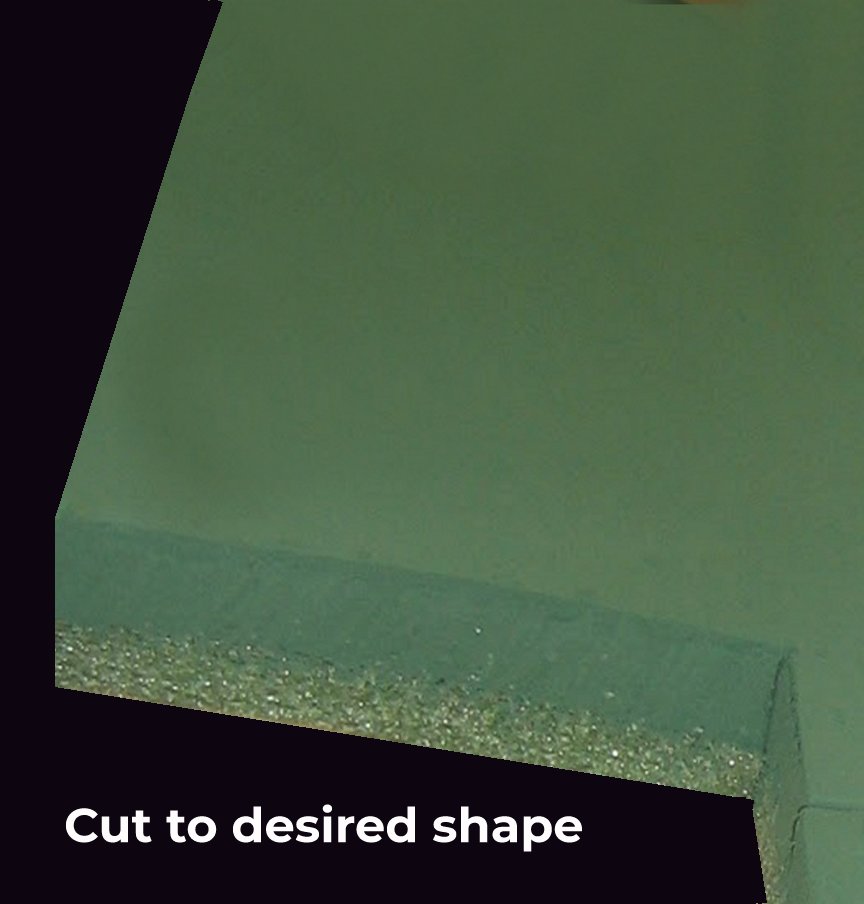
Measure your own flat front arch. You want to know the width of each side and the top. Sculpting sheets can be cut down, but try not to waste any of the florist foam.

Keep in mind that Oasis Sculpting sheets measure roughly 22" x 22". Flowers can extend past this range to make a larger flower arrangement.
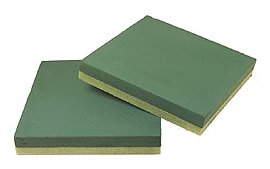
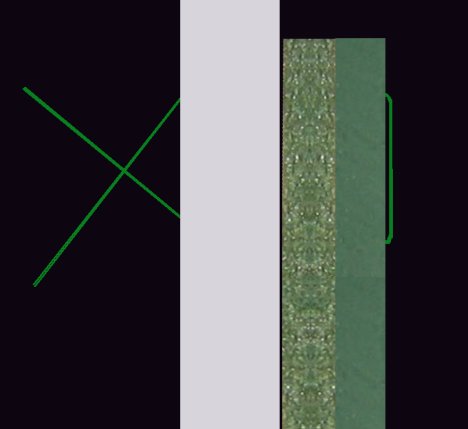
You can see that there is a deep layer of Max-Life Oasis foam, backed with a stiff green Styrofoam backing.
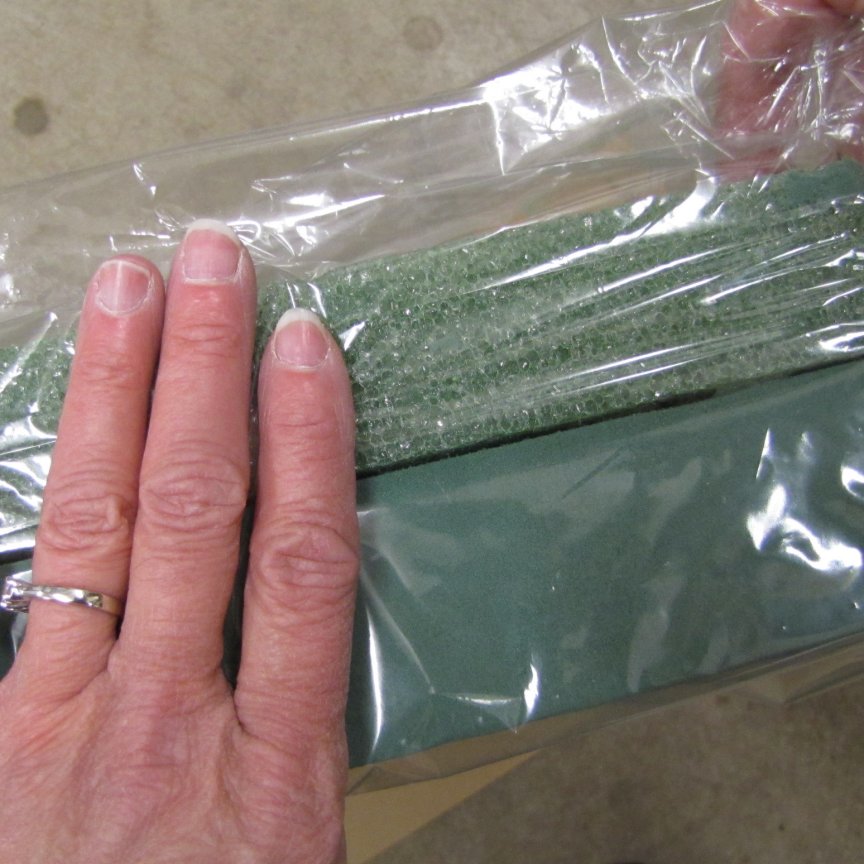
You can measure and cut the Sculpting sheets if needed. Use a broad, long knife to do this. Wear a face mask, as you don't want to inhale the foam particles.
Florists often use wooden plant stakes to stabilize the mechanics of their foam pieces. This long porous wood soaks up water and swells, tightening in the hole.

Cut a long piece of Paddle Wire, bend into a hairpin shape and pierce through the florist foam side, having both cut ends emerging from the bottom (Styrofoam) side. I slip a long stake under the loop on the front side (the side that the flowers will be inserted to. The wood stake keeps the wire from sinking too deeply into the arrangement, which could literally cut through the soft foam like a knife. The stake prevents this from happening.
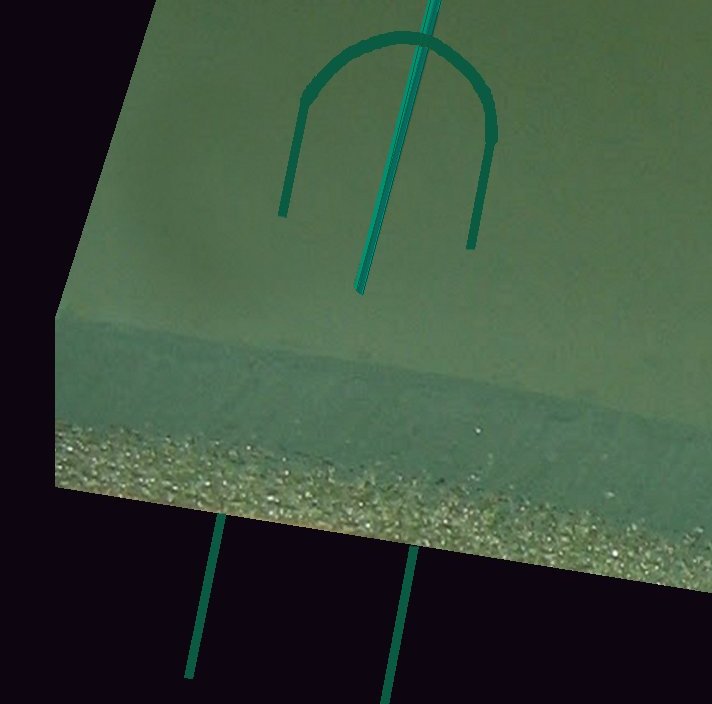
The Sculpting Sheet lays flat against the front surface of the arch. (See side view below.) The two pieces of wire can be twisted against the backside of the arch, creating a strong attachment to the arch.
You need to create a set of these wires on every corner (using wood stake on each corner) of each panel of flowers. Each panel is six square foot of wet florist foam and flowers - it will be heavy. The wires need to be secure and tight to prevent sagging forward.
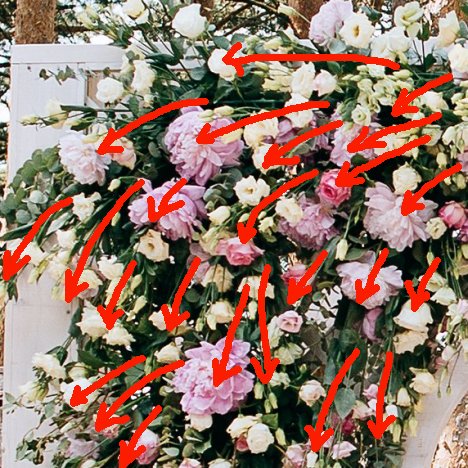
You can green up each panel before arriving. You could (if short of time) even flower up each piece, but it makes it a little more difficult to attach without crushing the flowers. It is doable, however, if you are in a time crunch.
This design was actually done on cages, as you can see the flower stems are literally laying sideways against the arch, inserting the stems into the sides of attached cages. It is really up to the designer to create the design in the way they prefer. I like seeing the heads full on, facing outward. You conceal some of the flower heads by layer insertions like this.
You can see by the sheer number of flowers and the time it takes to construct why these arches can cost thousands of dollars. This arch can be constructed ahead of time, saving money in your flower budget.
