fall flower centerpiece
This fall flower centerpiece is quickly taking shape. For more interest, stagger the flowers in different depths and lengths. This doesn't have to look like a perfect mirror image on both sides, simply an equal distribution of colors and textures.
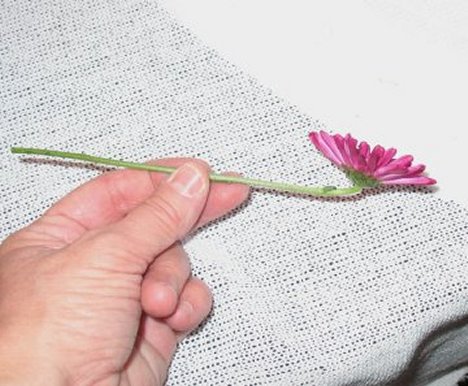
Here's a handy little tip to keep in mind when making holiday centerpieces. Pomps (daisies and cushion mums) in fall colors sometimes have long single stems with short laterals (flower heads with very short stems) shooting off them.
They are sometimes just too short to use effectively without lengthening the stem.
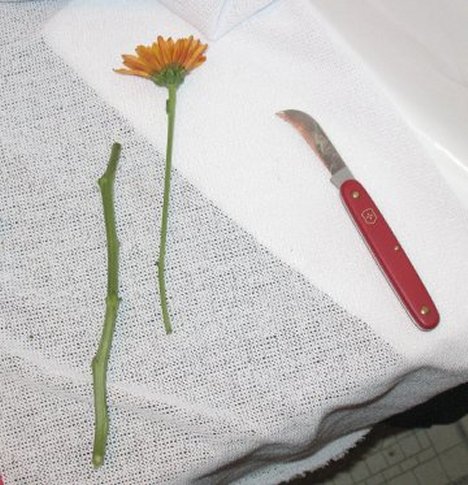
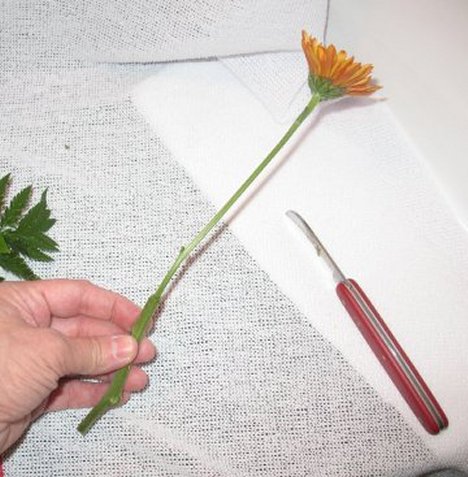
Don't discard the long single stem part that you cut the laterals off from. Instead, you can cut it into lengths and then, after cutting the short flower stem cleanly with a knife, INSERT into the hollow bigger stem portion.
Take care not to crush either of the stems. Moisture has to be able to pass up through the flower stem and travel upwards to the flower head.
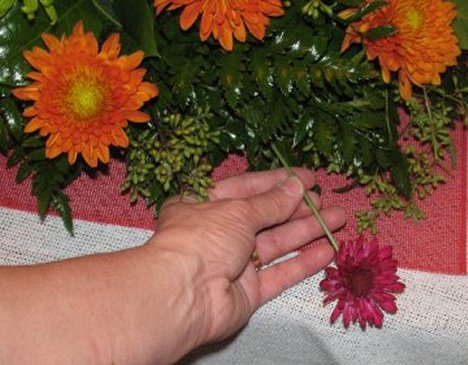
Without this little "extension", this bronze cushion pomp wouldn't have extended long enough to be at the outer end of the arrangement.
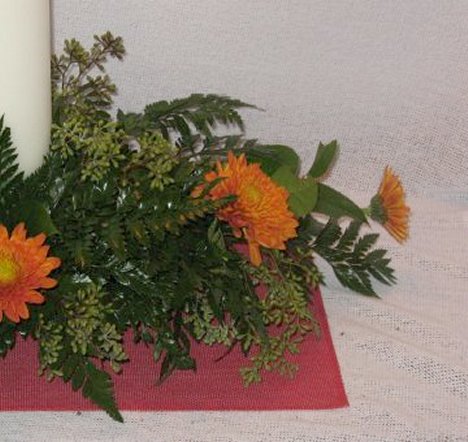
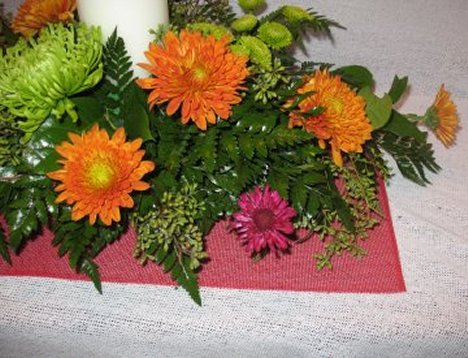
You can see from a top view that the bronze colored mums are now distributed evenly on all sides of the arrangement - the outer flower heads extending just beyond the leather leaf fern tips.
Note how in the upper right, I've clustered small lime green button mums. This balances the color of the large green spider mum, yet gives contrast of size and texture.
Smaller flowers can be grouped in clusters for more impact and interest in this way.
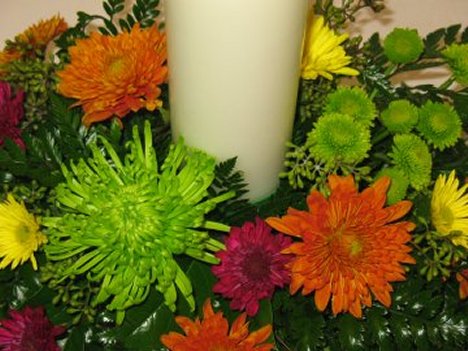
Another great florist tip is to pay attention to the angle when inserting flowers into centerpieces. Flower heads grow towards the light, thus many times the neck is bent naturally.
Use this to your advantage when designing your centerpieces. Here, I'm placing this mum in the bottom, with the head facing upward.
That way the flower head is facing in the exact way I want it to be seen. Pay attention to the natural way your flower heads lean and curve and work it into your overall design.
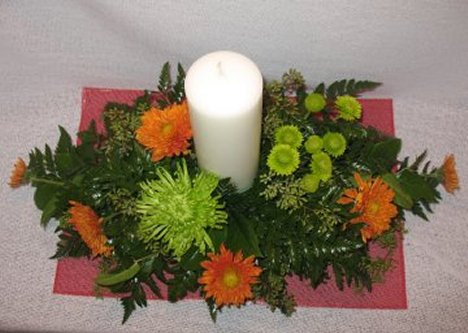
This centerpiece tutorial is nearly finished. Tuck in the smaller filler flowers here and there, like I did with the burgundy chrysanthemums.
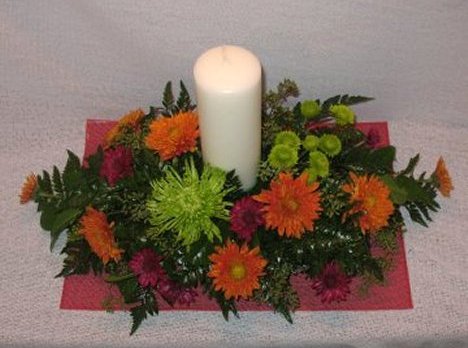
Vary the depth of your smaller flowers. Don't be afraid to bury some deeper into the design. Keeping all the flower heads at the same depth creates a flat finish. This smooth type of design is better suited for a "pave" design, in which the flowers are cut short and deliberately kept the same height.
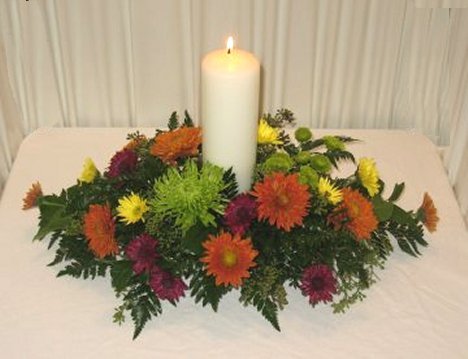
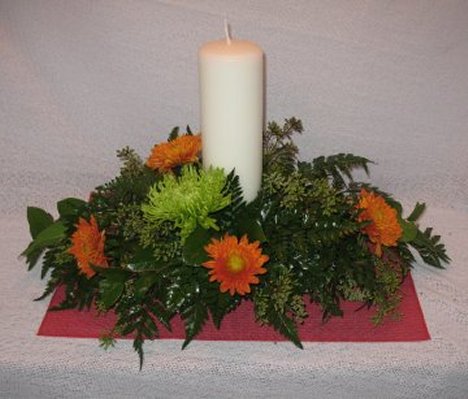
Centerpieces like this traditional one are gorgeous with the eye popping color, the variety of the shapes and sizes of the flower heads and the shape of the design.
All that's left is to place on the table and light the candle! Be sure to never leave an open flame unattended. Always be sure centerpieces are placed where they are well away from draperies and other flammable objects.
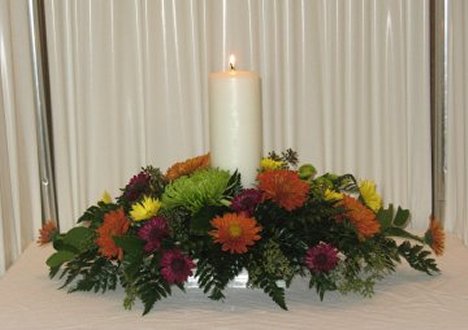
Keep in mind that this design can be duplicated using pastels for spring, garden flowers in the summertime and red and white (plus Christmas greenery) for the holiday season.