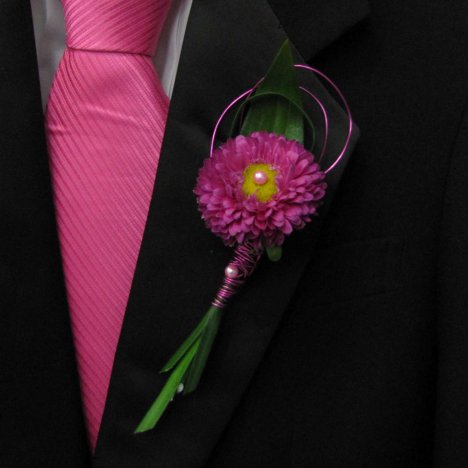
Easy Boutonniere
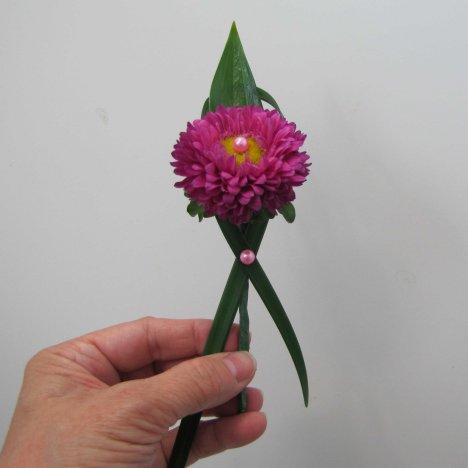
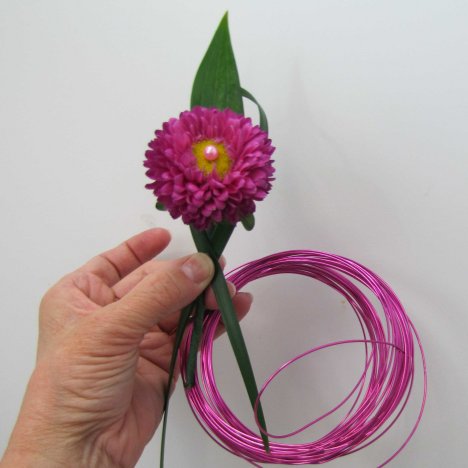
Easy boutonniere details can be as simple as a blade of grass! I love using decorative grasses in many of my cut flower designs (including corsages and boutonnieres). Creating visual interest is simple to do and gives the boutonniere a professional touch.
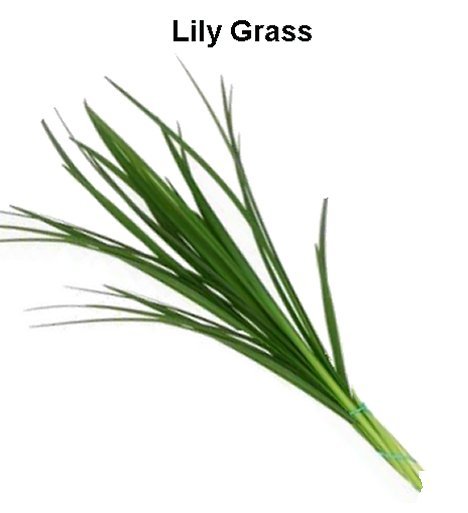
There are a lot of decorative grasses. I like using both bear grass and lily grass. Bear grass is more slender, while lily grass has a wider blade and often a deeper green color.

Take advantage of the natural graceful curving lines of the grass in your boutonniere design.
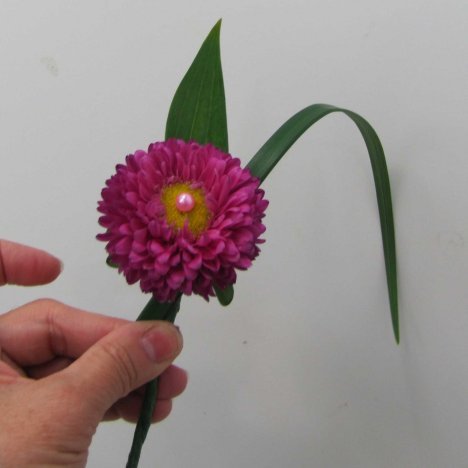
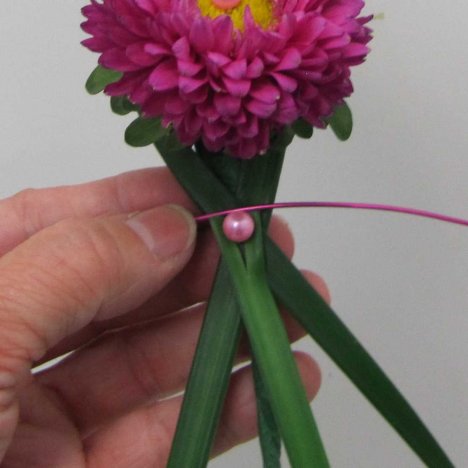
I'm going to create an open loop that I cut to length and fit on the backside of the boutonniere.
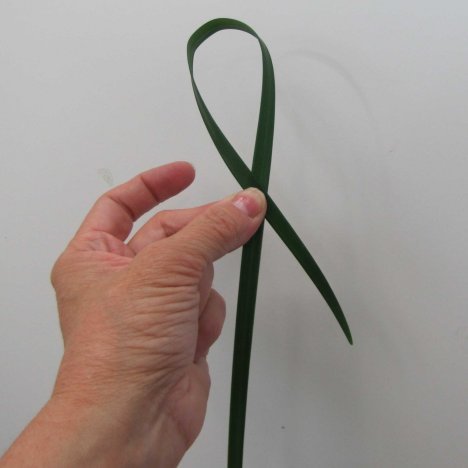
This keeps my leaf in a complete upright position while the loop shows negative space (a term florists use to refer to spaces that are not filled with greenery or flowers) behind the flower head.
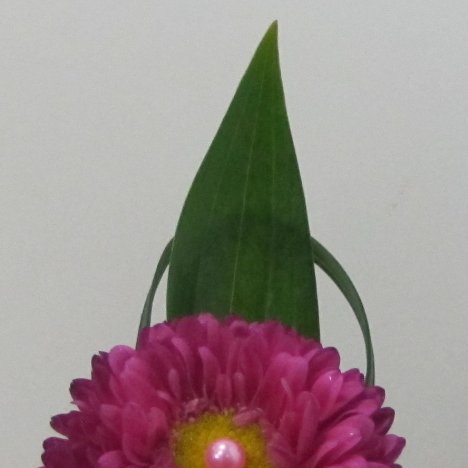
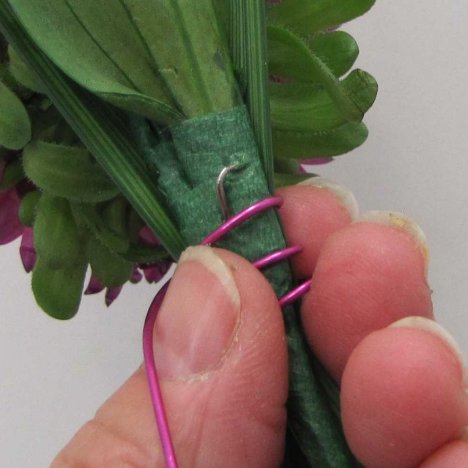
I secure the looped lily grass to the aster boutonniere with a pixie pin or shorten a standard corsage pin. At this point, I don't want to use green stem wrap, since I'm going to use decorative wire to attach the grass to the boutonniere.
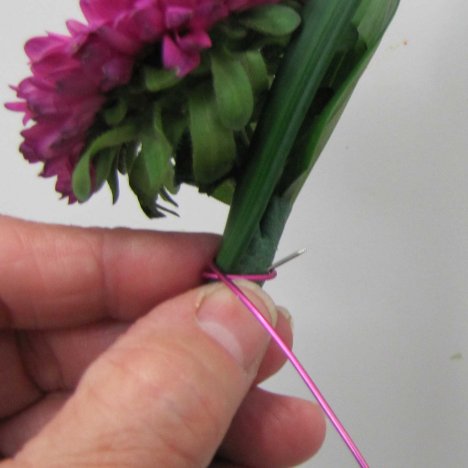
Pin the pearl headed pin in an upward slant, burying as much of the pixie pin into the boutonniere stem as you can.
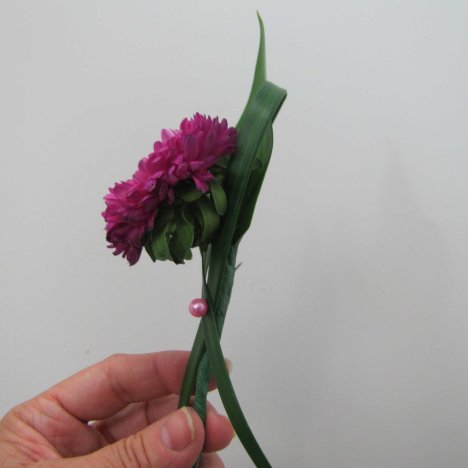
Handle with care, since it is easy to split the lily grass unintentionally. Cut the long end of the grass short at a point angle to match the natural point of the grass on the right side.
I love using thin metallic wire as an accent in my boutonnieres and corsages. It comes in a lot of different colors including blueberry, silver, midnight, rashberry, green apple, fuschia (shown below) copper, sugar plum, copper and caramel.
This colored florist product is actually the "new ribbon". It's impervious to water and can be sprayed, misted, and stored in the refrigerator with no worries of discoloration or wilting.
Instead of green stem wire, I'm going to use this colored wire to secure the lily grass and become part of the boutonniere decoration at the same time.
You can see that the pixie pin has a sharp point coming out the back. I wanted to twist the wire around the stem first before bending that sharp point upward with needle nose pliers.
I didn't want to chance splitting the lily grass blade further before the two pieces were securely fastened together.
Always take care that sharp points of wires or pins are turned inward or upward and and that the sharp ends not able to harm the wearer, the pinner or damage clothing in any way.
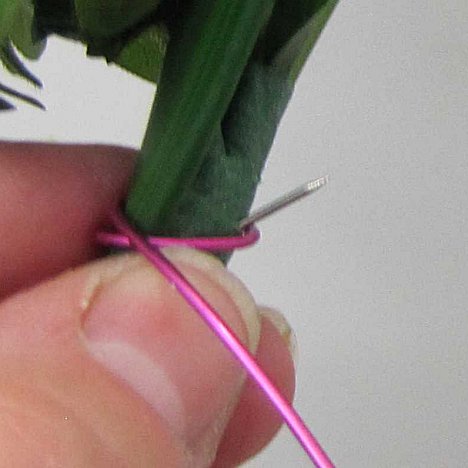
You can see I used the pointed pliers to turn the sharp point into the stem of the boutonniere, burying it deep in the taped stems.
When learning how to make a boutonniere, you'll find that it is the meticulous attention to detailing that will make your designs stand and (and get all the compliments!)
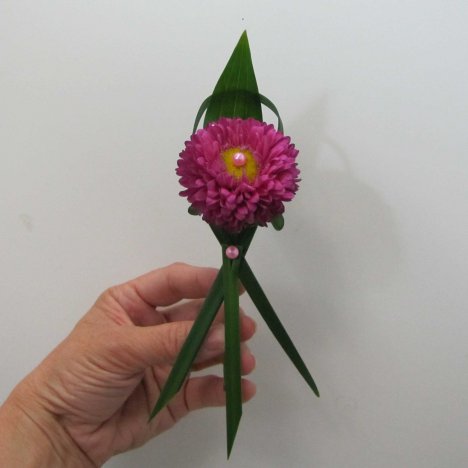
I finished wrapping the metallic wire around the stem, securing the single Lily grass blade to the boutonniere. I then create another loop with the wire, mimicking the loop of the green grass blade.
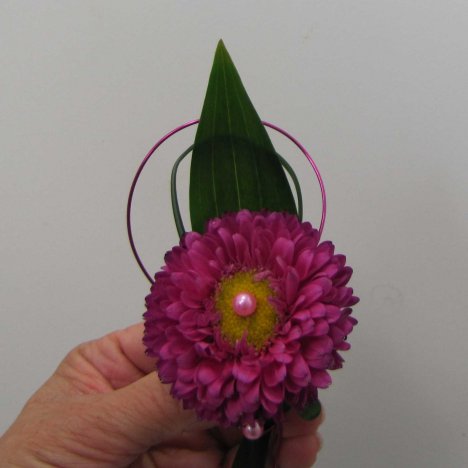
See from the back how I then created a second colored wire loop and then secured each by a tight wrap around the boutonniere stem.
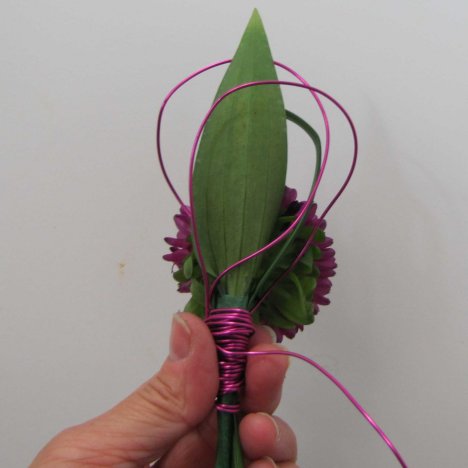
Finish by bringing the wire around to the back, and then burying it deep into the taped lily leaf. Remember to cover all cut ends of every wire and pin securely to prevent damage or injury.

Boutonnieres are pinned on the wearer's left side (it will be on the right hand side of the pinner). Secure it firmly to the lapel using corsage pins. I prefer them over the shorter boutonniere pins. Don't be afraid to use two pins, driving the pins deep into the flower head at the top.
The boutonniere should not "flop forward", and be tightly fastened. Common alternatives are BoutStix or Easy Pins, but you have to think ahead and work them into the design as you are creating the lapel flower.