diy rose boutonniere
This DIY rose boutonniere is all about simplicity with emphasize on hot colors and a holographic flash!
You'll need the following supplies:
- 1 Standard Rose
- Wired White Corsage Leaves
- Design Master Pink Glow
- Transparent Holographic Film
- Pink Colored Floral Tape
- Metallic Wire
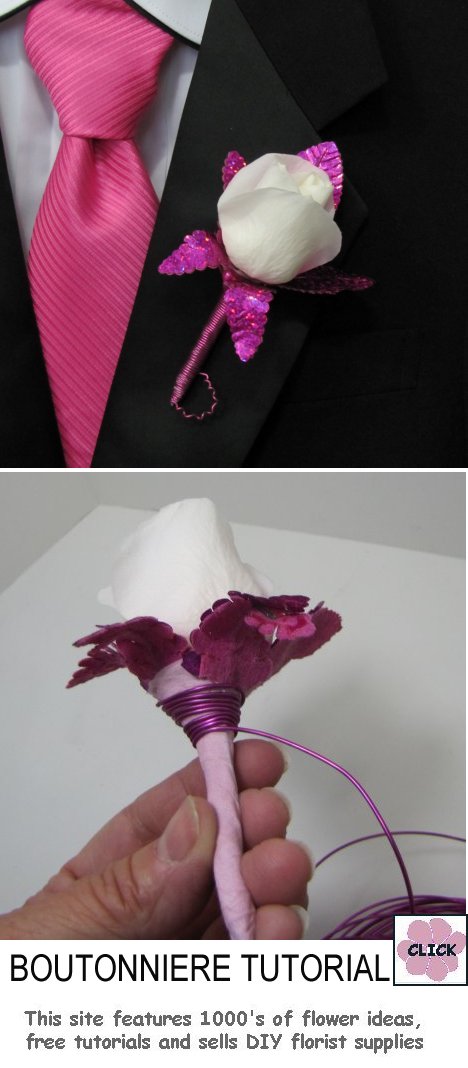
Want to learn how to make a rose boutonniere turn from ordinary to WOW!!!? Florists upgrade boutonnieres and corsages by adding in beautiful design accessories such as flower jewelry, Oasis metallic or bullion wire, or ribbon wrapping the stems.
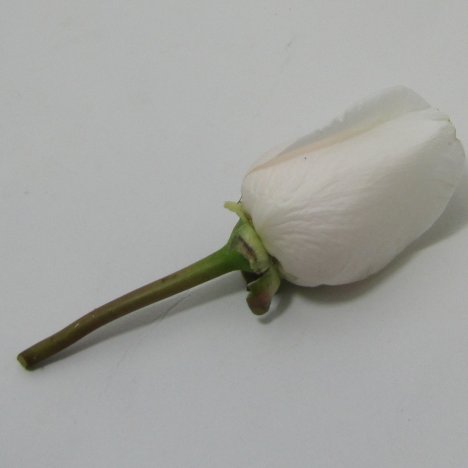
Let's begin with a basic white rose. Florists always begin by processing their bulk wedding flowers correctly. You should always cut the rose stems underwater and dip in a hydrating product such as Quick Dip. This will extend the life of all your flowers and keep them looking garden fresh.
Remove all the guard petals from your rose. Don't be distressed if your fresh roses arrive with browned or thorn torn petals. These are the outer petals are deliberately left on the flower until you are ready to design. They will protect the inner rose petals from browning and creasing.
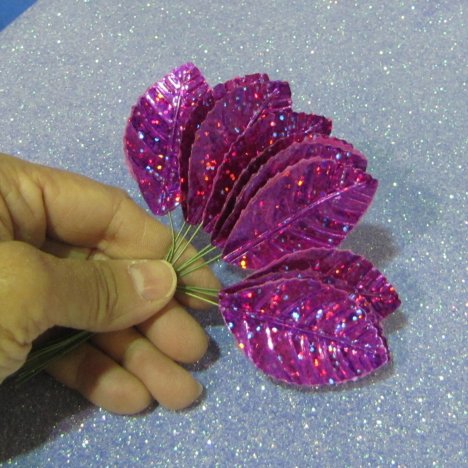
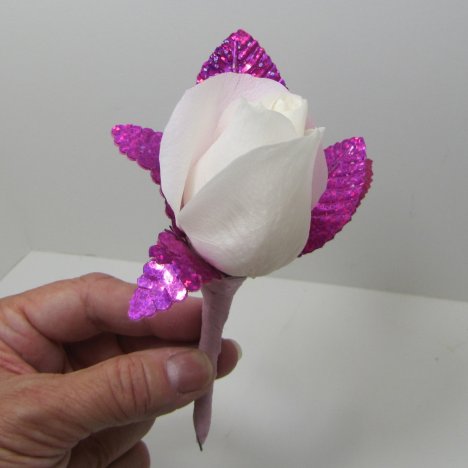
You can go the extra step with "ho-hum" corsage leaves and get creative by jazzing them up with either solid, neon, glitter, flocked, holographic, metallic or embossed finishing by using holographic or glitter film overlays. You start by spraying white leaves with Design Master Pink Glow paint, allowing them to dry completely, then cover each individual leaf with the film. With white craft paint, glue two leaves together on the lower base of the leaves, leaving the top tips unglued and the glitter side facing outward on each side.
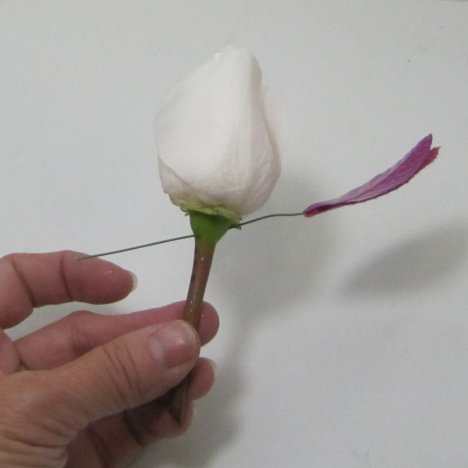
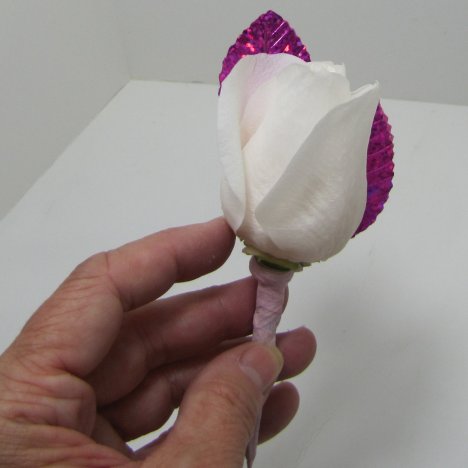
The wire stem of the corsage leaf is strong enough to actually pierce the caylex and allow the first leaf to fit snugly against the head of the rose.
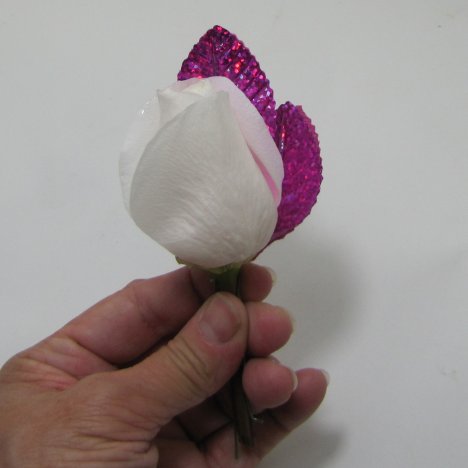
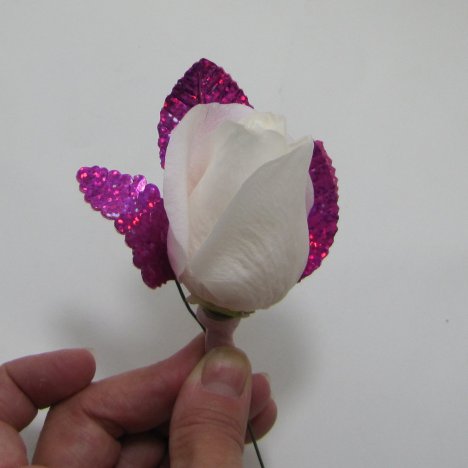
I want the back leaves to cluster close to the rose, peeking out as a frame against the white rose head.
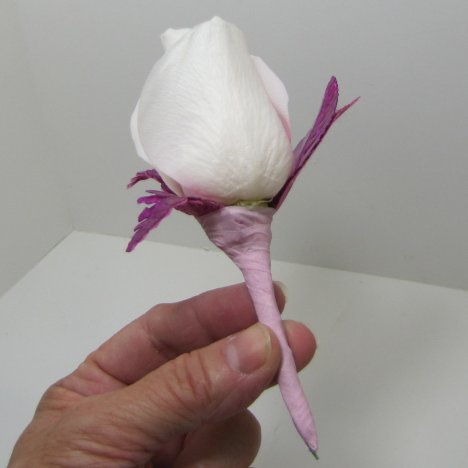
I chose a colored corsage tape, which compliments the overall color scheme. Corsage tape stretches and adheres to itself as it is wound down the rose stem.
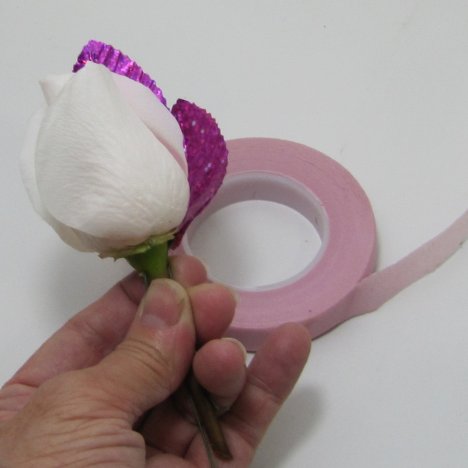
Start high under the neck of the rose and pull downwards, stretching downward as you turn the rose stem.
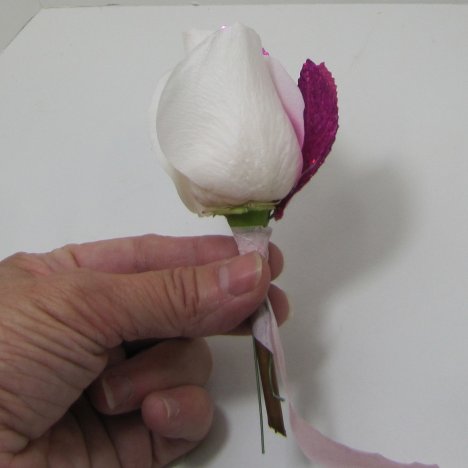
Be sure to cover up high where you removed the base leaves from the rose.
Place a third leaf against the side and tape into place.
The front leaves begin to bend downward, showcasing the rose. You will tape over the bottom part of the leaf, not just the wire.
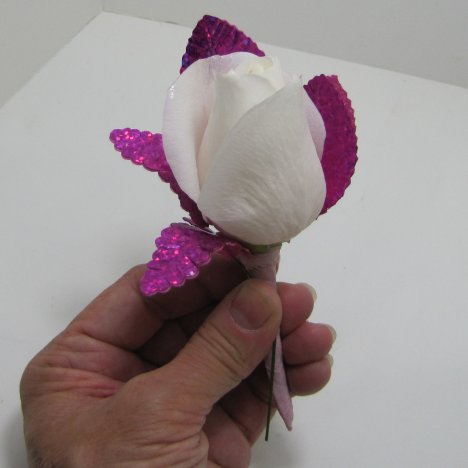
See how the leaf itself is concealed by the floral tape as opposed to the back leaves, which only the wire is covered.
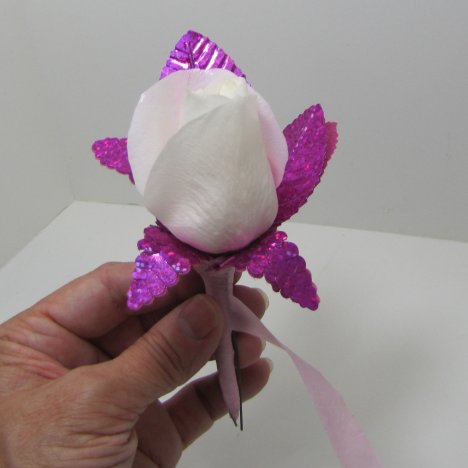
The leaves are clustered tightly against the rose, providing a delightful frame against the stark white.
The fifth leaf is now taped to the bottom right, bent forward the same as it's neighboring leaf on the left side. Go down the complete stem, concealing all the wire.