coiled wire boutonniere
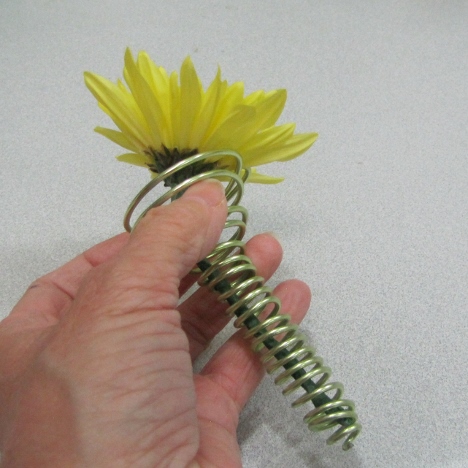
I slide the cushion mum down into the pre-made coil, getting a feel for how I want to shape the top part around the flower head.
After removing the flower, I pull the top coils completely forward.
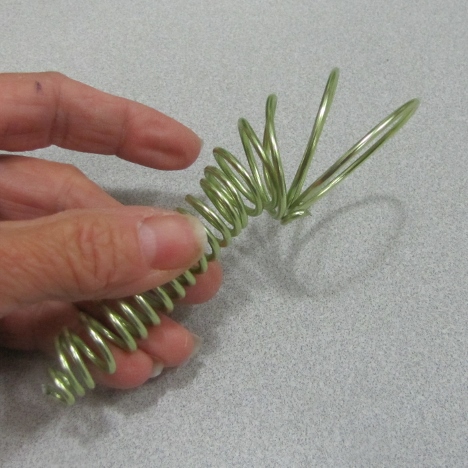
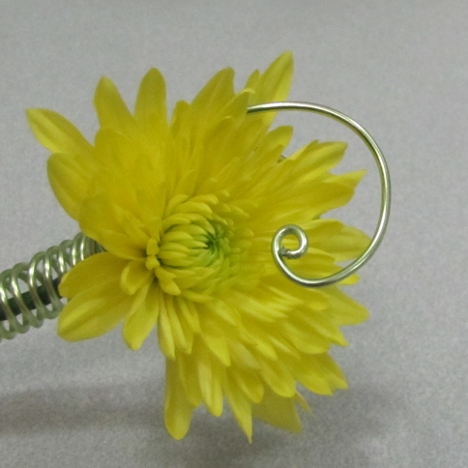
I've decided that I don't want the coils to encircle the head (like you would a rose), but instead will bring the top end of the coil up and dip it into the center of the chrysanthemum.
Part of the fun of flower designing is to see your own inspiration come to life as you work with the wire and other elements of the boutonniere design (such as leaves, blades of grass, corsage pins, flower jewels and more).
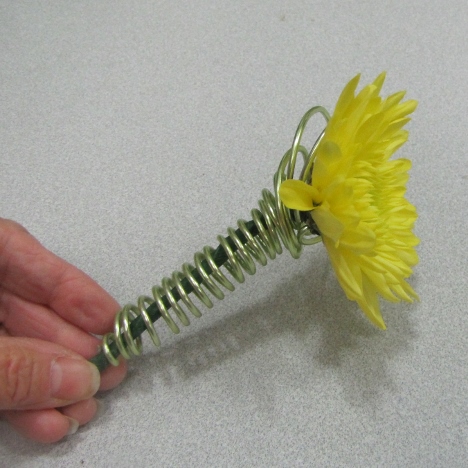
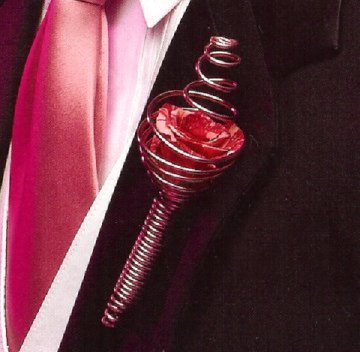
For a finish, simply pull the end of the coiled wire up and over the side of the flower head, centering the tightly coiled end over the flower head.
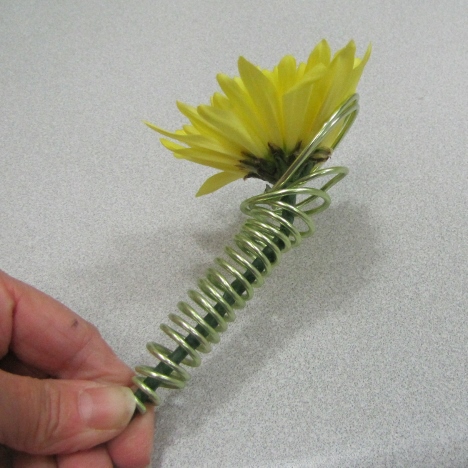
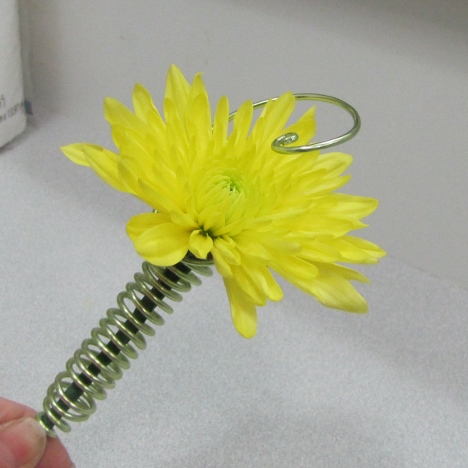
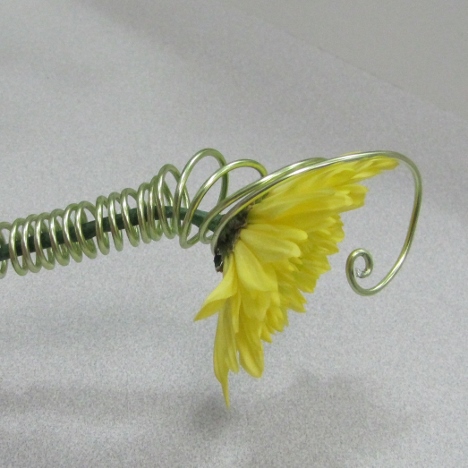
As you can see from a side view, the coils up the stem remain in a tight coiled manner.
The bend of the larger coils at the top follow the curve of the flower head forward and then goes over the edge of the flower as shown.
Making boutonnieres with stylish wire armatures can take on individual creativity determined by the shape of the flower heads and the color of the wire.
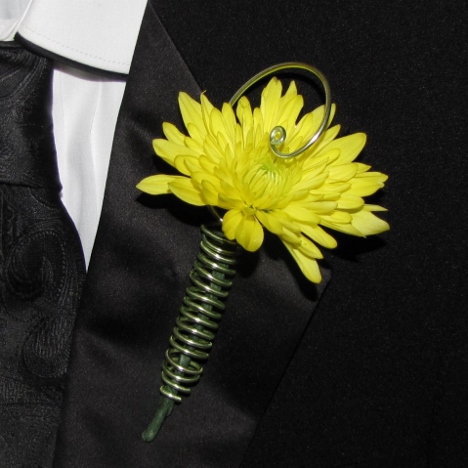
Pin the finished boutonniere to the wearer's left lapel (your right as you are facing them) of the tux, pushing the pin under the bottom side of the lapel and through the wire armature.
The boutonniere is more secure if you pin both at the top and at the bottom of the flower.
You can completely enclose the flower heads if you choose and tighten the coil so the stem is completely covered.
Oasis decorative wire comes both round, flat and thinner or thicker diameters if you wish. Seventeen beautiful colors lets you mix and match your own wedding palate!

