boutonniere and corsage tutorials
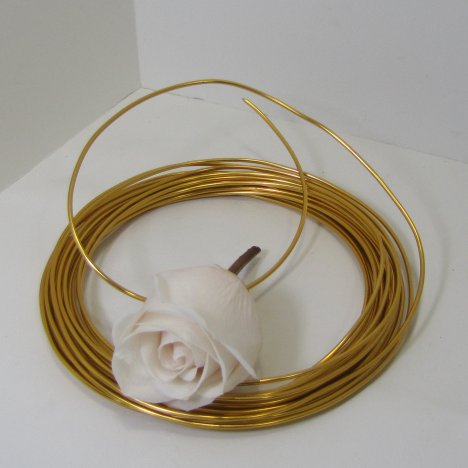
To make a boutonniere and corsage look high class, consider accenting the lapel flowers with decorative colored wire crafted into an intricate design.
This wire is actually easy to handle and shape into beautiful using your fingers or needle nose pliers. Have fun creating your own unique designs in 17 different colors. This boutonniere can easily be made for a man or a woman.
You will need:
- 1 white rose
- Florist Tape
- 26 Gauge Florist Wire
- Oasis Aluminium Decorative Wire (your choice of colors)
- Sheer corsage ribbon
- Finishing Touch Flower Sealant or Crowning Glory

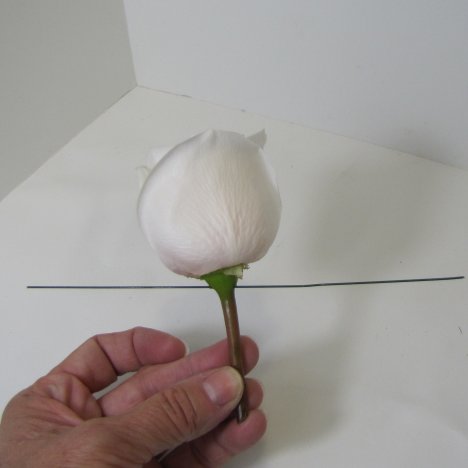
When roses are processed you should leave on the outer petals until you are ready to design. These are called "guard petals" and shield the inner ones from bruising or creasing.
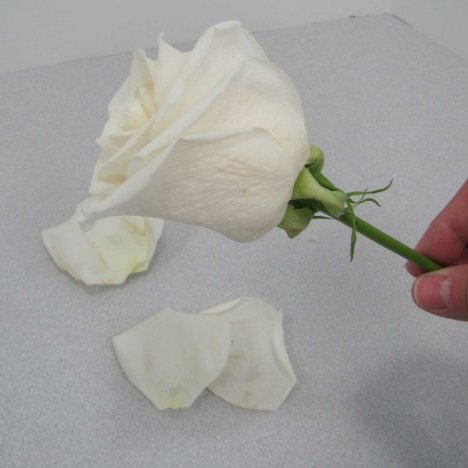
Peel down until you have a perfect, well shaped rose for your boutonniere. Your rose should be firm to the touch and as free from blemishes as possible.
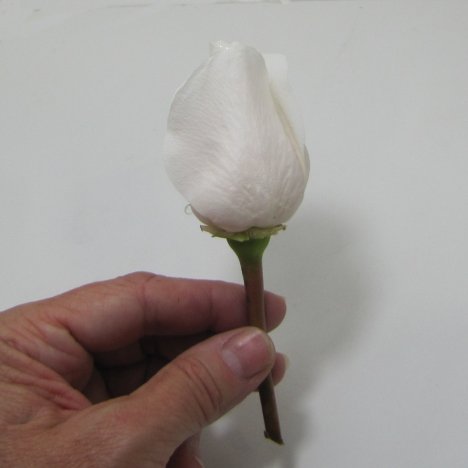
I'm going to use decorative colored wire to create a coiled design that is going to enhance and turn an ordinary boutonniere into one with pure elegance.
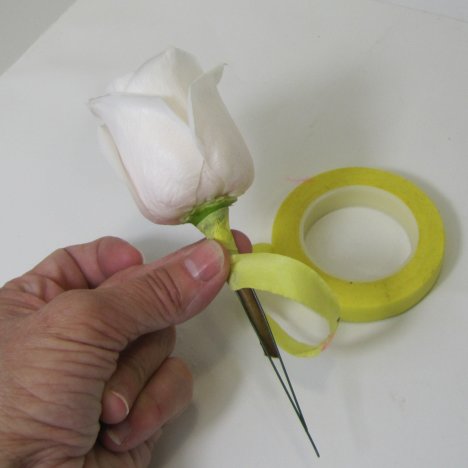
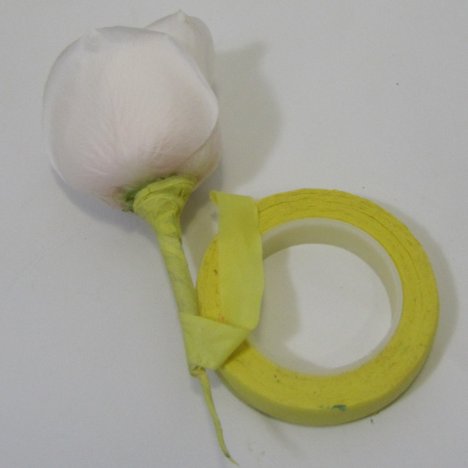
Taping a wedding boutonniere with a light colored florist tape makes it easier to cover when you are using sheer ribbon. I generally wire all my corsage and boutonniere flowers for added strength. If your stem is strong, feel free to skip this step.
I then tape the rose stem with a light colored green stem wrap. I'm using gold sheer ribbon later to ribbon wrap the stem and the tacky tape helps hold the slippery ribbon in place.
Start at the very top and turn the rose and pull gently on the tape, covering the stem in a downward, spiral motion.
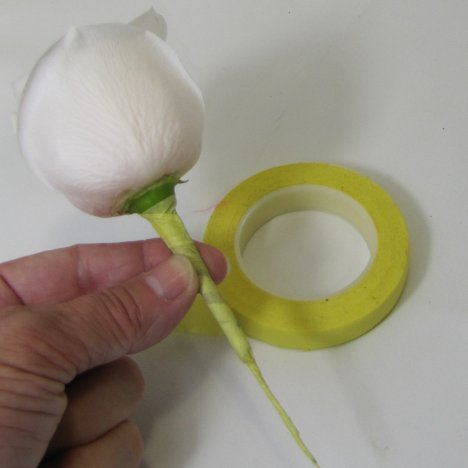
The tape is tacky and sticks well to itself.
Tear it off at the bottom and give the tape a twist on the end of the wire to be sure all sharp edges are covered.
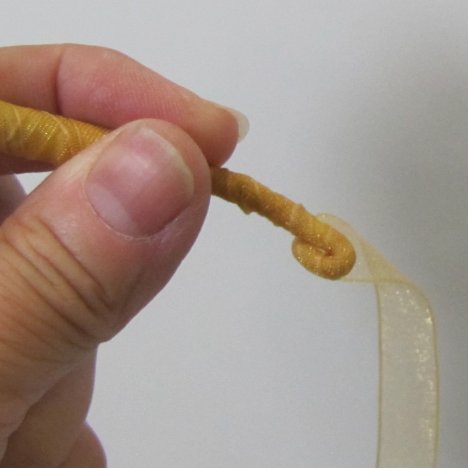
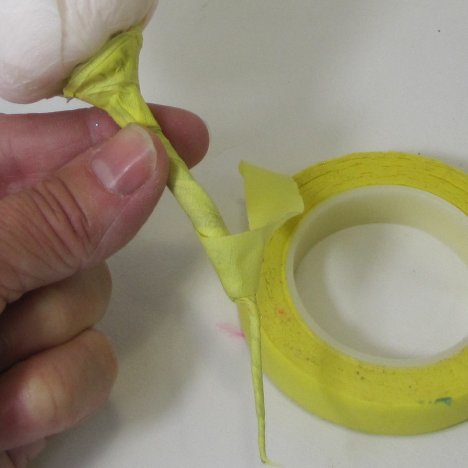
Ribbon wrapping a boutonniere stem gives it a polished, finished look. Since I was using a sheer gold ribbon, I used a light colored florist tape to avoid a green cast.
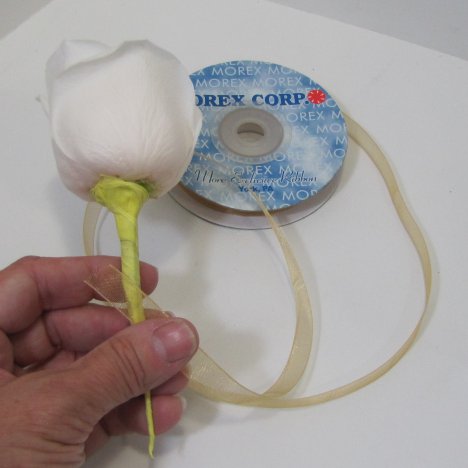
I begin at the bottom of the boutonniere, wrapping the ribbon around a couple times until it is tight wound against itself.
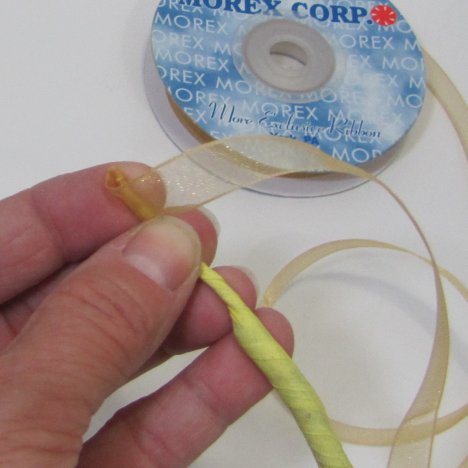
The tacky surface of the florist tape helps keep the slippery ribbon in place.
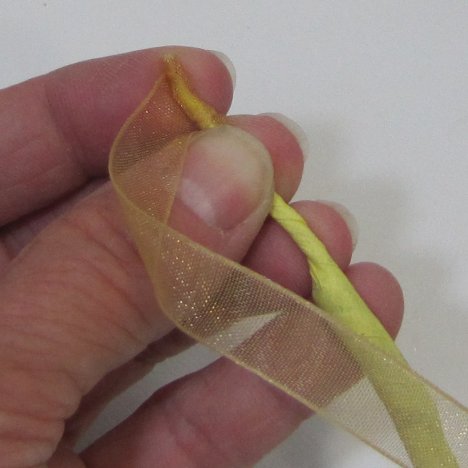
Continue winding the ribbon up the stem, overlapping itself in the process.
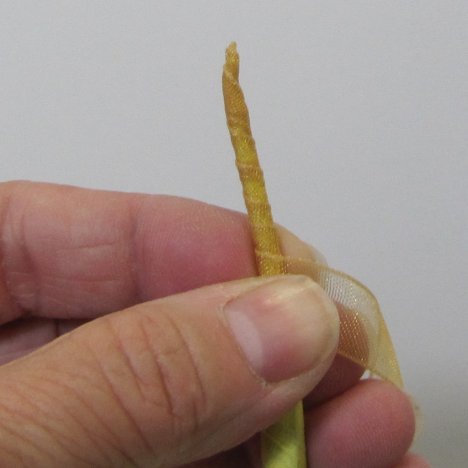
Keep a firm grip on both the boutonniere and the ribbon. If you let it loosen the ribbon may unfurl.
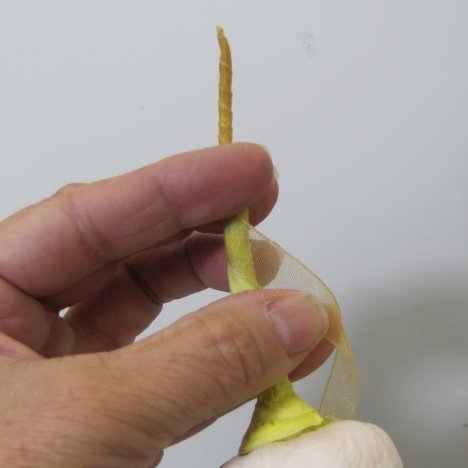
Once reaching the top, I wound it tightly and then started down the stem again, working my way to the bottom.

After reaching the bottom of the boutonniere stem, curl it up tightly, locking the ribbon in place with the twisted wire.