Red Rose Wedding Bouquet
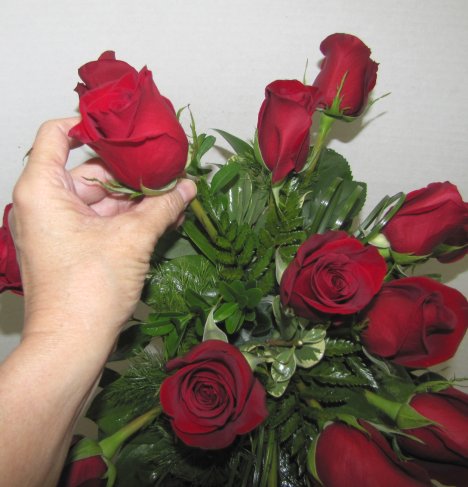
This red rose wedding bouquet is going to have a lot of flowers packed into a compact space. As I insert more roses, I maintain a balance by inserting each new rose into the smaller "V" space created by roses already in the design. Remember, the goal always is to insert ONE TIME. Continued pushing and pulling of flower stems can degrade the foam quickly, making the stems loose.
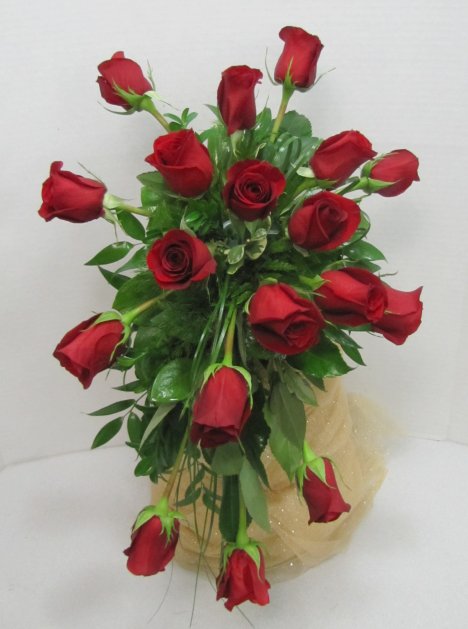
The length is shorter that the length of the outer ring of roses.
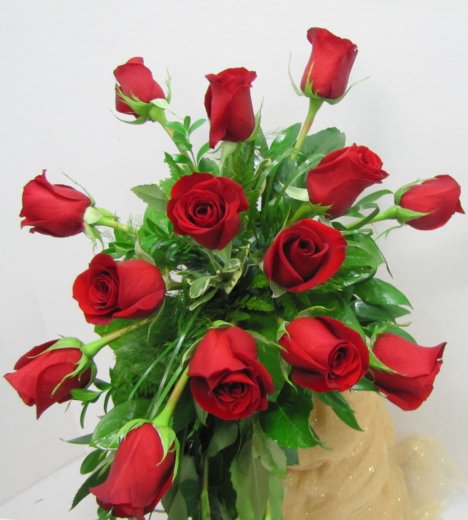
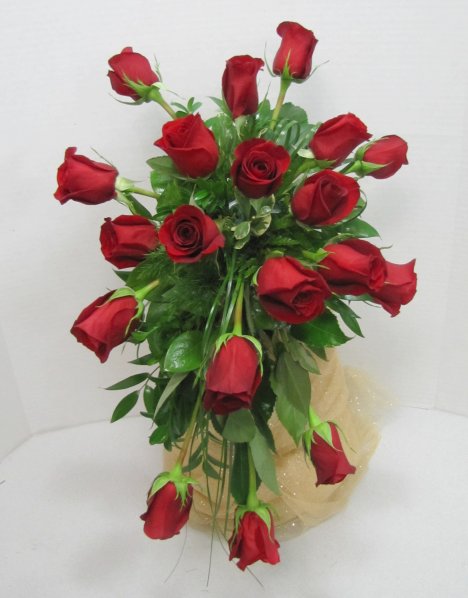
You bouquet should look similar to this one.
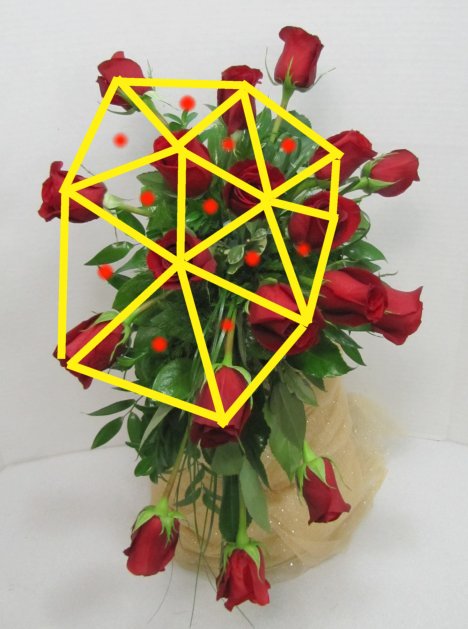
I continue insertion, in between the triangle of space within the flowers already in the design.
Can you visualize the triangle formed by all the flowers already in place? The dots represent where another rose head could be. How many roses are inserted is up to you.
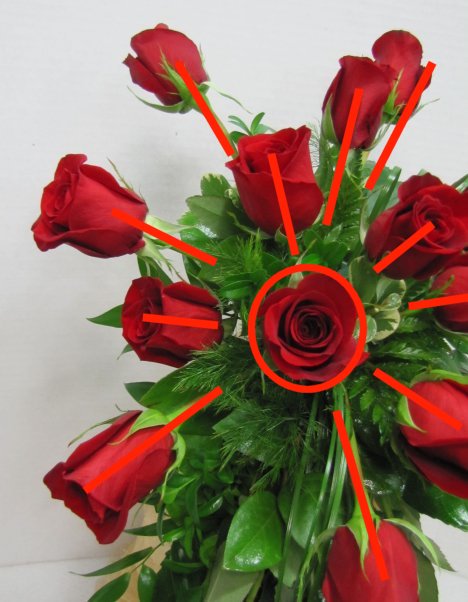
See how the faces of each rose angle outward - away from the center rose that faces forward.
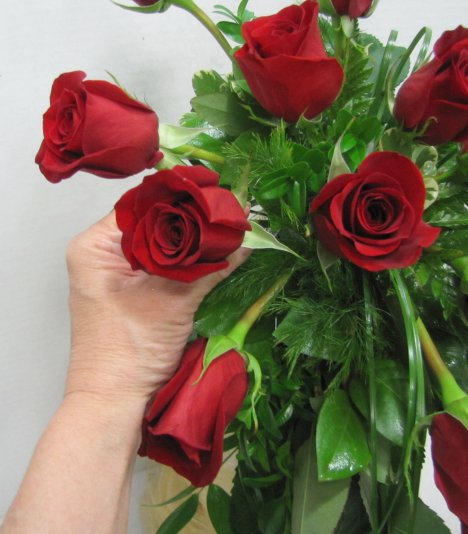
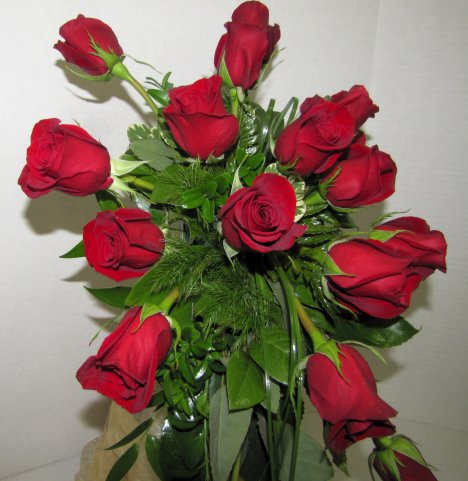
Here's a view from the left.
At this point, you could insert a different variety of flower for contrast. I'm going to cut some roses shorter, creating a deeper insertion so to vary the depth of the rose design.
Shorter roses are going to be cut and point even farther towards the back of the design.


