How to Make Wedding Bouquets
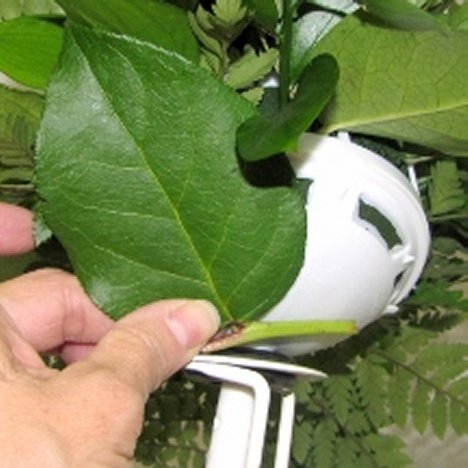
If you want a faster covering option, you can cover the underside of the bouquet holder with natural leaves or greenery. I like salal (lemon) leaves, because they are large, broad and have the perfect shape that covers in a hurry.
I used Oasis floral adhesive professional floral adhesive. Be careful - it comes out of the tube in a hurry. Have a corsage pin ready to stick in the neck of the glue bottle - that works much easier than the cap and doesn't get "glued on" to the tip later!
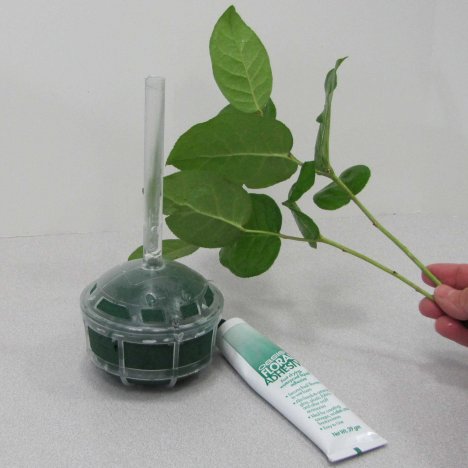
Trust me - I've tried using both hot and cold melt glue to attach fresh flowers. It just doesn't work. It looks awful under the leaves and it pops off when it gets brittle in a cold or wet environment (like a refrigerator). The floral adhesive is slower drying, but it holds the fresh greens tightly and is impervious to water.
You can apply it directly to the holder - but I generally like putting it directly on the leaves and then holding them fast with one finger allowing it to dry before applying another leaf.
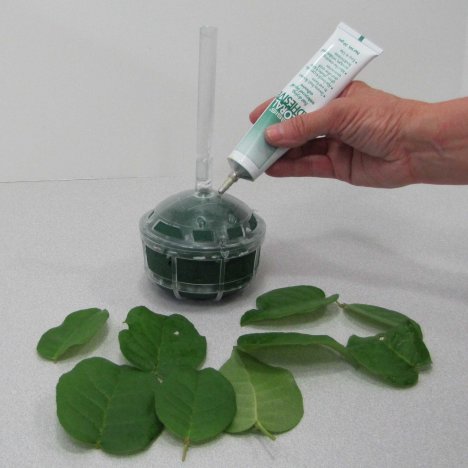
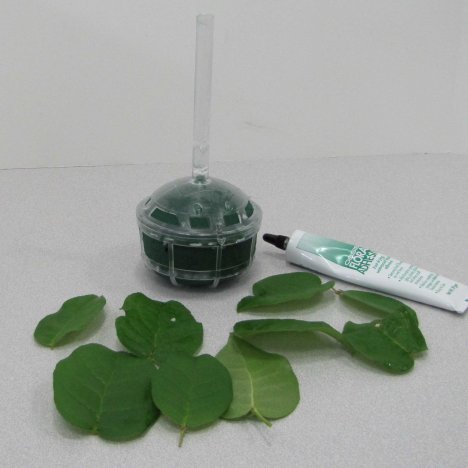
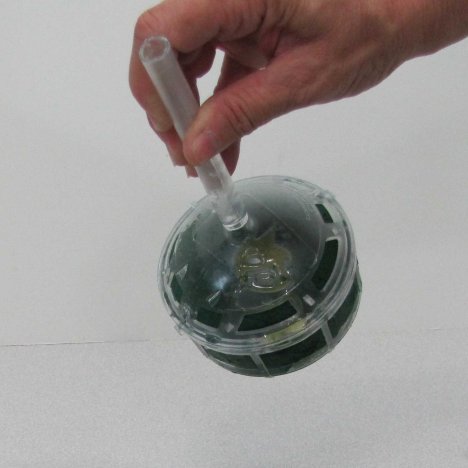
It can dry faster than you think - so one leaf at a time gives you plenty of time to place the leaf. It really only takes a few minutes to cover the back of a holder. Just be careful to replace the corsage pin in the tube so you can get out every bit of the adhesive from the tube.
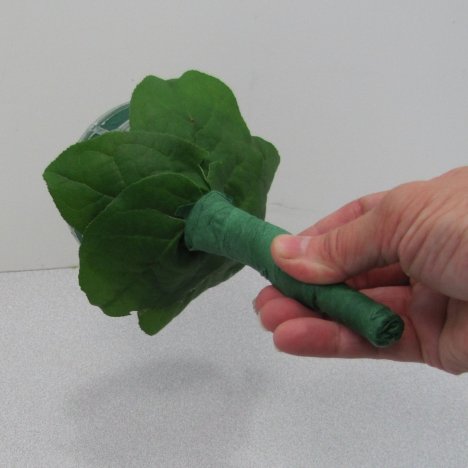
You can use different varieties of leaves to conceal the holder. I often attach stems to the handle so when I'm finished you can't tell it isn't a true "hand tied" bouquet!

After you've glued on the leaves, wrap a layer of green floral tape quickly down the handle to cover the loose stems of the leaves.