Make a Wrist Corsage
Applying the floral adhesive is a little tricky at first until you get the hang of it. It's easy to squeeze too hard and get too much glue. It is sometimes easier to apply the glue to a disposable plate and dip each leaf into it rather than get too much on the corsage bracelet.
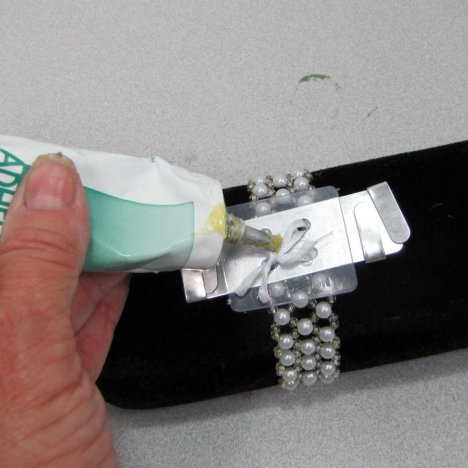
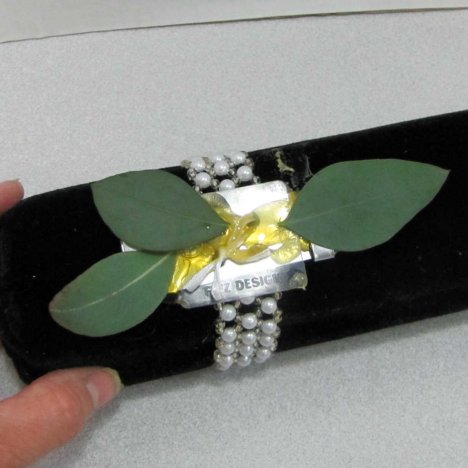
After folding the aluminum arms tightly and squeezing with a pair of of pliers or wire cutters, I apply glue to the top of the silicone pad and metal plate.
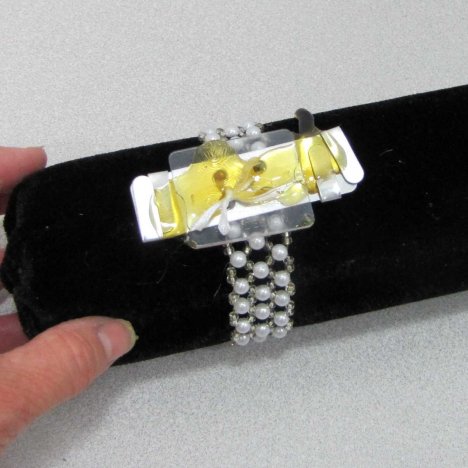
Although the glue is slow to dry, you'll still need to work quickly in applying the leaves to the glue while it is still tacky enough to hold.
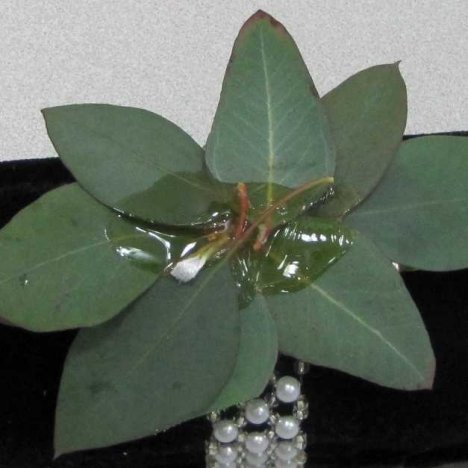
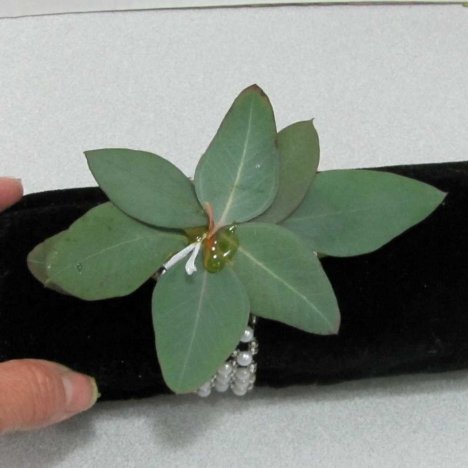
You can apply the glue and then arrange the leaves around in an oval pattern.
Don't be afraid to overlap the leaves. The oval shape will fit the wrist better than a round circle of leaves.

Apply more glue if necessary. Press lightly with your fingers - but be careful not to get the glue on your fingers and then transfer it to other leaves and flower heads.
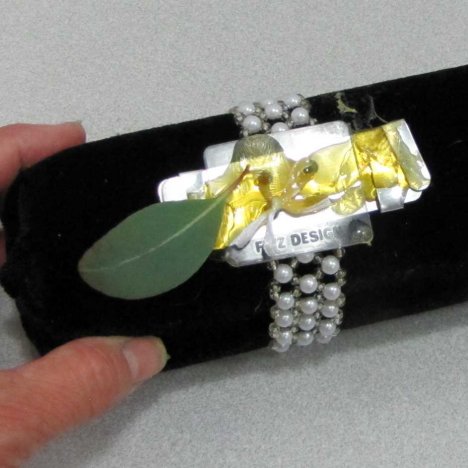
Once all the leaves are in place as a base, apply more adhesive so you can attach the first layer of your wax flower.
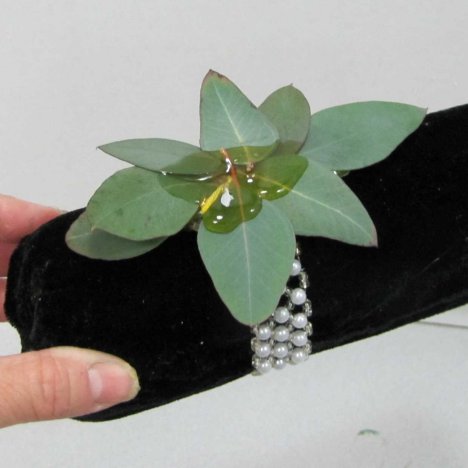
You can tug gently to be sure all the leaves are securely attached before moving on to gluing the flowers in place.