Wedding Flower Bouquets
This tutorial actually sports a cardboard collar wound in a white "wool" (English for yarn) and then wrapped in beaded pearl wire.
The easiest way is to buy round cake boards. They are precut and come in assorted sizes from 6" up to 12" diameters. Round felt can also be purchased - but it is cheaper to by the 8" x 12" squares and cut them to fit.
If you want to go the cheaper way, you can cut out your own forms. Watch this video first to get a feel for creating a cardboard bouquet collar. Don't cut out the circle in the center, simply cut lines from the center out to the circle line all around. These tabs will slide down the bouquet handle whether you can later tape over them to fasten the collar to the bouquet holder.
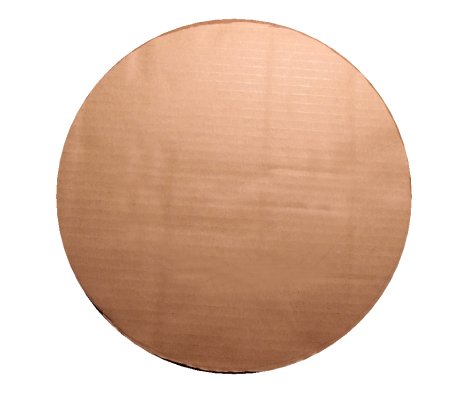
Here is an alternative way to make your own collar. The first step is to create your round collar out of either cardboard or foam core board. Cardboard can come from any large box or foam core board is available in colors from most discount stores or office supply stores.
You first have to make your round shape. You can right click the image below, choose "copy", paste to an photo image program, size it to a full sheet of paper and print off as a pattern.
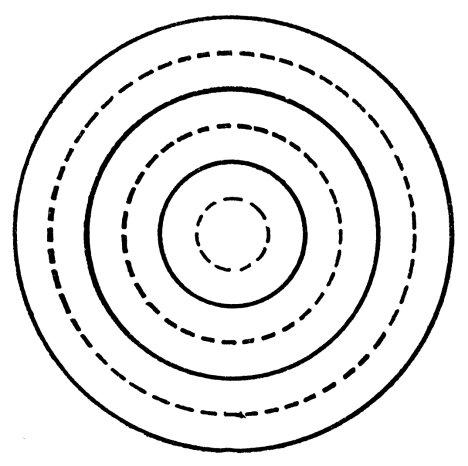
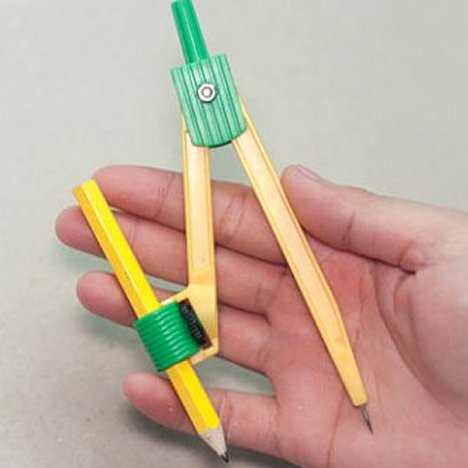
You can also create your own particular size (larger or smaller) by using a standard pencil and compass. Press the point in the center and widen the compass to the width you desire the collar to be.
Keep in mind how big you want the final design to be. More flowers need a bigger collar. For smaller nosegays, size down.
Finding a small dessert plate may be just the perfect size to trace around on a piece of cardboard.
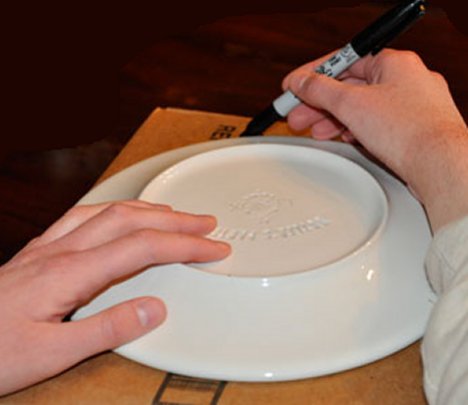
Simply cut out carefully using heavy duty kitchen or floral scissors.

Your cardboard should look like this, in the diameter size that you want. If you are making your attendant bouquets the same, then be sure to stay with the same size for all.
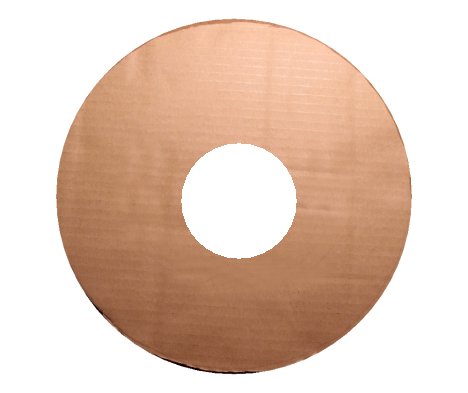
Find the exact center and cut a smaller hole (trace around a juice glass) in the center. The bouquet holder should just fit through this center hole, so you may want to measure before cutting.
For other ways to draw a perfect circle - check out this link at Wikihow.
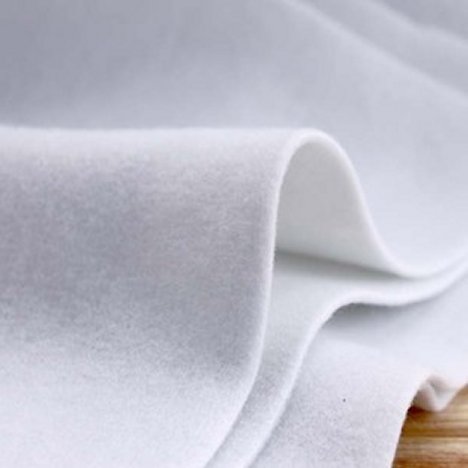
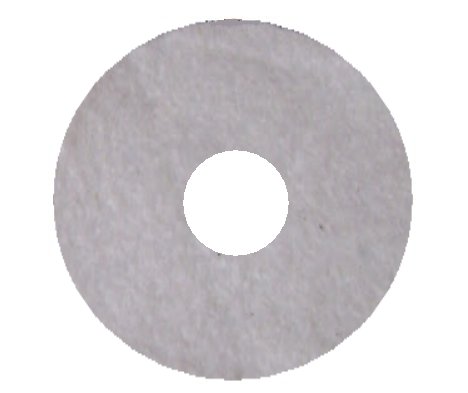
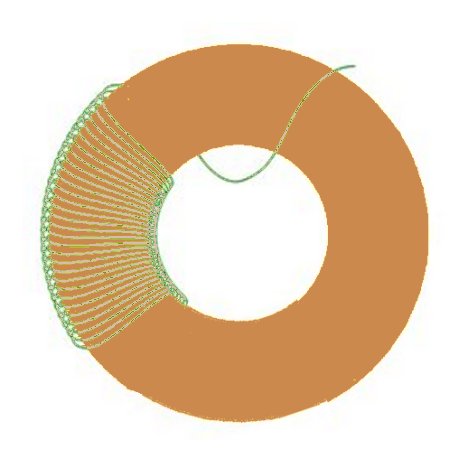
Now comes the creative part. You decide how you want to cover your collar. Here's a great time to experiment with different fabrics, textures and colors. For this tutorial, the circle had thin white cotton batting glued to the circle with craft glue. . .
Then start wrapping yarn (or Oasis raw muslin) around the collar (I think bulky yarn would be better than thin yarn.) Fold over several strands at one time and staple the ends on the inside circle. Wrap over the staples to hide.
Wrap around the entire circumference of the cardboard ring.
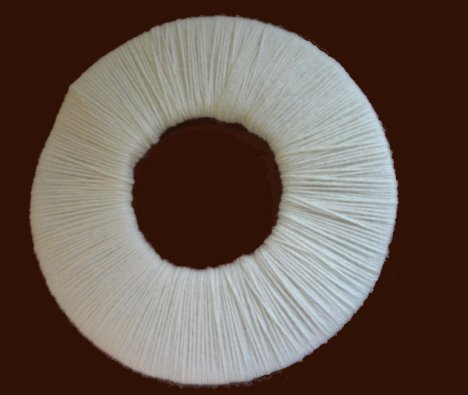
When done . . your collar should look something like this.
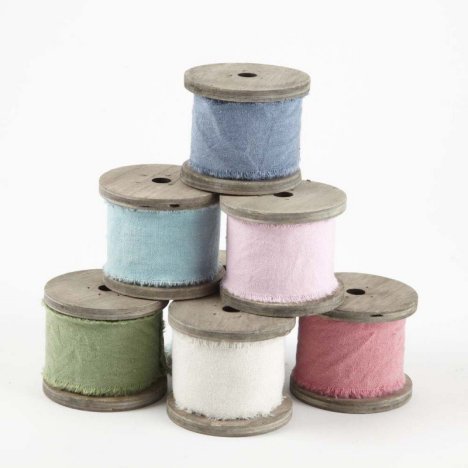
Instead of yarn, Oasis offers dyed muslin that can be wrapped around the collar for a more rustic look.
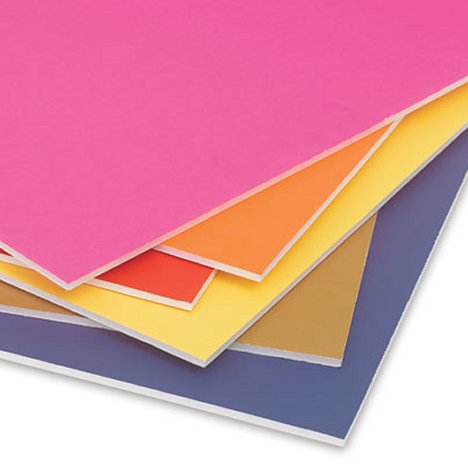
Want a different look? Consider using colored core foam board (available at most discount stores and office supply stores). Finish the edges with colored pearl headed pins to hide the cut edges.
Cover the board with lace or a contrasting decorative wire. This is where the fun begins!