Wedding Arch Flowers
You always have to consider your mechanics first. That means you consider before hand whether to design ahead and transport the flowers, green ahead and flower in on site, or completely construct the flower arrangements on site.
All possibilities have to consider things like available time, what type of flowers you are using, and whether you have a practical means to transport constructed flowers, large arrangements or buckets of water.
I generally green in my pieces a couple days ahead and then quickly flower in the piece on site. It's not as hard as it sounds. These pieces make up very quickly - UNLESS you are planning on using many buckets of flowers and massing them all over the archway. THAT takes more time and you have to allow for it.
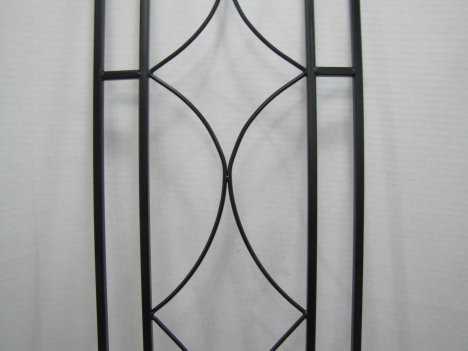
The sides of typical wedding arches usually have openings that you can attach your constructed flower pieces to.
Using cages or raquettes make the arrangements in more manageable sizes, which are definitely easier to transport and just means you have to fit them together and attach when at the wedding site.
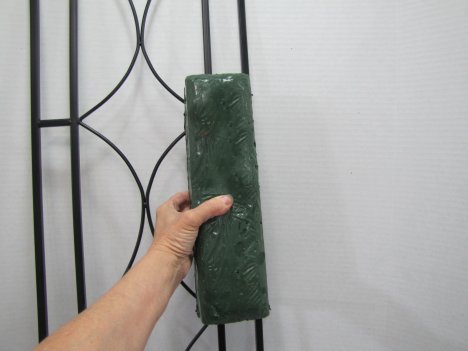
For the demonstration, I'm going to use the shortest piece (the Spray Bar) and show how you can get a large look out of this piece. The longer pieces are very easy to attach for a more uniform (massed flower) look.
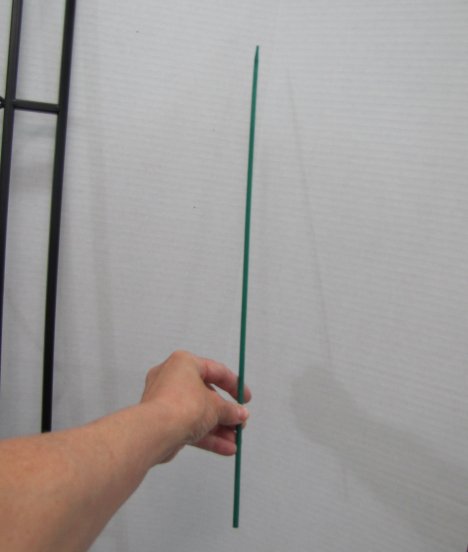
I generally transport greened already, but am going to show you how I prepare the raquette for attaching to a metal archway.
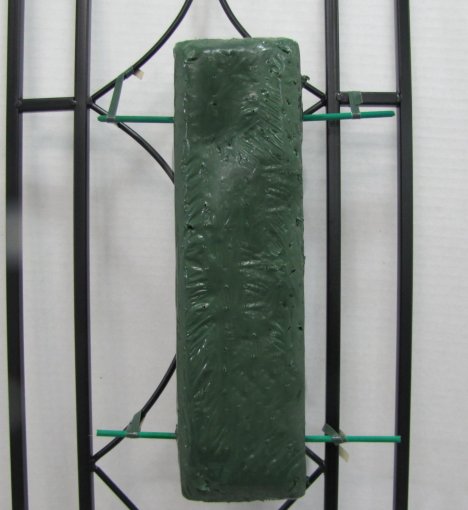
It can be fastened vertically, as shown in the photo below.
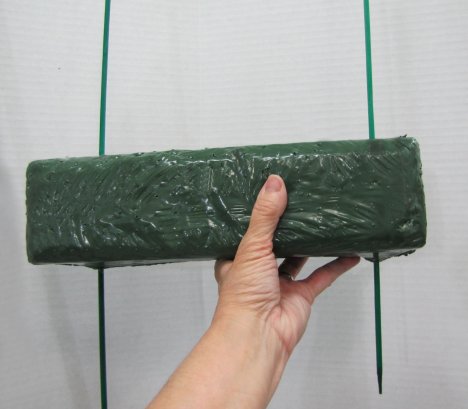
Fasten it horizontally for above the heads of the bride and groom.
Many florists use a heavy wire inserted into the brick of foam in the raquette. Depending on the length, I simply insert a Cowee stake at several intervals in the length of the raquette. Remember a lot of weight is resting on this foam when it is soaked in water and weighted down with flower insertions.
A longer piece of foam (like the longest raquette) needs more Cowee stake supports.
For the short spray bar, I simply insert one stake at the top, piercing from one side to the next.
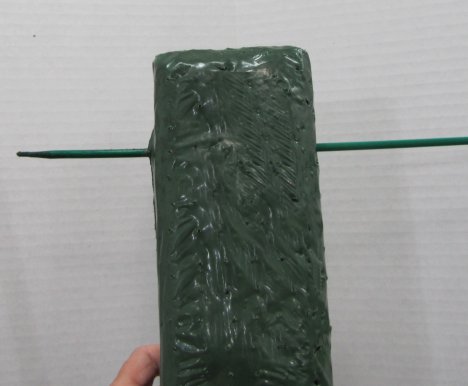
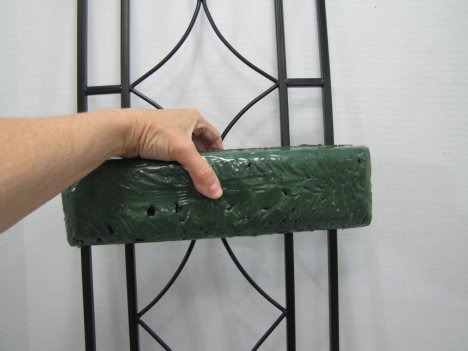
I do the same for the other end. so it looks as shown below.
Cut them to a more manageable side - but leave them long enough that you can see them from the back of the arrangements. You need some ends sticking out of the foam, because it's these pieces of wood that are going to attach to your structure.

The Cowee stake is very porous and swells up tightly when inserted into wet foam. This helps hold it in place.
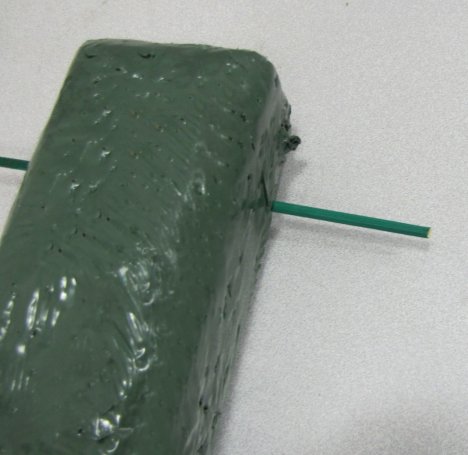
The foam should look (on both ends) like the ones shown below.

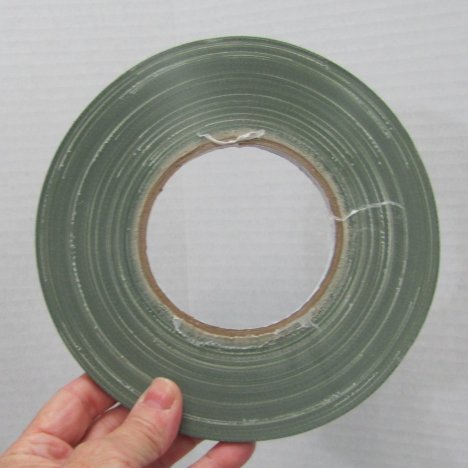
Now you can use strong, waterproof tape (shown below - make out of same material as duct tape - but cut very thin), that holds up well and is very strong.
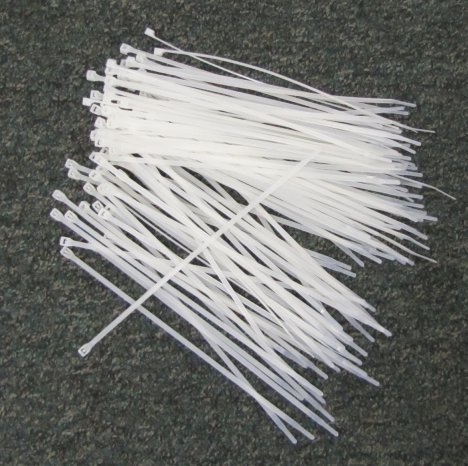
I usually prefer electrical "zip ties" (found in any hardware store or discount stores like Wal-Mart), which are very quick to fasten and hold a great deal of weight. I find them faster than taping, especially if I'm doing it one-handed without anyone holding the arrangement for me.
The additional advantage is that they are disassembled very quickly with a few quick snips of wire cutters - much easier than twisted wire or even windings of waterproof tape. It's really your own preference. I've used both for many years.
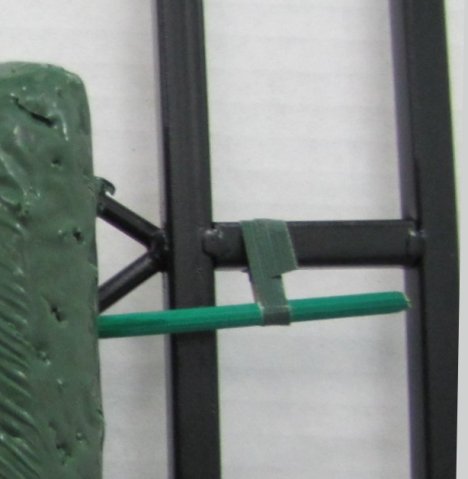
As you can see - the foam is attached to the wire archway by fastening the wood stake supports that you've inserted into the foam before you've designed on it.
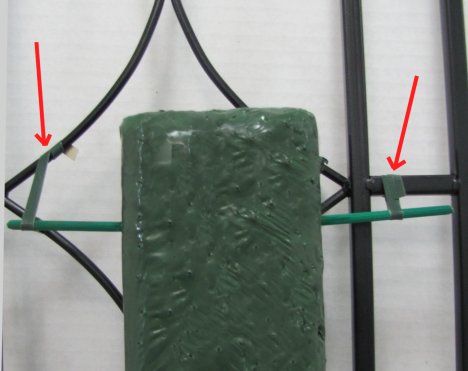
Just don't put too much weight on one single stake or you may find the foam giving way and plunging your flower arrangement to the ground at the most inopportune time. Structural support is EVERYTHING!
For this demonstration, I'm going to show the foam attached to the arch while I quickly green in and insert the flowers.