Make Your Own Bridal Bouquet
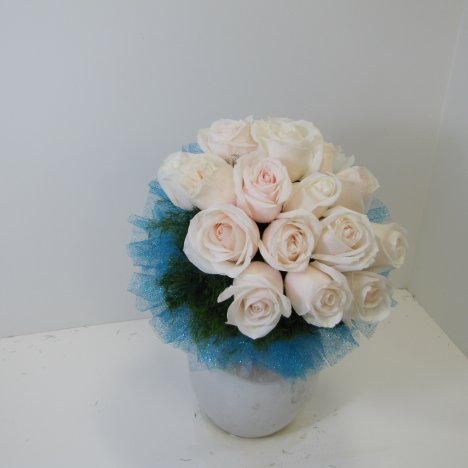
Fill in the last of the roses, making sure that the outer row of roses do NOT conceal the tulle collar.

See the bouquet from another angle.

Actually placing the roses only takes a few minutes. I wash my hands before handling the roses so no oil on my fingers damage the delicate rose petals (which could cause browning).
With a few last roses, this design is nearly complete.
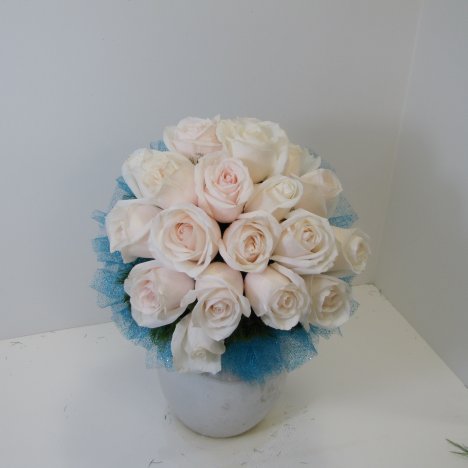
With the last rose in place, it's time to make sure the roses don't move anywhere in the foam. The delicate ring of sparkle tulle encircle the mounded roses.

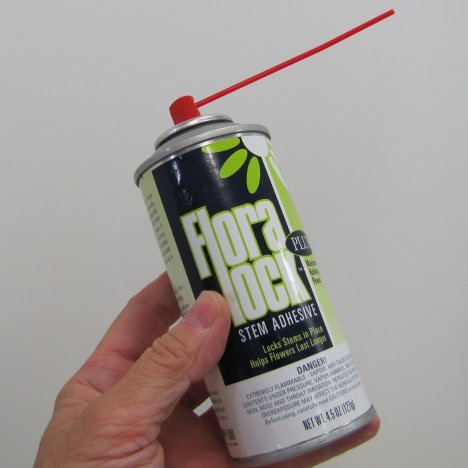
I generally secure the flowers with squirts of Floralock. Work with it, shaking the can thoroughly to aerate the glue. Do NOT do this step until the design is complete, as it is difficult to insert any more stems into the foam after the glue has been sprayed.
This prevents the dreaded "fallout" of stems that can occur with so many inserted in a single ball of foam. Make sure the foam does not go dry. Dribble more water on it until saturated, replacing the water drawn up the stems of the roses while in the foam.
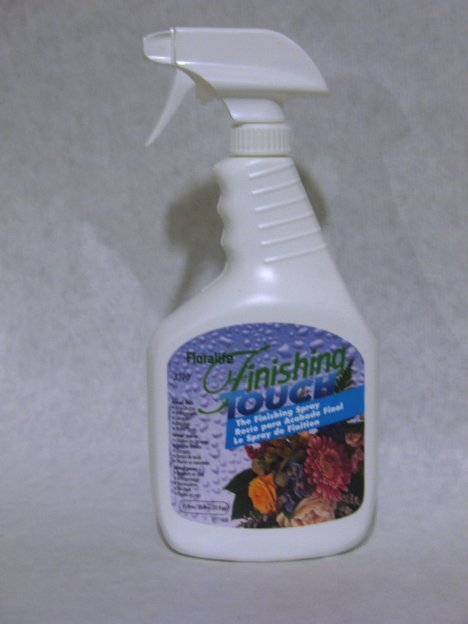
I finished every design with a good misting of a flower sealant such as Finishing Touch.