How to Make a Corsage
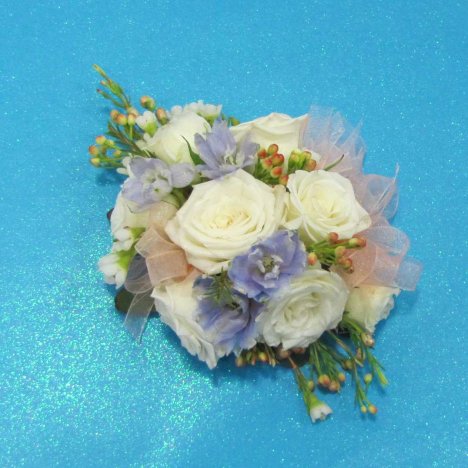
Once you are finishing adding in your filler flower, slip the final design on your own wrist. Give a little shake to be sure the flowers are all glued securely and the flowers are well balanced.
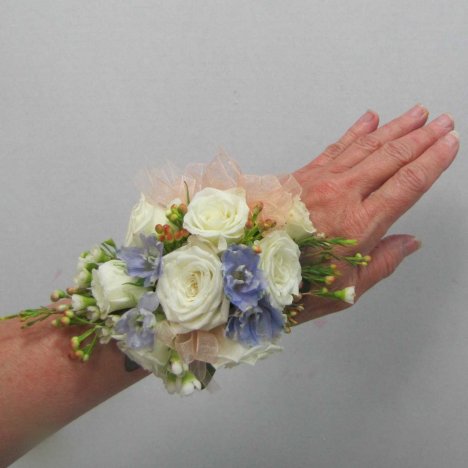
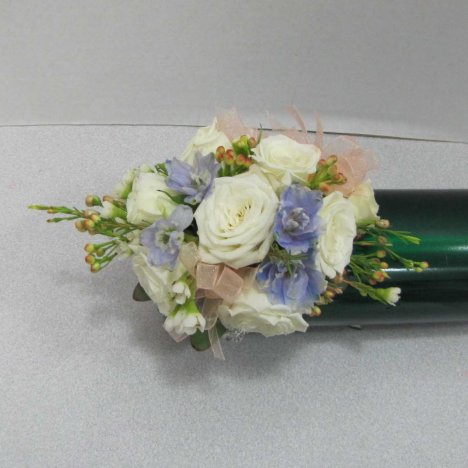
Notice how the ends give the illusion of elongating the design, following the length of the wearer's wrist.
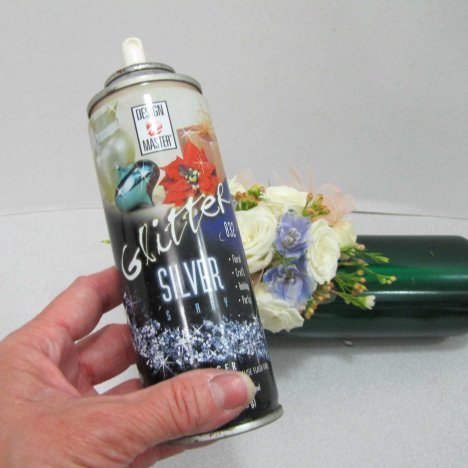
I sometimes add a little sparkle or shine by spraying with an aerosol glitter spray. It is available in silver, gold or pearl shine. Always shake thoroughly to aerate the glue. Don't overdo this step or you'll end up with a sticky mess!!
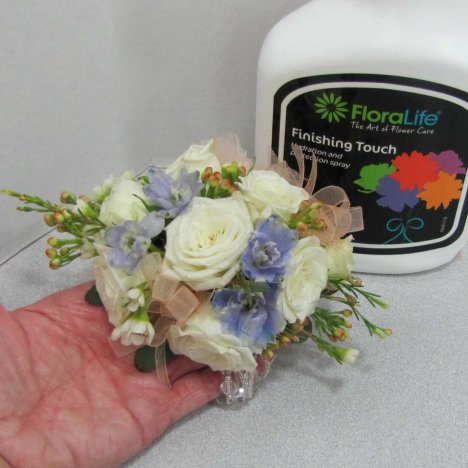
The final step to any boutonniere or corsage is a good misting with a flower sealant such as Finishing Touch. This is important for DIY brides, because home refrigerators pull moisture OUT of the air (instead of putting it into the air like a professional florist cooler).
Flower sealants help protect the petals from turning transparent too soon and extends the life of the flower. Allow to dry before placing into the refrigerator.
I do suggest that boutonnieres, corsages and bouquets be refrigerated if possible. They have less of a water source than a centerpiece that has plenty of foam and can stay out in cooler air conditioning.
Check out all my other step by step corsage and boutonniere tutorials, bridal bouquets, centerpieces and church sprays.