Hydrangea Bridal Bouquet
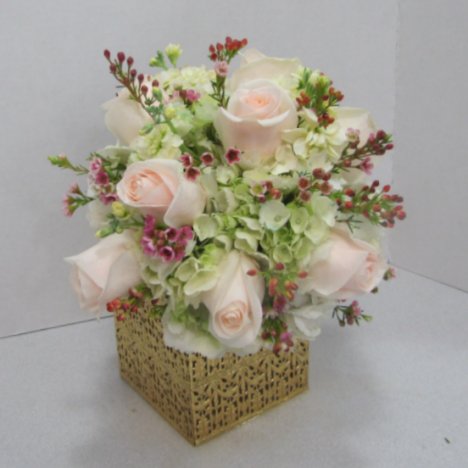
This hydrangea bridal bouquet will be a combination of soft colors with these creamy colored roses. I would typically start with my roses in most bridal bouquet designs, since they are usually the focal flower, but I wanted to put in my hydrangeas first in order to establish the round bouquet shape.
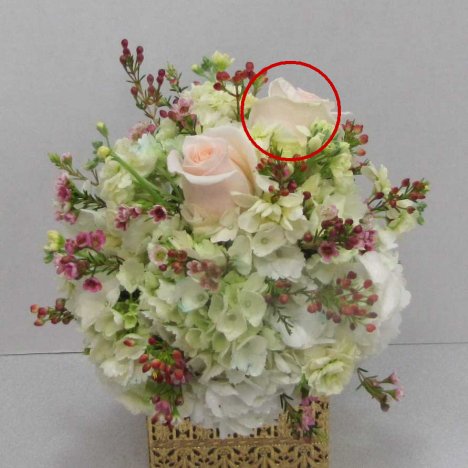
Now I insert my first rose in the upper center section of the bouquet holder. I face the rose upward.

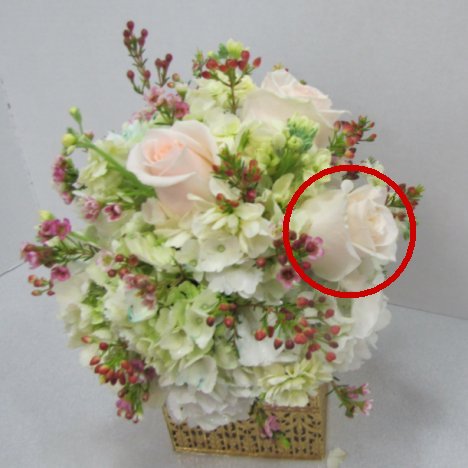
I place a second rose on the outer perimeter of the bouquet. The face of this rose is almost a 90 degree angle to the first rose in the center.
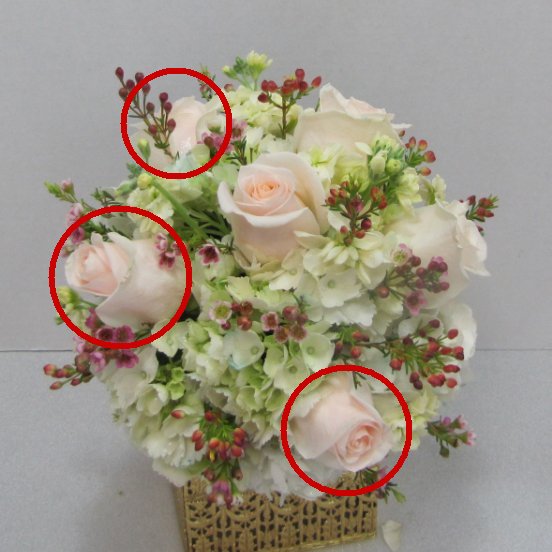
My third rose is dropped down, keeping the spaces between the roses fairly similar, and again at a 90 degree angle away from the center rose.
I continue placing roses, circling around the center rose and angling the roses outward. The spacing doesn't have to be picture perfect, just a good eye placement apart from each other.
You can see how the roses have immediately taken over as the focal point of the bouquet, their own light rosy hue emphasized by the pink of the filler wax flower.
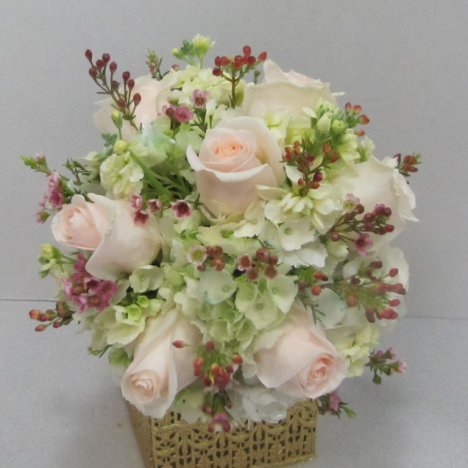
As you swivel the bouquet, you can see from all angles that the heads of the roses gradually move outward and taking a slight downward slant as you move to the edge of the bouquet.
This gives the bouquet depth. As you can see from a side view, the bouquet has a rounded look - not a flattened one that you would have if you inserted the roses at all the same angle.
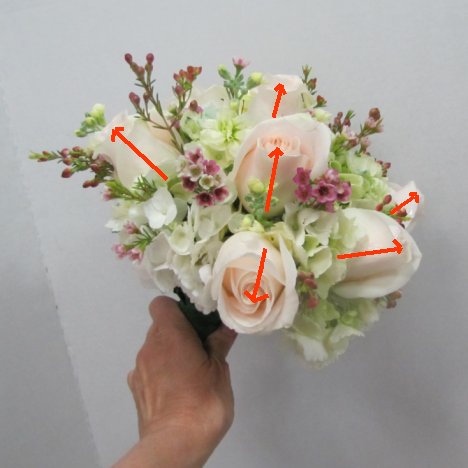
This ensures that the bouquet looks beautiful from a side view as well as straight on view. Remember - the guests are watching from the side aisles as the bride makes her entrance, so you have to give consideration to how it looks to them AND how it looks in the wedding photographs!


