How to Make a Corsage
Corsage bracelets have become very sophisticated over the last few years. Gone are the silver elastic bands (well . . not really . . . you can still purchase them, but the sparkling wristlets are the new favorites since they can later be used as a bracelet and thus always be a memento of that wonderful day!
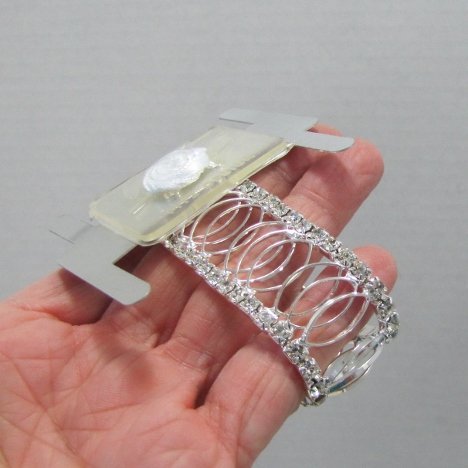
Keep in mind bracelets styles change every years. Decorative corsage bracelets are usually expand to fit many sizes of wrists - usually small to medium. They come with a variety of ways to attach the flowers - whether it is a silicon pad on which to glue the flower heads, a ribbon to tie the complete bracelet (if you cut this ribbon short - be sure you make a square knot to keep the silicon pad attached!) or bendable aluminum prongs that fold over and clasp the corsage tightly to the bracelet.
This works well whether you want to traditionally wire and tape the flowers or quickly glue them on with floral adhesive.
The styles frequently with each new season, so don't feel committed to just this bracelet. The same techniques shown in this tutorial works for any corsage bracelet.
Most of the bracelets are designed to expand and accommodate many wrist sizes. Oversized and petite bracelets are also available in my online store. Slap bracelets work particularly well for very tiny wrists.
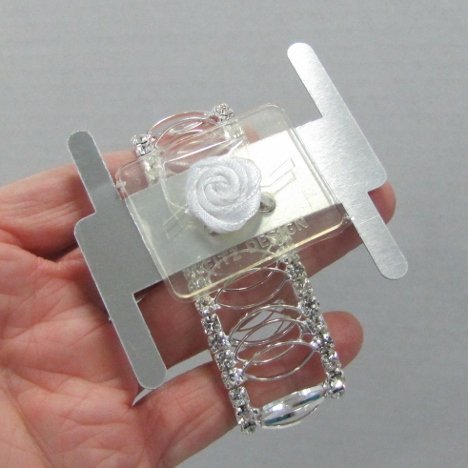
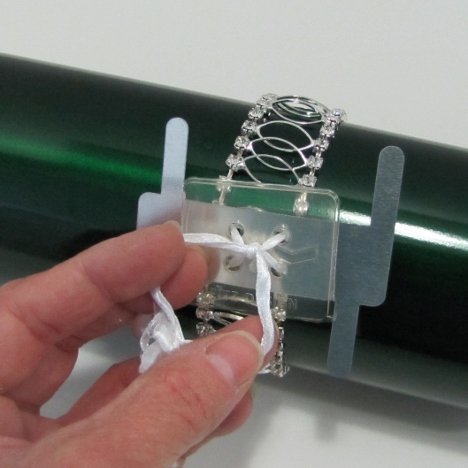
Since I am using floral adhesive to this tutorial, my first step is to remove the bulk of the coiled ribbon and tie it off with a square knot.
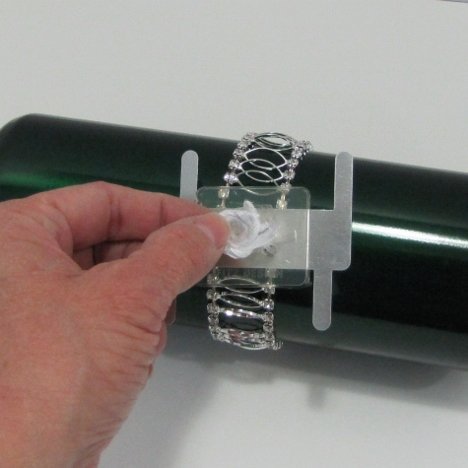
Do not remove the entire ribbon, as this is what fastens the acrylic square to the bracelet itself.
Once firmly tied and knotted, snip off the excess ribbon with a sharp pair of ribbon scissors.
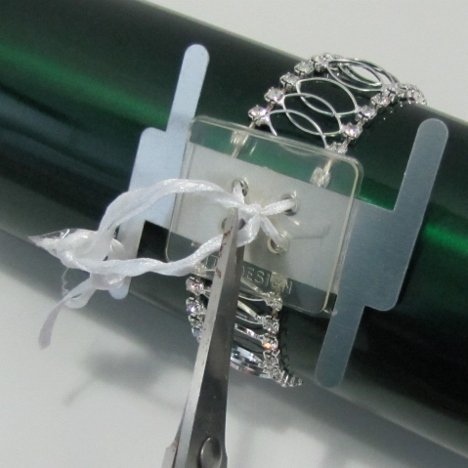
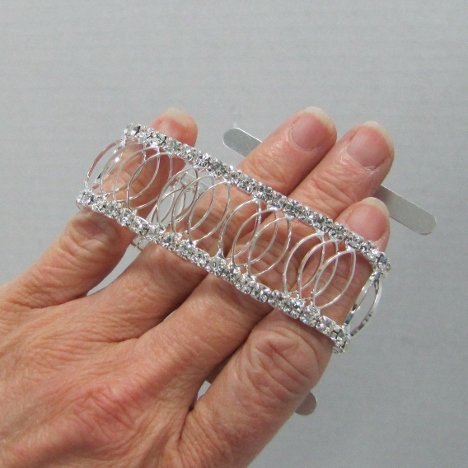
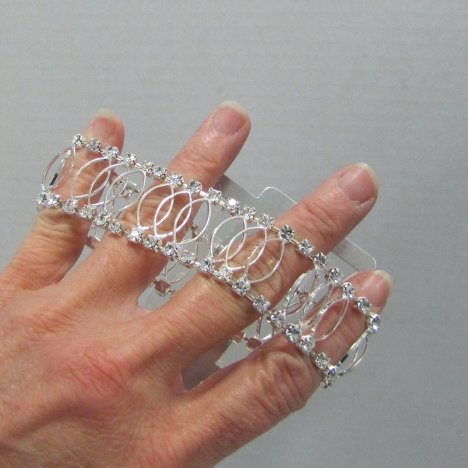
Next I am going to fold over the aluminum tabs before gluing the flowers to the corsage bracelet.


