Hand Tied Bouquet
For this hand tied bouquet, wait until the design is finished before cutting off the bottom stems. If the longer stems become cumbersome or difficult to manage, cut them off short enough to make it easier to turn the bouquet. Avoid cutting them too short, however, wait until the design is totally finished before deciding your final length.
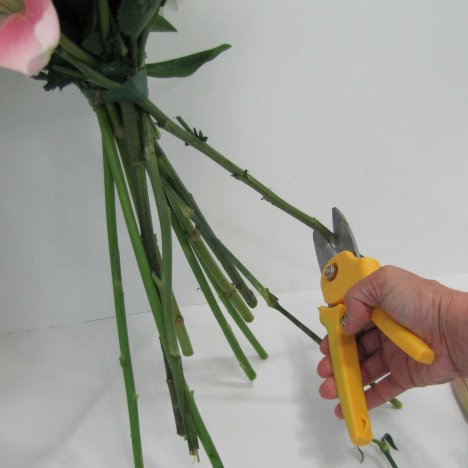
There is the rule that you can always trim more off the stem - but it is difficult to add length TO the stems if you cut them too short!
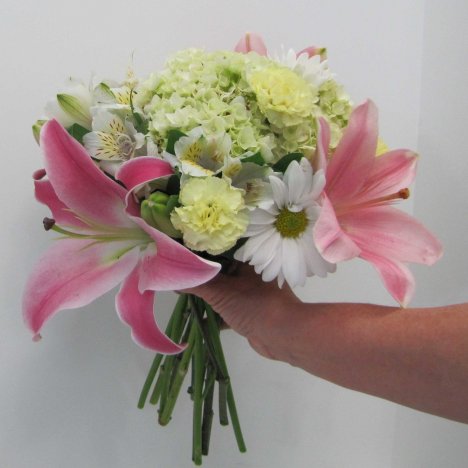
You can see that I've used the BindIt tape, which gives a tight, smooth handle to grip. The flaired stems are what determine the rounded shape you end up with.
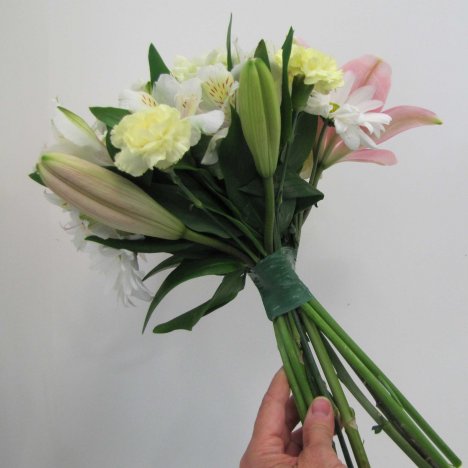
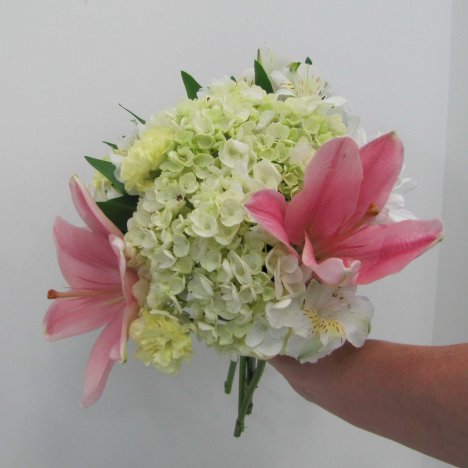
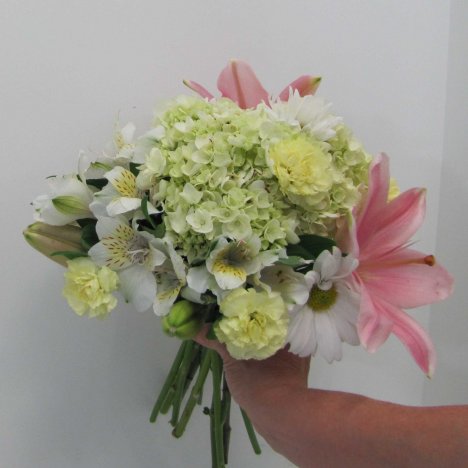
Begin to fill in the edges, concentrate on adding more flowers where they are needed to give the design a filled out and more rounded shape.
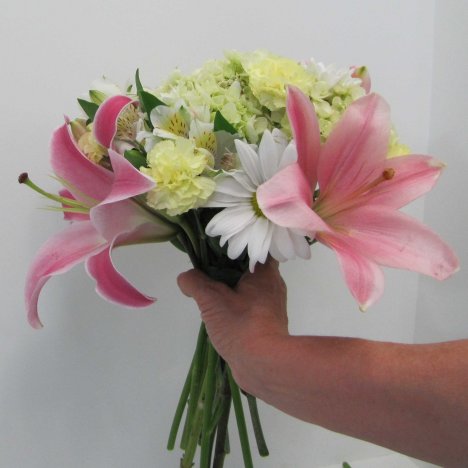
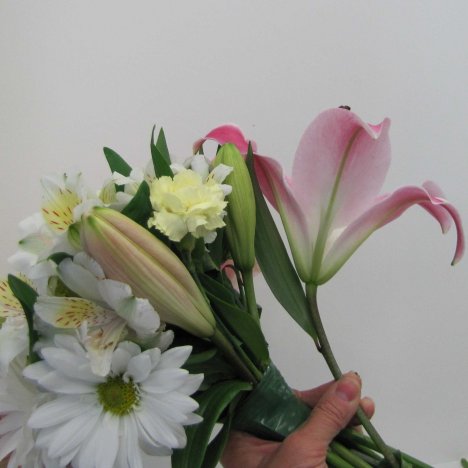
If you add more Oriental lilies, you can use the natural curve of the flower head to simply lay it against the bouquet's side in the end.
Remember that too many of these really large bloom can begin to overwhelm a design if you don't take care to balance with other flowers. You can quickly overwhelm a small bride with a much larger bouquet than she planned on if you don't take care with your bouquet recipe.
As I reach my approximate size, I will often take the bouquet and hold it in front of me at a mirror at waist level to gauge whether or not my bouquet has reached the desired final size.
Take extreme care when adding and handling the bouquet at this point, as it is really easy to bruise or crease those large lily petals. That can be frustrating since you'll have to remove the entire flower head and add another. It's not like a rose that you can remove a creased petal or two. Lilies have gaping openings if you remove a creased or bent petal.