Hand Tied Bouquet
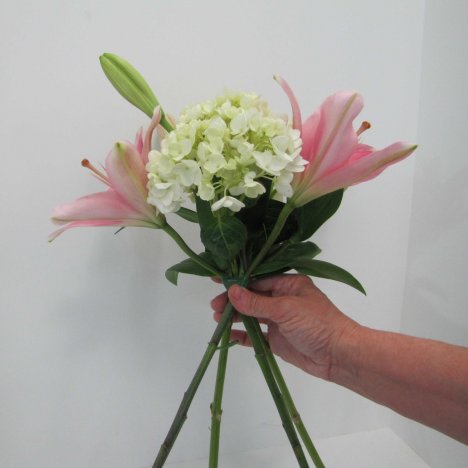
Hand tied bouquet styles become round because you must cross the stems. As you assemble your hand tied bouquet, you want to cross the stems as shown below and then turn the bouquet, adding and again crossing each additional flower stem.
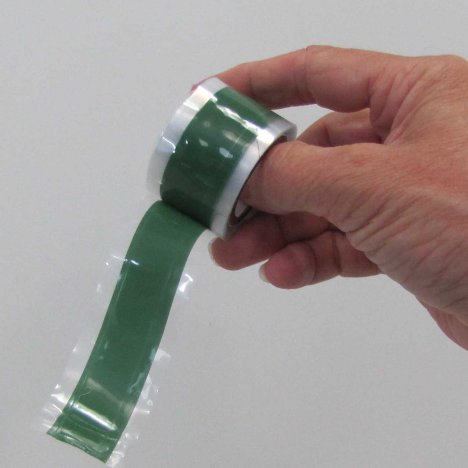
I have small hands, so I tend to tape the stems in place as the bouquet gets a little unwieldy to hold. Oasis has a newer tape out called BindIt. Careful though - this tape is tough, stretches and binds tightly to itself. The only down side is that it is unforgiving. You cannot pull or stretch the flowers in or out, up or down.
I tend to use this tape after the bouquet is final, finished and has the look I want. Once bound with this tape, those stems will not move!
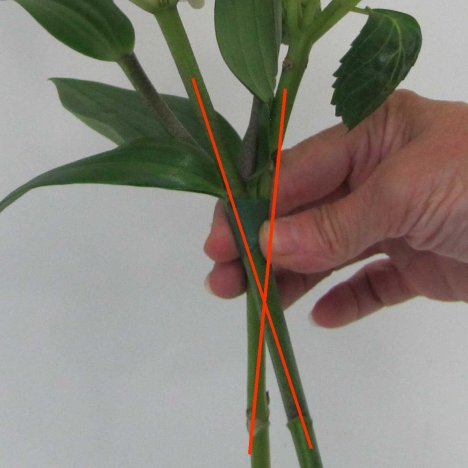
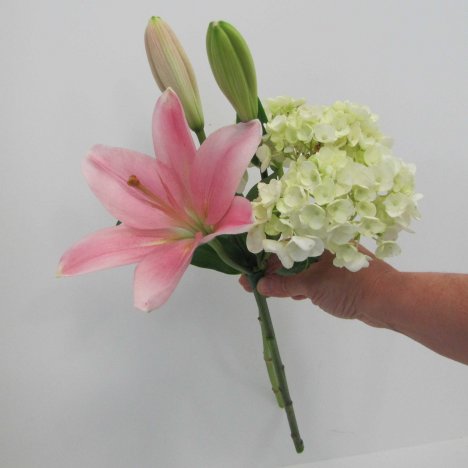
Here is a closeup showing how you begin crossing the initial stems.
Balance the size of your flower heads so they offset each other. Add in smaller flower heads and filler flower to fill in the gaps.
Turn your bouquet often, adding your stems systematically from all sides. This will keep your bouquet more round and begin to take on a natural spread. If you don't like the look of the buds, remove them before assembling the bouquet.
Realize that if you keep them in water the buds showing color may open before your wedding date.
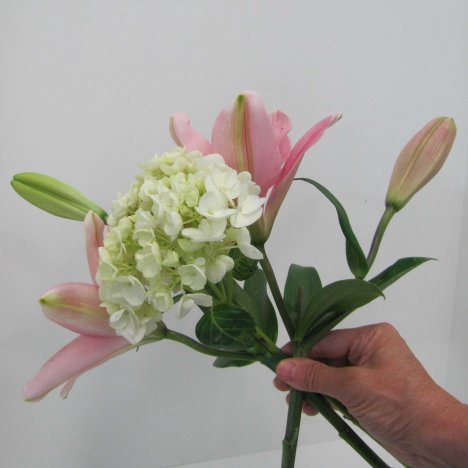
Oriental lilies often have a "V" gap between the flower heads on a single stem. I filled in that gap with the large mass of the hydrangea bloom.
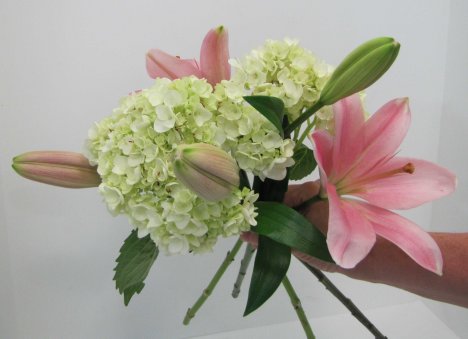
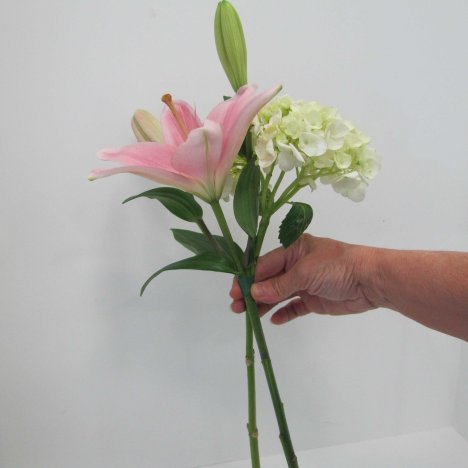
Here is a side view of the beginning bouquet.